
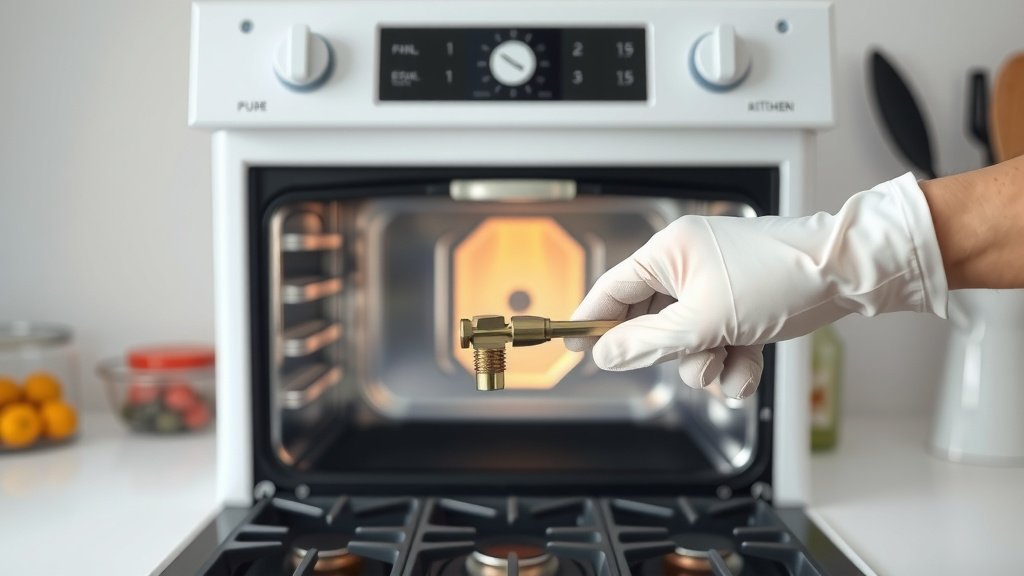
Replacing a gas oven igniter generally involves turning off the gas and electricity, removing the oven bottom and burner assembly, disconnecting the old igniter, and installing the new one.
You can typically replace a gas oven igniter in under an hour with basic tools like a screwdriver and a wrench, restoring your oven’s heating function.
Here’s a quick overview of what you’ll find in this guide:
- Always prioritize safety: turn off gas and power before starting any work.
- You will need a few simple tools and a specific new igniter for your oven model.
- The main process involves carefully accessing the igniter by removing the oven floor and burner.
- Disconnect the old igniter and connect the new one, then reassemble everything securely.
- Testing your oven after replacement is a crucial final step to ensure proper function.
How To Replace Gas Oven Igniter?
Replacing a gas oven igniter can seem like a big job, but it is often a manageable DIY project. Many homeowners successfully tackle this repair, saving money on service calls. With the right guidance and tools, you can get your oven heating reliably again in no time.
Why Is Your Oven Igniter Failing?
Oven igniters don’t last forever. They are designed to glow intensely, drawing a lot of current to open the gas valve and ignite the burner. This constant stress wears them out over time. We found that most igniters have a lifespan of about five to seven years, depending on usage.
Common Signs of a Bad Igniter
How do you know if your igniter is the problem? There are several tell-tale signs. For instance, your oven might not heat at all, or it might heat inconsistently. You might also notice a faint gas smell without ignition. Many experts say a common sign is when the igniter glows, but the gas doesn’t light.
Sometimes, the igniter glows very dimly, failing to get hot enough to open the gas valve. Does this sound like your oven? If so, replacing the igniter is likely the solution. It’s often the first component to check when an oven stops heating properly.
Safety First: Preparing for Replacement
Before you even think about grabbing a screwdriver, safety is your absolute top priority. You are working with both gas and electricity, which requires caution. We found that the most important step is to shut off the power to the oven at your home’s circuit breaker.
Next, turn off the gas supply to the oven. Look for a shut-off valve behind the oven itself. If you cannot find one, turn off the main gas supply to your house. This prevents any accidental gas leaks during the repair process. Always double-check these steps before proceeding.
Gathering Your Tools and Parts
Having the right tools makes the job much smoother. You won’t need anything fancy, just some standard household items. You’ll definitely need a new igniter. Make sure it’s the correct part number for your specific oven model. We found that a mismatch can cause performance issues or safety risks.
Here’s a simple checklist of what you’ll need:
- New oven igniter (model-specific)
- Screwdriver (Phillips and/or flat-head)
- Nut driver or small wrench set
- Wire strippers/cutters (if direct wiring is needed)
- Pliers
- Work gloves
- Flashlight or headlamp
- Multimeter (optional, for testing)
Step-by-Step Guide to Igniter Replacement
Ready to get your hands a little dirty? We will walk through this process together, step by step. Remember, patience is key here. Take your time, and if something doesn’t feel right, pause and re-evaluate. You’ve got this!
Accessing the Igniter
First, open your oven door and locate the bottom panel. This panel is usually held in place by two screws at the back. Remove these screws and lift the panel straight up, then pull it out. Set it aside carefully. Now you can see the burner tube and, typically, the igniter attached to it.
The burner tube itself might be secured by a few more screws. Remove these to gain better access to the igniter assembly. Sometimes, the igniter is just a small ceramic part attached with a bracket. Many experts recommend taking a photo of the wiring before disconnecting anything. This serves as a great reference later.
Disconnecting the Old Igniter
The igniter will have two wires leading to it. These might be connected with a ceramic wire connector, or they might be direct wired. If it’s a connector, simply pull it apart. If it’s direct wired, you will need to cut the wires close to the old igniter. Pay attention to the wire colors.
After the wires are free, unbolt or unscrew the old igniter from its mounting bracket. Keep track of any small screws or nuts. They tend to disappear! Gently pull the old igniter out. It can be somewhat fragile, so handle it with care, even if it’s already broken.
Installing the New Igniter
Now, take your shiny new igniter. Attach it to the mounting bracket in the same way the old one was secured. Make sure it’s snug and facing the correct direction, usually towards the burner tube. This ensures proper flame ignition. Remember those screws or bolts you set aside? Reinstall them.
Next, it’s time for the wiring. If your new igniter came with a ceramic connector, simply plug the wires together. If you cut the old wires, you’ll need to strip a small amount of insulation from the ends of the new igniter wires and the existing oven wires. Use new ceramic wire nuts to connect them securely. Twist the wires tightly before capping them.
Reassembly and Testing
Once the igniter is securely mounted and wired, carefully reassemble the burner tube if you removed it. Make sure all screws are tightened. Then, slide the oven bottom panel back into place and secure it with its screws. Close the oven door.
Now, turn the gas supply back on. Go to your electrical panel and flip the circuit breaker back on for the oven. Set your oven to bake at a moderate temperature, like 350°F (175°C). Listen and watch. You should hear the gas valve click open, and then see the burner light up. If it works, pat yourself on the back! If not, turn everything off and recheck your connections.
When to Call a Professional
While replacing an igniter is often a straightforward job, sometimes it’s best to call in a professional. If you feel uncomfortable at any point, or if the oven still isn’t working after you’ve replaced the igniter, it’s okay to seek expert help. We found that complex issues involving the gas valve or control board are best left to licensed technicians. Your safety is most important.
Preventing Future Igniter Issues
Can you extend the life of your new igniter? Many experts say yes, to an extent. While wear and tear are inevitable, certain practices can help. Keeping your oven clean, for example, prevents debris from interfering with the igniter’s function. Also, avoiding excessively high temperatures for prolonged periods might reduce stress on components.
Regular Oven Maintenance Tips
Consider these simple tips to keep your oven in top shape. Regularly check the condition of the door seal; a leaky seal makes your oven work harder. Also, wipe up spills quickly to avoid baked-on messes that can affect heating efficiency. A well-maintained oven often means happier components, including the igniter. Think of it as preventative care for your kitchen workhorse.
| Issue | Likely Cause | DIY Fix? | When to Call a Pro |
|---|---|---|---|
| Oven not heating | Faulty igniter | Yes, often | If igniter replacement fails, or gas valve issues |
| Uneven heating | Worn igniter, clogged burner ports | Possibly igniter, clean ports | If burner or gas pressure issues |
| Gas smell, no ignition | Igniter not glowing enough | Yes, replace igniter | Persistent gas smell after replacement or unknown source |
| Igniter glows, no flame | Igniter weak, gas valve fault | Replace igniter first | If new igniter doesn’t solve it |
Conclusion
Replacing a gas oven igniter is a repair many homeowners can handle, leading to significant savings and a renewed sense of accomplishment. By following safety precautions and our step-by-step guide, you can confidently tackle this task. Remember, a working oven means warm meals and happy family moments. Don’t let a small part keep your kitchen cold! And if you ever feel out of your depth, calling a professional is always a smart choice.
What tools do I absolutely need to replace a gas oven igniter?
You’ll primarily need screwdrivers (Phillips and flat-head), a nut driver or small wrench for bolts, and possibly wire strippers/cutters if your igniter requires direct wiring. A flashlight is also quite helpful for visibility inside the oven cavity.
How do I find the correct replacement igniter for my oven?
The best way to find the correct igniter is to locate your oven’s model number, typically found on a sticker around the oven door frame, inside the storage drawer, or on the back. Then, search for parts compatible with that specific model number from appliance parts suppliers.
Is it safe to replace a gas oven igniter myself?
Yes, it can be safe if you follow all safety precautions, especially turning off both the gas supply and the electrical power to the oven before you begin any work. If you’re unsure or uncomfortable at any point, it’s always best to consult a qualified appliance technician.
What if my new igniter doesn’t fix the problem?
If your oven still isn’t working after replacing the igniter, the issue might lie elsewhere, such as a faulty gas valve, a control board problem, or even a different electrical component. At this point, many experts suggest contacting a professional appliance repair service for further diagnosis.
How long should a new gas oven igniter last?
A new gas oven igniter typically lasts between five to seven years, depending on how frequently you use your oven. Regular usage and consistent temperature fluctuations naturally contribute to the wear and tear of this component.
