
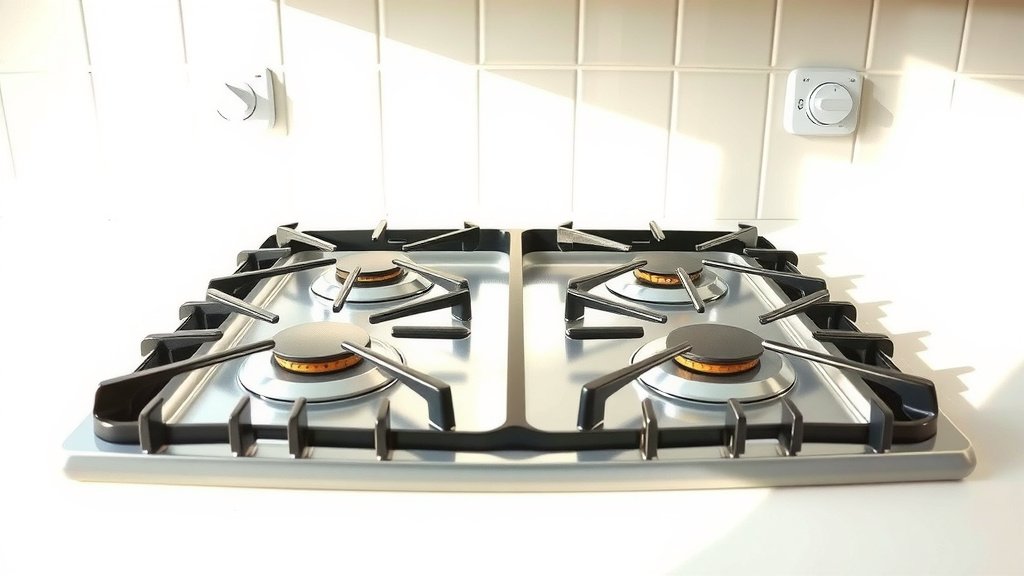
To clean gas oven grates effectively, soak them in hot, soapy water to loosen grease and food residue, then scrub with a stiff brush or non-abrasive pad.
For tougher grime, a baking soda paste or specialized oven cleaner can make your gas oven grates sparkle.
- For sparkling gas oven grates, start with a simple soak in hot, soapy water.
- Baking soda and vinegar create a powerful, natural cleaning paste for stubborn spots.
- Always remove grates from the oven before cleaning them to ensure safety and thoroughness.
- Consider a specialized oven cleaner for baked-on, tough-to-remove residue, following directions carefully.
- Regular, gentle cleaning prevents heavy buildup, making future grate maintenance much easier.
How To Clean Gas Oven Grates?
Cleaning gas oven grates involves a mix of soaking, scrubbing, and sometimes using stronger solutions to tackle baked-on food and grease.
You can achieve pristine grates with a few simple steps and common household items, bringing back their shine.
Why Do Gas Oven Grates Get So Dirty?
Gas oven grates are the front line in your kitchen’s battle against cooking messes. They bear the brunt of every spill, splatter, and boil-over.
High heat bakes food particles and grease onto the metal, creating stubborn, crusty layers that are tough to remove.
Understanding the Grime Battle
Imagine a tiny war zone on your stovetop; that’s where cooking happens. Oil splatters and sauces bubble, leaving behind residues that become solid as they cool.
Over time, these layers build up, turning your once-shiny grates into a sticky, dark challenge. We found that the more often you cook, the faster this buildup occurs.
Safety First: Before You Begin Cleaning
Before you even think about cleaning, make sure your gas oven is completely cool. This prevents burns and ensures safety.
Always turn off the gas supply to your oven, if possible, especially when removing components. This is a good general practice for appliance maintenance (Consumer Reports).
Essential Cleaning Supplies You’ll Need
Gathering your tools beforehand makes the cleaning process smooth. You won’t want to stop mid-scrub to hunt for a brush.
Here’s a basic list of what you will likely need for a successful grate cleaning session:
- Large basin or bathtub
- Hot water
- Dish soap (heavy-duty is best)
- Stiff-bristled scrub brush or non-abrasive scouring pad
- Baking soda
- White vinegar
- Old towels or newspaper
- Rubber gloves
The Classic Soak: Easiest Cleaning Method
Soaking is your best friend when it comes to loosening stubborn gunk. It softens the baked-on grease, making it far easier to scrub away.
This method works wonders for general grime and doesn’t require harsh chemicals, which is a plus for many home cooks.
Step-by-Step Soaking Process
Ready to give those grates a spa day? Here’s how you can effectively soak them for the best results:
- Carefully remove your gas oven grates from the stovetop.
- Place old towels or newspaper on the bottom of a large sink or bathtub to prevent scratches.
- Place the grates on top of the towels.
- Fill the basin or tub with very hot water, enough to submerge the grates completely.
- Add a generous amount of heavy-duty dish soap to the water. We found that about a quarter cup per grate works well for a deep clean.
- Let the grates soak for at least 30 minutes, or even a few hours for very dirty ones. Overnight soaking can be incredibly effective.
- After soaking, drain the water and scrub each grate with a stiff brush or scouring pad. You’ll see the grime start to lift easily.
- Rinse thoroughly with clean water and dry completely before returning them to your oven.
Baking Soda Power: For Stubborn Stains
Sometimes soaking alone isn’t enough for those truly baked-on spots. That’s where baking soda steps in as a cleaning hero.
Its mild abrasive quality, combined with its ability to cut through grease, makes it perfect for targeting tough stains.
Creating and Applying Your Baking Soda Paste
Let’s make some cleaning magic. This paste is simple to prepare and incredibly effective:
- After soaking and a preliminary scrub, dry the grates lightly.
- In a small bowl, mix about half a cup of baking soda with just enough water to form a thick paste. It should resemble toothpaste.
- Wearing gloves, apply the paste generously to any remaining stubborn grime on your grates.
- For extra power, you can spray a little white vinegar over the baking soda paste. You’ll see a fizzing reaction, which helps to lift more dirt.
- Let the paste sit on the grates for at least 20-30 minutes, or even longer for very tough spots.
- Scrub the grates again with your brush, focusing on the paste-covered areas.
- Rinse the grates completely and dry them.
Dishwasher Dilemma: Is It Safe for Your Grates?
Many people wonder if they can just toss their gas oven grates into the dishwasher for an easy clean. It’s a tempting thought, isn’t it?
The answer often varies based on the grate material and manufacturer recommendations. We found that for most cast-iron grates, it’s generally not recommended.
| Grate Material | Dishwasher Safe? | Why or Why Not? |
|---|---|---|
| Cast Iron | Generally No | Can strip seasoning, cause rust, lead to dullness and uneven cooking. |
| Porcelain-Coated Cast Iron | Check Manufacturer | Some are, but abrasive detergents can damage the enamel over time. |
| Steel/Enamel | Often Yes | Typically more robust and less prone to rust or coating damage. |
Always check your oven’s user manual before using a dishwasher. When in doubt, stick to hand washing to protect your grates.
Commercial Oven Cleaners: When to Use Them
For those nightmare scenarios with years of baked-on carbon and grease, commercial oven cleaners can be a lifesaver. They contain strong chemicals designed to dissolve even the toughest grime.
However, they require careful handling and proper ventilation, as many experts say they are quite potent.
Important Tips for Using Strong Cleaners
When you opt for a commercial cleaner, safety is paramount. You are dealing with strong chemicals.
- **Read Instructions Carefully:** Every product is different. Follow the manufacturer’s guidelines to the letter.
- **Ventilation is Key:** Use in a well-ventilated area. Open windows and doors.
- **Wear Protective Gear:** Always wear rubber gloves and consider eye protection.
- **Test a Small Area:** If unsure, apply to an inconspicuous spot first to check for discoloration or damage.
- **Rinse Thoroughly:** Ensure all chemical residue is removed before replacing grates in the oven.
Preventative Measures: Keeping Grates Cleaner Longer
An ounce of prevention is worth a pound of cure, right? This old saying definitely applies to oven grates.
Regular, light cleaning can save you from those deep-cleaning marathons. It’s about being proactive, not reactive.
Daily Wipes and Spill Management
A quick wipe after cooking can make a world of difference. Don’t let spills sit and harden.
If something splatters, try to wipe it up with a damp cloth as soon as the grates are cool enough to touch. This simple habit keeps the grime from building up in the first place.
Quick Cleaning Checklist for Oven Grates
Ready to tackle those grates? Here’s a concise checklist to guide you through the process effectively:
- Ensure oven is completely cool and gas is off.
- Remove grates carefully.
- Line sink/tub to protect surfaces.
- Soak grates in hot, soapy water for at least 30 minutes.
- Scrub off loose grime with a stiff brush.
- Apply baking soda paste to stubborn spots, let sit.
- Scrub again and rinse thoroughly.
- Dry grates completely before returning to the oven.
Troubleshooting Tough Spots
Sometimes, even after soaking and scrubbing, you might find a few persistent spots. Don’t throw in the towel yet!
For truly baked-on carbon, we found that a plastic scraper or even an old credit card can help gently lift chunks without damaging the grate surface. Be patient and gentle.
Conclusion
Cleaning your gas oven grates might seem like a daunting task, but with the right approach and a little elbow grease, you can restore their shine. Starting with a simple hot, soapy water soak is often enough for regular maintenance.
For tougher grime, baking soda and a bit of vinegar offer a powerful, natural solution. Remember, consistency is key; a quick wipe after each use saves you from major cleaning sessions down the line. Keeping your grates clean not only improves their appearance but also helps maintain efficient cooking.
Can I use steel wool on my gas oven grates?
Using steel wool on gas oven grates is generally not recommended, especially for cast iron or porcelain-coated grates. Steel wool can scratch the surface, removing protective coatings and leading to rust or further damage. Opt for softer scouring pads or brushes instead.
How often should I clean my gas oven grates?
The frequency depends on how often you cook. For everyday use, a quick wipe-down after each cooking session is ideal. A deep clean, like soaking, should be done monthly or whenever you notice significant grease and food buildup.
Are there any natural alternatives to commercial oven cleaners for grates?
Absolutely! A powerful and natural alternative is a paste made from baking soda and water. For extra cleaning power, spray white vinegar over the baking soda paste to create a fizzing reaction that helps lift stubborn grime. This combination is effective for many types of buildup.
My gas oven grates are rusty, what should I do?
For rusty gas oven grates, first, try scrubbing with a stiff brush and a paste of baking soda and a little water. If rust persists, some experts suggest using a mixture of white vinegar and salt, letting it sit for an hour before scrubbing. Always rinse and dry thoroughly immediately after to prevent further rust.
Can I prevent food from baking onto my gas oven grates?
While some buildup is unavoidable with cooking, you can minimize it. Use splatter screens when frying, keep lids on pots to reduce boil-overs, and try to wipe up spills immediately after the grates have cooled. Regular, light cleaning after each use is the best prevention.
