
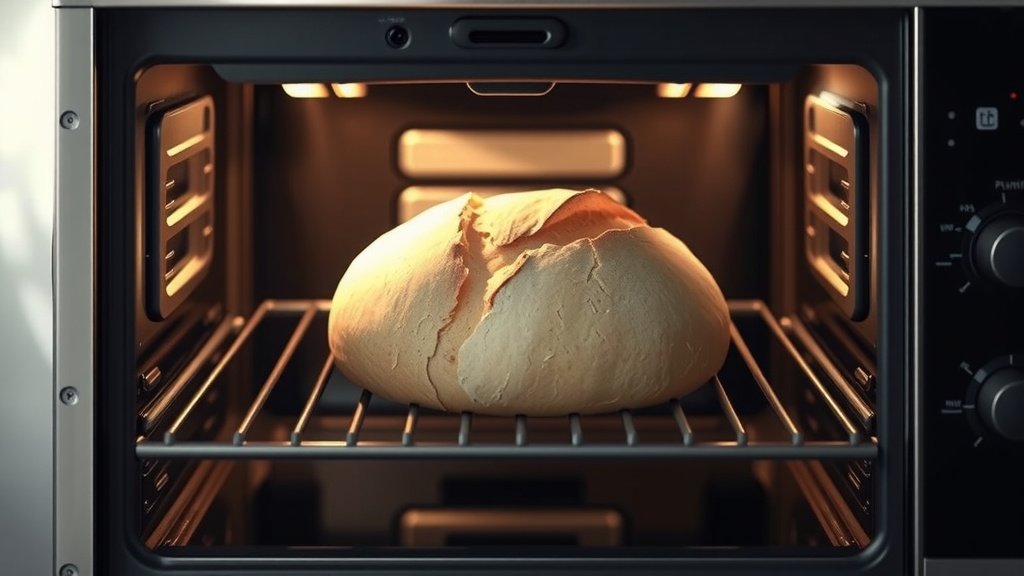
Making sourdough in an electric oven involves creating a steamy environment, often with a Dutch oven, and managing temperature for a beautiful crust and airy interior. You can absolutely achieve bakery-quality results right in your home kitchen with a few smart techniques.
Success with sourdough in an electric oven hinges on maintaining a consistent high temperature and introducing steam during the initial bake to prevent premature crust formation.
- Get your active sourdough starter ready; it’s the heart of your bread.
- Use a Dutch oven to trap steam and promote a beautiful, crispy crust.
- Preheat your oven and Dutch oven thoroughly to a high temperature before baking.
- Start with the lid on for steam, then remove it for browning and crispness.
- Learn to manage your oven’s specific hot spots and temperature consistency.
How To Make Sourdough In Electric Oven?
Making sourdough in an electric oven requires managing heat and moisture effectively to create that coveted crust and open crumb. You’ll focus on techniques that replicate a professional oven’s environment right in your home.
Why an Electric Oven is Great for Sourdough
Many home bakers wonder if an electric oven can truly produce artisan sourdough. We found that electric ovens, often provide very stable, consistent heat. This consistency is a huge advantage for even baking, which is vital for sourdough.
Understanding Your Oven’s Strengths
Electric ovens typically heat up predictably and hold temperature well. This means your dough gets a consistent bake throughout its journey. You’ll avoid unexpected drops in temperature that can sometimes affect gas ovens.
Essential Tools You’ll Need
Gathering the right equipment makes the sourdough journey much smoother. Don’t worry, you likely have most of these already. A kitchen scale is very important for accurate measurements (Many experts recommend this for baking success).
- Active Sourdough Starter
- Large Mixing Bowl
- Dough Scraper or Spatula
- Kitchen Scale (digital is best)
- Proofing Basket (Banneton) or floured bowl
- Dutch Oven (cast iron preferred, 5-7 quart)
- Sharp Lame or Razor Blade
- Parchment Paper
- Oven Mitts
Getting Your Starter Ready
Your sourdough starter needs to be active and bubbly before you begin. Feed it 4-12 hours before mixing your dough and look for it to double in size. An active starter gives your bread good rise and flavor.
The Sourdough Baking Process: Step-by-Step
Let’s walk through the steps together. Baking sourdough is a process that builds flavor and structure. It’s rewarding to see the transformation.
Mixing Your Dough
Combine your active starter, flour, water, and salt. Gently mix until no dry spots remain. Let it rest for a short period, about 30 minutes, to allow the flour to fully hydrate, a process called autolyse by some.
Bulk Fermentation (First Rise)
This is where your dough develops most of its flavor and strength. Perform a series of “stretch and folds” every 30-60 minutes during the first few hours. This builds gluten and structure in your dough.
Shaping Your Loaf
Once bulk fermentation is complete, gently turn your dough out onto a lightly floured surface. Shape it into a tight round or oval. This tight shaping helps to create tension and structure in the final loaf.
Cold Proofing for Flavor
Place your shaped dough into a floured proofing basket and refrigerate for 8-24 hours. Cold proofing slows down fermentation, which significantly deepens the flavor. It also makes the dough easier to score.
Preheating is Key for a Great Crust
Preheat your electric oven to a high temperature, typically 450-500°F (230-260°C). Crucially, place your Dutch oven inside during the preheat. A very hot Dutch oven provides the initial burst of heat the dough needs.
Achieving Steam in an Electric Oven
The Dutch oven acts like a mini-oven, trapping the natural moisture released by the dough. This creates a steamy environment that prevents the crust from forming too quickly, allowing for a good “oven spring.” Some bakers also add a few ice cubes to the Dutch oven just before closing the lid to generate extra steam.
| Baking Stage | Temperature | Time | Notes |
|---|---|---|---|
| Preheat Oven & Dutch Oven | 475°F (245°C) | 45-60 min | Ensure everything is scorching hot. |
| Covered Bake | 450°F (230°C) | 25-30 min | Traps steam for oven spring. |
| Uncovered Bake | 425°F (220°C) | 20-30 min | Develops crust color and crispness. |
| Cooling | Room Temp | At least 1 hour | Very important for crumb structure. |
Baking Your Sourdough Loaf
Once your oven and Dutch oven are fully preheated, it’s time for the bake. Carefully transfer your cold dough into the hot Dutch oven. You’ll score the top of the dough with a lame just before placing it in the pot. This score guides the expansion of your loaf.
Covered Baking for Steam
Bake with the lid on for the first part of the bake. This traps the steam, allowing your bread to expand beautifully and prevent the crust from hardening prematurely. It’s the secret to a good oven spring.
Uncovered Baking for Color
After the initial covered bake, remove the lid. This allows the crust to develop its rich, golden-brown color and become wonderfully crispy. Keep an eye on it to prevent burning, as electric ovens can sometimes have hot spots.
Troubleshooting Common Electric Oven Sourdough Issues
Even experienced bakers face challenges. Don’t get discouraged if your first few loaves aren’t perfect. We found that a bit of patience and adjustment goes a long way.
My Crust Isn’t Crispy Enough
If your crust lacks crispness, try increasing the uncovered baking time by 5-10 minutes. You might also want to ensure your oven and Dutch oven are fully preheated to the correct temperature. A slightly higher temperature during the uncovered stage can also help.
My Loaf is Dense
A dense loaf often points to an inactive starter or insufficient bulk fermentation. Make sure your starter is bubbly and active before use. Also, give your dough enough time to rise during bulk fermentation, watching for an increase in volume.
Tips for Consistency and Improvement
Baking sourdough is a journey of learning and refining your technique. Each oven is unique, and getting to know yours helps a lot.
- Use a reliable oven thermometer: We found that many built-in oven thermometers can be inaccurate.
- Don’t rush the process: Good sourdough takes time, especially for bulk fermentation and cold proofing.
- Keep a baking journal: Note temperatures, times, and results for each bake to track improvements.
- Hydration matters: Higher hydration doughs can be trickier but often yield a more open crumb.
- Learn to read your dough: Pay attention to its feel and appearance at each stage.
Conclusion
Baking delicious sourdough in an electric oven is absolutely achievable. By focusing on adequate steam, precise temperature control, and a patient approach, you can create beautiful loaves with that satisfying chewy interior and crisp crust. Remember, every bake teaches you something new, so embrace the process and enjoy your homemade bread!
Can I bake sourdough without a Dutch oven in an electric oven?
Yes, you can, but it requires more effort to create steam. You might use a baking steel or stone, and place a pan of hot water or ice cubes on a rack below it during the initial bake to generate steam. The Dutch oven method is generally easier and more consistent for home bakers.
How do I know my sourdough starter is ready for baking?
Your starter is ready when it has doubled in size after feeding, is very bubbly, and passes the float test (a small spoonful floats in water). It should also have a pleasant, slightly sour aroma.
What is “oven spring” and how does an electric oven affect it?
Oven spring is the rapid expansion of bread during the initial phase of baking. An electric oven, with its consistent heat, helps achieve good oven spring, especially when combined with a steamy environment like a Dutch oven. The steam prevents the crust from setting too early, allowing the dough to expand.
My sourdough crust is too thick; how can I fix it?
A thick crust can be a sign of too little steam or baking too long uncovered. Try ensuring your Dutch oven is fully preheated and that you bake covered for the recommended time. You might also reduce the uncovered baking time slightly.
Is it better to proof sourdough at room temperature or in the refrigerator?
Both methods work, but cold proofing in the refrigerator (8-24 hours) is often preferred for electric oven sourdough. It develops a deeper flavor, makes the dough easier to handle and score, and provides more flexibility in your baking schedule.
