
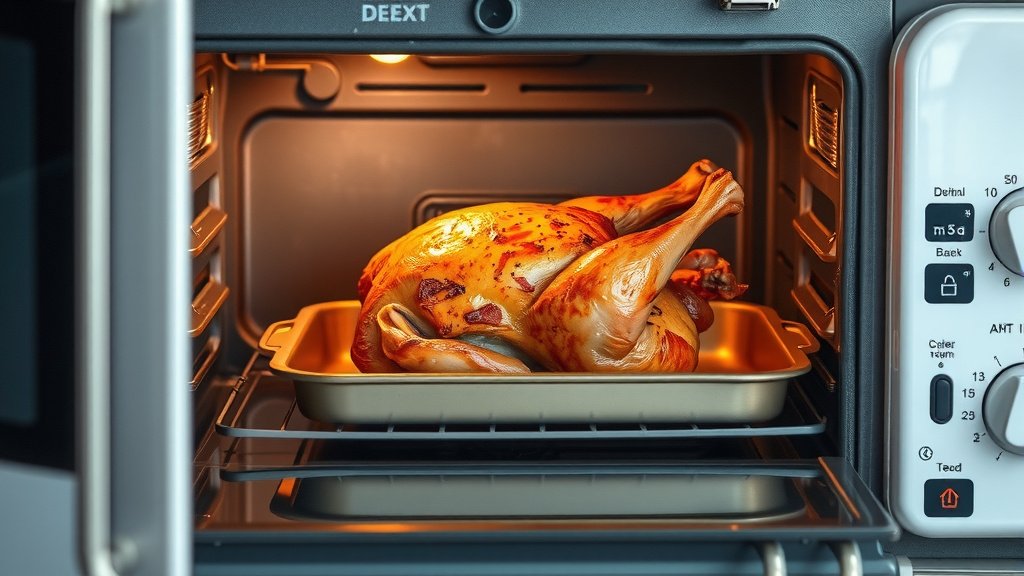
To roast chicken in an electric oven, preheat it to a steady 375-400°F (190-200°C), prepare your chicken with seasonings, and place it in a suitable roasting pan.
Cook the chicken for approximately 20 minutes per pound, always verifying doneness with a meat thermometer that reads 165°F (74°C) in the thickest part of the thigh.
- Preheat your electric oven fully to 375-400°F for consistent heat.
- Pat the chicken very dry and season generously for the best results.
- Use a roasting pan with a rack to allow air circulation and crisp the skin.
- Always use a meat thermometer; cook until the internal temperature reaches 165°F.
- Rest the roasted chicken for 10-15 minutes before carving to ensure maximum juiciness.
How To Roast Chicken In An Electric Oven?
Roasting chicken in an electric oven is a straightforward path to a delicious meal.
It’s about understanding your oven and giving your chicken the right care.
Why Your Electric Oven Shines for Roasting
Electric ovens are often celebrated for their steady, reliable heat.
This consistency makes them a fantastic choice for roasting poultry.
You can count on even browning and thorough cooking.
Temperature Stability Matters
Many experts say that electric ovens tend to hold their set temperature very well (Good Housekeeping Institute).
This stable heat is a huge advantage when you’re roasting something as delicate as a chicken.
It helps prevent unevenly cooked spots or a sudden drop in cooking temperature.
Getting Your Chicken Ready: The Smart Prep
Think of preparation as laying the groundwork for a culinary masterpiece.
A little effort here goes a long way towards a wonderfully roasted bird.
Picking the Perfect Chicken
For most home ovens, a whole chicken weighing 3 to 5 pounds is often ideal.
This size cooks more evenly without drying out before the center is done.
A larger bird might require more careful monitoring.
Flavor Boost: Seasoning and Beyond
Don’t be shy with your seasonings! A generous rub of salt and pepper is just the beginning.
Consider herbs like fresh rosemary, thyme, or even a dash of paprika for color and flavor.
Many cooks also tuck half a lemon or an onion into the cavity for aromatic steam.
Quick Brining or Not?
Some people swear by brining their chicken for extra moisture and flavor.
Others prefer a dry brine or simply seasoning well before roasting.
It’s a personal choice; both can yield tasty results depending on your time and preference.
The Roasting Journey: Step-by-Step
Ready to get that chicken into the oven? Let’s walk through each stage carefully.
Following these steps will help you achieve a perfectly roasted bird.
Preheating for Success
Always preheat your electric oven for at least 20 to 30 minutes before the chicken goes in.
This ensures the oven reaches and holds the exact temperature you set.
A properly preheated oven is key for crispy skin from the start.
Finding the Sweet Spot: Roasting Temperature
We found that roasting between 375-400°F (190-200°C) is excellent for most whole chickens.
This range allows the chicken to cook through while developing beautiful, golden-brown skin.
Some even start at a higher temperature for a quick blast, then reduce it.
Choosing Your Roasting Pan Wisely
A sturdy roasting pan with a rack is your best friend here.
The rack lifts the chicken, allowing hot air to circulate all around it.
This air movement helps the skin crisp up evenly on all sides.
Your Secret Weapon: The Meat Thermometer
Many culinary experts agree, a reliable meat thermometer is essential for food safety and deliciousness (FoodSafety.gov).
Insert it into the thickest part of the thigh, making sure it doesn’t touch the bone.
The chicken is done when it reaches a safe internal temperature of 165°F (74°C).
General Roasting Time Guide
Remember, these are estimates; always use your thermometer for accuracy.
| Chicken Weight | Approximate Roasting Time (375°F/190°C) |
|---|---|
| 3 lbs (1.4 kg) | 60-75 minutes |
| 4 lbs (1.8 kg) | 75-90 minutes |
| 5 lbs (2.3 kg) | 90-105 minutes |
| 6 lbs (2.7 kg) | 105-120 minutes |
After the Roast: The Juicy Finale
Your chicken is out of the oven, smelling incredible. But don’t grab that carving knife just yet!
There’s one crucial step left to ensure ultimate juiciness.
The Critical Rest Period
This is where many home cooks make a common mistake. Don’t skip resting the chicken.
Loosely tent your chicken with foil and let it rest for 10 to 15 minutes.
This allows the juices to redistribute throughout the meat, making it incredibly tender and moist.
Carving and Serving Tips
Once rested, use a sharp carving knife to expertly portion your chicken.
Carving against the grain yields the most tender slices.
Serve immediately with your favorite sides and enjoy the fruits of your labor!
Roasting Chicken Checklist
A quick reminder of the key steps for a flawless roast:
- Pat chicken dry thoroughly with paper towels.
- Season generously inside and out with salt, pepper, and herbs.
- Preheat your electric oven fully to 375-400°F.
- Use a roasting pan with a rack for air circulation.
- Trust your meat thermometer; aim for 165°F in the thigh.
- Rest the chicken for 10-15 minutes after roasting.
Troubleshooting Common Roasting Roadblocks
Even with the best intentions, things can sometimes go a little sideways.
Here are quick solutions for typical roast chicken concerns.
Skin Not Crispy Enough?
Did you pat the skin dry enough? Moisture is the enemy of crispiness.
You can also try basting with pan juices during the last 30 minutes, or a quick broil at the very end, watching carefully.
Dealing with Dry Chicken
Dry chicken often means it was overcooked. Did you use a meat thermometer?
Always pull the chicken from the oven right when it hits 165°F, not based on time alone.
Remember that crucial resting step; it prevents dry results too.
Conclusion
Roasting a whole chicken in your electric oven is truly one of cooking’s great joys.
It’s a straightforward process that rewards you with a wonderfully flavorful, juicy centerpiece for any meal.
By following these practical steps, you’ll be roasting perfect chickens with confidence and ease every time.
Should I roast chicken covered or uncovered in an electric oven?
For crispy skin, it’s generally best to roast chicken uncovered in an electric oven. If you notice the skin browning too quickly, you can loosely tent it with aluminum foil during the last part of cooking to prevent over-browning.
Can I stuff a chicken before roasting it in an electric oven?
Yes, you can stuff a chicken, but be mindful that stuffing significantly increases the overall cooking time. It’s critical that the stuffing itself reaches a safe internal temperature of 165°F (74°C) for food safety reasons, which may mean the chicken needs to cook longer (USDA guidelines).
What’s the best way to achieve crispy skin on my roast chicken?
To get crispy skin, always pat the chicken extremely dry with paper towels before seasoning. Rubbing it with a little oil or butter helps too. Roasting on a rack in a preheated electric oven at 375-400°F ensures even air circulation, which is key for a golden, crisp finish.
How do I prevent my roast chicken from drying out in an electric oven?
The most important step to prevent dry chicken is to use a meat thermometer and cook only until it reaches 165°F (74°C). Avoiding overcooking is vital. Additionally, brining the chicken can add moisture, and the mandatory resting period after roasting helps juices redistribute for a succulent bird.
What are the benefits of using a roasting rack in an electric oven?
Using a roasting rack is highly beneficial because it lifts the chicken above the bottom of the pan. This elevation allows hot air to circulate completely around the bird, promoting more even cooking and ensuring the bottom of the chicken skin gets as crispy as the top.
