
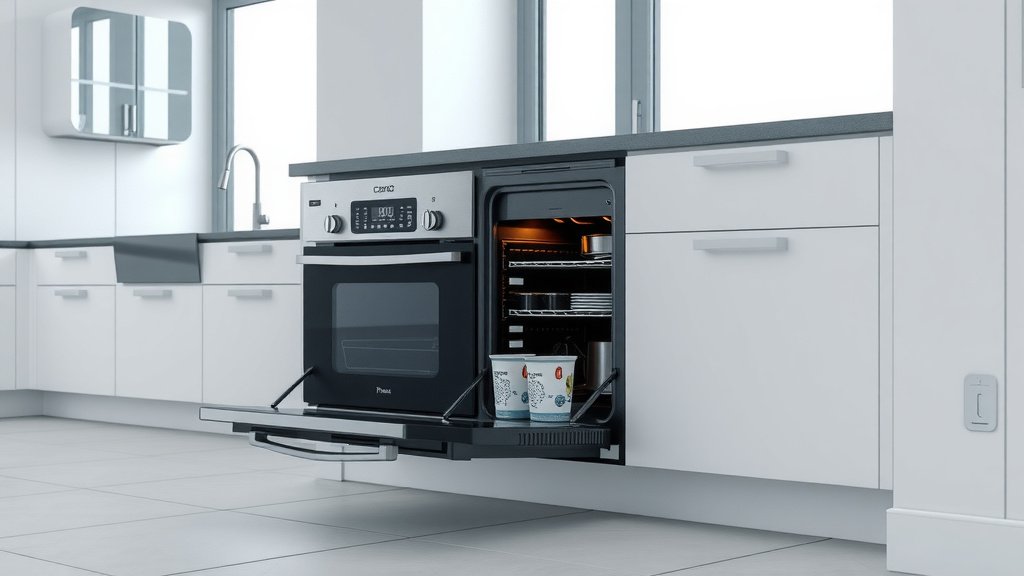
To level an electric oven, you typically adjust the leveling legs located at the bottom corners by turning them clockwise to lower or counter-clockwise to raise.
Most electric ovens come with adjustable feet that allow you to correct any tilt, ensuring your baking and cooking results are consistently even.
TL;DR: Here’s what you need to know about leveling your electric oven:
- An unlevel oven can cause uneven cooking.
- You’ll need a spirit level and some basic tools.
- Locate the adjustable leveling legs at the bottom of the oven.
- Turn the legs clockwise to lower or counter-clockwise to raise the oven.
- Always recheck with your spirit level until the oven is perfectly balanced.
How To Level An Electric Oven?
You level an electric oven by adjusting its screw-in legs, typically found at each bottom corner, using a wrench or pliers to achieve a perfectly flat cooking surface.
Ever baked a cake only to find one side perfectly golden and the other barely done? Or perhaps your lasagna just slides to one corner of the pan? An unlevel oven is often the hidden culprit, causing more grief than you might think. Let’s get your oven perfectly balanced for stress-free cooking!
Why Does a Level Oven Matter?
A perfectly level oven is more than just about aesthetics; it’s about cooking performance and safety. Think of it as the foundation for all your culinary creations. Without a stable base, everything else becomes a bit wobbly.
Understanding Uneven Baking
Many home cooks struggle with cakes that rise unevenly or roasts that brown on one side. We found this is a common complaint, and an unlevel cooking surface is usually the reason. Gravity pulls batter or liquids to the lowest point, leading to those frustrating results.
Imagine baking a beautiful sheet pan dinner, only to have all the juices pool on one side. Research suggests that a slight tilt can significantly affect heat distribution, impacting how your food cooks (Appliance Journal).
Safety First: Stability Is Key
Beyond cooking, stability is important. An oven that rocks or wobbles can be a safety concern, especially if you have children or pets. A stable appliance prevents accidents and gives you peace of mind.
We found that ensuring your oven sits firmly on the floor minimizes any potential for tipping, which, while rare, is certainly something you want to avoid. It’s all about creating a safe kitchen for your family.
Gather Your Tools: What You’ll Need
Before you begin, gathering the right tools makes the job much easier. Don’t worry, you probably have most of these lying around. A little preparation goes a long way!
- A reliable spirit level (the longer, the better!)
- An adjustable wrench or a pair of pliers
- A flashlight or headlamp (useful for seeing underneath)
- Work gloves (optional, but good for grip and protection)
- A sturdy pair of shoes (for pulling the oven)
The Essential Spirit Level
Your spirit level is your best friend here. A 12 to 24-inch level works perfectly, allowing you to check the entire width and depth of your oven. You want to see that bubble perfectly centered.
If you don’t have one, many hardware stores offer affordable options. Remember, accuracy is your goal, so a good level is a worthwhile small investment.
Wrench or Pliers for Adjustments
The leveling legs often have a square or hexagonal nut, or sometimes just a threaded shaft. An adjustable wrench or sturdy pliers will help you grip and turn these legs. Don’t use your hands alone; those legs can be tight!
A Helping Hand (Optional But Smart)
While you can do this solo, having a friend assist can make pulling the oven out and pushing it back safer. They can also help steady it as you make adjustments. It often turns a chore into a quick team effort.
Step-by-Step Guide To Leveling Your Oven
Ready to tackle this? Let’s walk through the process, step by step. It’s simpler than you might imagine, and the results are incredibly satisfying. You’ll be cooking like a pro in no time!
Step 1: Unplug for Safety
Safety is always first! Before you touch anything, make sure your electric oven is completely unplugged from its power source. This removes any electrical hazards and ensures your peace of mind while working.
Do you know where your outlet is? It’s usually behind the oven. Simply pull the appliance out slightly until you can reach the cord and unplug it. If it’s hardwired, you’ll need to turn off the circuit breaker.
Step 2: Pull the Oven Out
Carefully pull the oven away from the wall. You might need to wiggle it a bit. Many ovens have wheels on the back, making this easier. Remember to protect your floor from scratches if it’s heavy.
Pull it out far enough so you have clear access to all four bottom corners. This gives you room to see and work comfortably, avoiding any awkward straining.
Step 3: Find the Leveling Legs
Now, crouch down and look underneath your oven. You should see four adjustable legs, one at each corner. These are typically threaded bolts that screw up or down. These are your targets for adjustment.
Sometimes, they might be a bit dusty or greasy, so your flashlight will come in handy here. Familiarize yourself with how they look and feel before you start turning them.
Step 4: Check for Levelness
Place your spirit level on the oven racks inside the oven. Check it from front to back and side to side. Notice where the bubble is. This tells you which sides are high and which are low. Take notes if it helps!
Many experts say to check diagonally as well. This gives you a really good overview of the overall tilt. You want the bubble perfectly centered in all directions.
Step 5: Adjust the Legs
This is where your wrench or pliers come in. To raise a corner, turn the leg counter-clockwise. To lower a corner, turn it clockwise. Make small adjustments at a time, like half-turns.
It’s often helpful to adjust the lowest corner first, bringing it up to meet the others. Remember, you’re looking for that sweet spot where the oven is perfectly balanced.
Here’s a quick guide for adjusting:
| Action | Effect | When to Use |
|---|---|---|
| Turn leg clockwise | Lowers that corner | If the bubble is on that side (too high) |
| Turn leg counter-clockwise | Raises that corner | If the bubble is on the opposite side (too low) |
Step 6: Recheck and Refine
After each adjustment, recheck with your spirit level. It’s a bit like a seesaw; adjusting one corner affects the others. Be patient! This part often takes a few tries to get just right.
Keep checking both front-to-back and side-to-side until the bubble is perfectly centered. Don’t rush this step; precision here means better baking results later.
Step 7: Push Back and Test
Once your oven is level, carefully push it back into its spot against the wall. Plug it back in. Now, for the real test: cook something! You’ll likely notice an immediate improvement in baking and cooking.
It’s a simple fix that yields big rewards. Enjoy your perfectly level oven and all the culinary delights it will now produce!
Here’s a quick checklist to ensure you didn’t miss anything:
- Is the oven unplugged?
- Are all four leveling legs accessible?
- Did you use the spirit level from all angles?
- Are the legs adjusted securely?
- Is the oven stable and not wobbly?
- Is the power cord safely plugged back in?
Troubleshooting Common Leveling Issues
Sometimes, things don’t go exactly as planned. But don’t worry, most common issues have straightforward solutions. We’ve compiled a few common challenges you might encounter.
Stuck or Stripped Legs?
If a leveling leg feels stuck, try spraying a little penetrating oil on the threads. Give it a few minutes to work before attempting to turn it again. If a leg is stripped, meaning it won’t grip, you might need to replace that specific leg (Appliance Repair Guide).
Replacement legs are often available from appliance parts suppliers. Many experts recommend consulting your oven’s manual for specific part numbers.
Floor Is the Problem?
What if your floor itself is significantly uneven? Sometimes, no amount of leg adjustment can perfectly compensate. In these cases, you might need to consider shims under the oven’s legs. Shims provide extra height where needed.
These thin pieces of wood or metal can be placed under the lowest legs after they are fully extended. They help fill those gaps, giving your oven the solid footing it needs.
When to Call a Professional
Most leveling tasks are DIY-friendly. However, if you encounter severe issues like damaged legs, persistent wobbling after adjustment, or if your oven is hardwired and you’re unsure about the electrical work, it’s best to call an appliance technician. Your safety is paramount.
A professional can diagnose underlying problems, replace faulty parts, or safely handle electrical connections. Many experts agree that knowing when to seek professional help saves time, frustration, and ensures safety.
Conclusion
Leveling your electric oven is a small task with a big impact on your cooking and kitchen safety. By following these simple steps, you can achieve perfectly even baking results and a stable appliance. It’s a worthwhile investment of your time that pays off every time you use your oven. Go ahead, give it a try – your perfectly golden brown cookies await!
How often should I check if my electric oven is level?
It’s a good practice to check your oven’s levelness once a year, or if you notice any changes in cooking performance or if the oven has been moved. This routine check helps catch minor shifts before they become big problems.
Can an unlevel oven affect cooking temperature accuracy?
While an unlevel oven primarily affects how food cooks evenly due to gravity, it can indirectly affect heat distribution. Uneven heat patterns might make it seem like the temperature is off in certain areas, causing frustrations during baking.
Are all electric oven leveling legs the same?
No, not all leveling legs are identical, but most electric ovens use a similar screw-in design. They can vary in length, thread size, and the tool needed for adjustment (e.g., wrench size). Always consult your oven’s manual for specific details on its legs.
What if my oven doesn’t have adjustable legs?
While rare for modern electric ovens, if yours lacks adjustable legs, you can use shims made of wood or metal. Place these under the oven’s base, at the lowest points, to raise it until it reaches a level position. Ensure they are stable and secure.
Can I use a phone app as a spirit level for my oven?
While phone apps can provide a general idea of levelness, they are often not as accurate as a physical spirit level. For precise adjustments needed for an oven, we recommend using a traditional, dedicated spirit level to ensure the best results.
