
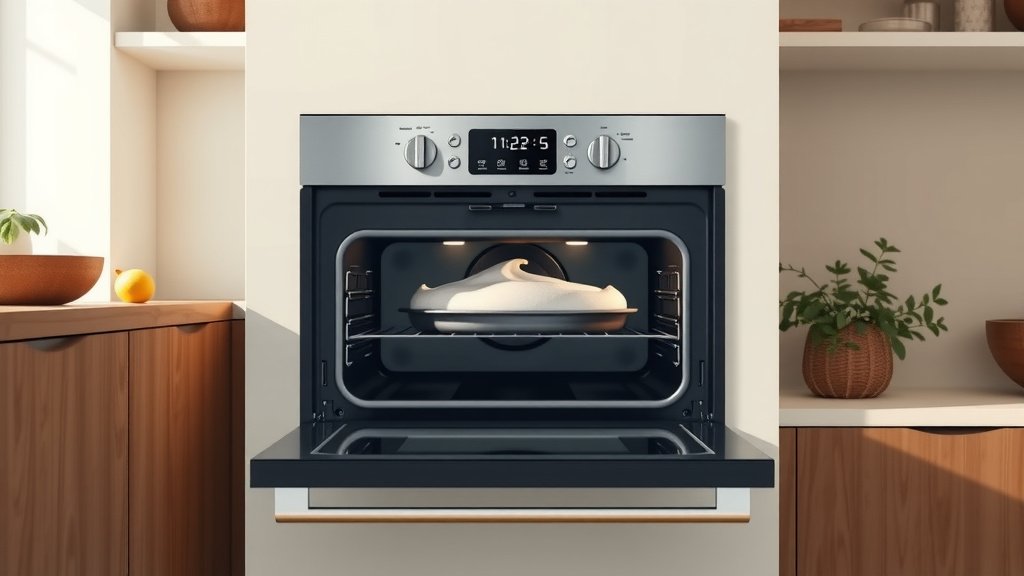
To make meringue in a dual fuel oven, use the electric oven section set to a low temperature like 200-225°F (90-107°C) for a long, slow bake and dry.
The electric oven’s consistent, dry heat is perfect for slowly evaporating moisture from your meringues, preventing browning and ensuring a crisp, delicate result.
Here’s the straightforward scoop on making perfect meringue in your dual fuel oven:
- Your electric oven is your best friend for meringue, offering precise, stable heat.
- Start with clean tools and room temperature egg whites for the best whip.
- Gradually add sugar to create a shiny, stiff-peaked mixture.
- Bake low and slow, then let your meringues cool completely inside the turned-off oven.
- Patience is key for those perfectly crisp, melt-in-your-mouth treats.
How To Make Meringue In A Dual Fuel Oven?
Making meringue in a dual fuel oven means leaning on its electric baking compartment for consistent, gentle heat. You will simply bake your meringues at a low temperature until they are dried out and crisp.
Why Your Dual Fuel Oven is a Meringue Ally
You have a real advantage with a dual fuel oven when it comes to delicate baking. The electric oven section provides exceptionally stable and even heat, which is exactly what meringue needs. Unlike gas ovens, which can introduce moisture, electric ovens keep things dry.
This dry heat is a game-changer for meringues. It helps them dry out slowly without browning too quickly, leading to that signature crisp exterior and fluffy interior. Many baking experts we found agree that electric ovens are often preferred for this kind of precise work.
Gathering Your Meringue Arsenal
Before you begin, gather everything you need. Think of it like preparing for a fun science experiment; having all your tools ready helps ensure success. You will want to have all your ingredients measured and your equipment sparkling clean.
Here’s a simple checklist to get started:
- Large, very clean mixing bowl (glass or metal works best)
- Electric hand mixer or stand mixer with a whisk attachment
- Measuring cups and spoons
- Rubber spatula
- Baking sheets
- Parchment paper
- Fresh egg whites (from large eggs)
- Granulated sugar (superfine sugar is a nice touch if you have it)
- Pinch of cream of tartar or a few drops of lemon juice (optional, but helpful)
The Magic of Cleanliness
This is not an exaggeration: any trace of grease can ruin your meringue. Egg whites are very sensitive to fats. Even a tiny speck will prevent them from whipping up properly.
So, take an extra moment to wash your mixing bowl and whisk thoroughly. Some people even wipe them down with lemon juice or vinegar for added assurance. This small step truly makes a huge difference in your meringue’s texture.
Egg Whites: Temperature Matters
You might wonder if egg temperature really matters. Research shows that room temperature egg whites whip up with more volume and stability. We found they incorporate air much more easily.
Just let your eggs sit on the counter for about 30 minutes before separating them. This simple trick helps create that beautiful, airy foam you are looking for.
Whipping Up the Perfect Peaks
This is where the transformation happens! You start with liquid egg whites and end with a cloud-like structure. It is really quite satisfying to watch.
Start whipping your egg whites on medium speed until they become foamy. Then, if using, add your cream of tartar or lemon juice. These acidic ingredients help to stabilize the egg foam, making it stronger.
Gradual Sugar for Glossy Perfection
Once your egg whites are foamy and hold soft peaks, begin adding your sugar. This is important: add it very slowly, about a tablespoon at a time. Continue whipping after each addition.
The slow addition allows the sugar to fully dissolve into the egg whites, creating a smooth, glossy, and stable meringue. You will know it is ready when it is thick, shiny, and forms stiff peaks that stand straight up.
Piping and Shaping Your Meringues
Now for the fun, creative part! Line your baking sheets with parchment paper. This prevents sticking and makes cleanup much easier.
You can spoon dollops of meringue onto the paper for a rustic look. Or, for a more elegant touch, use a piping bag with your favorite nozzle to create swirls or delicate nests. Just be gentle not to deflate all that lovely air you just whipped in!
Setting Your Dual Fuel Oven for Success
Your dual fuel oven’s electric side is perfect for this. We found that the key to great meringue is a low and consistent temperature. This prevents the meringue from browning too fast and allows it to dry out properly.
Preheat your oven for at least 15-20 minutes. This ensures the temperature is stable before your meringues go in. A steady temperature is your best friend here.
The Ideal Temperature Range
For most meringues, a temperature between 200°F and 225°F (90-107°C) is ideal. If you go too high, your meringues will brown and can become chewy. Too low, and they might take ages to dry. Finding that sweet spot is essential for achieving crispness.
Some recipes might call for even lower temperatures, around 175°F (80°C), for an extra-slow dry. It often comes down to what kind of meringue you are making and how much time you have.
Convection vs. Conventional Mode
Your dual fuel oven might have both convection and conventional settings. Which one should you use? We found that both can work, but they each have unique characteristics for meringue.
Here’s a quick comparison:
| Oven Mode | Meringue Benefit | Things to Watch For |
|---|---|---|
| Conventional Electric | Consistent, gentle heat; less chance of rapid browning. | Can take a bit longer to dry completely. |
| Convection Electric | Even air circulation, can speed up drying process. | May cause faster browning, requires closer monitoring. |
Many experts we found suggest conventional mode first for beginners. It is more forgiving. If you use convection, reduce the temperature by about 25°F and keep a very close eye on them to prevent over-browning.
Baking and Drying: The Patient Game
This part requires patience, like waiting for a slow-motion movie to unfold. Meringues do not “bake” in the traditional sense; they “dry.” This process can take anywhere from 1.5 to 3 hours, depending on their size and your oven.
The goal is for them to feel dry and light when you gently tap them. They should lift easily from the parchment paper. If they stick, they need more time.
The “Leave It Be” Rule
Once the baking time is up, here’s a crucial tip: turn off your oven, but do not open the door. We found that letting the meringues cool slowly inside the oven helps prevent cracking and weeping.
Just leave them in there for another hour or two, or even overnight. This gentle cooling process allows them to fully set and become wonderfully crisp. Think of it as a final, quiet curing stage.
Troubleshooting Common Meringue Mishaps
Even with the best intentions, meringues can sometimes be a bit tricky. Do not worry, it happens to everyone! Here are quick solutions for common issues:
- Meringues weeping? This often means the sugar did not fully dissolve or they were underbaked. Ensure you add sugar slowly and bake long enough.
- Meringues cracking? Too high oven temperature or cooling too quickly can cause this. Try a lower temperature and always cool in the turned-off oven.
- Meringues too chewy inside? They probably need more drying time. Extend the bake at a low temperature.
- Meringues browning too fast? Your oven temperature is too high. Double-check your oven thermometer and lower the setting.
- Meringues sticking to paper? They are still too moist inside. They need more time in the oven.
Conclusion
Making meringue in your dual fuel oven is not only possible but often yields fantastic results thanks to the electric oven’s stability. By focusing on clean equipment, gradual sugar addition, a low and slow drying process, and patient cooling, you are well on your way to creating beautiful, crisp meringues. You now have the practical steps and troubleshooting tips to master this delicate dessert, transforming simple egg whites into a delightful treat.
Frequently Asked Questions About Meringue
Can I use brown sugar for meringue?
No, it is generally not recommended. Brown sugar has more moisture and a different texture, which can prevent the egg whites from whipping properly and result in a less stable meringue. Stick to granulated or superfine white sugar for the best results.
How do I store homemade meringue?
Store fully cooled meringues in an airtight container at room temperature. They are very sensitive to humidity, so avoid storing them in the refrigerator, which can make them soft and sticky. They can usually last for about two weeks if stored correctly.
What causes meringue to weep?
Meringue weeping, where syrupy liquid pools at the bottom, is often caused by underbaking, not dissolving the sugar completely, or humidity. Ensure a proper slow bake and full sugar dissolution to prevent this. Cooling slowly in the oven helps, too.
Do I need cream of tartar for meringue?
While not strictly mandatory, many experts say cream of tartar (or lemon juice/white vinegar) is very helpful. It is an acid that helps stabilize the egg white foam, allowing it to reach greater volume and become more resistant to collapsing. We found it often leads to a more robust meringue.
Can I open the oven door while baking meringue?
Try to avoid opening the oven door during the drying process, especially in the first hour. Opening the door can cause a sudden temperature drop, which might shock the meringues, causing them to crack or deflate. Patience is truly a virtue here.
