
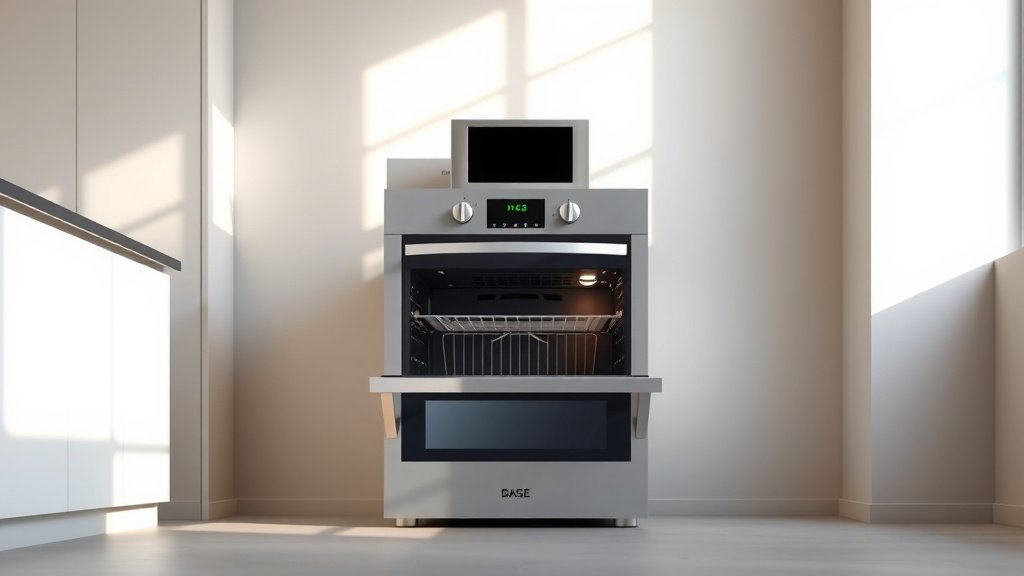
You can calibrate your dual fuel oven temperature by first verifying its accuracy with a reliable oven thermometer and then adjusting the internal thermostat, often through a dial or digital settings, to match the desired temperature.
Most dual fuel ovens allow for small temperature adjustments, typically within a 35-degree Fahrenheit range, to ensure your baking and roasting results are consistently perfect.
- Your dual fuel oven might need calibration if food burns or bakes unevenly.
- Start by testing your oven’s true temperature with a separate oven thermometer.
- Adjusting your oven’s thermostat involves turning a small screw or using digital settings.
- It’s a simple process that significantly improves cooking consistency and food quality.
- Regular checks help maintain accuracy and extend the life of your appliance.
How To Calibrate Dual Fuel Oven Temperature?
To calibrate your dual fuel oven, you first confirm its temperature accuracy with an external thermometer. Then, you simply adjust the oven’s internal thermostat setting to align with the correct temperature for precise cooking.
Ever baked a batch of cookies only to find them burnt on the outside but still doughy in the middle? Or perhaps your carefully planned roast comes out undercooked despite following the recipe exactly? These common kitchen frustrations often point to one culprit: an oven that isn’t holding its true temperature. When this happens with your dual fuel oven, knowing how to calibrate it is a game-changer for your cooking.
What is a Dual Fuel Oven, Anyway?
A dual fuel oven combines the best of both worlds. It uses a gas cooktop for instant heat control on your stovetop. But for the oven part, it uses electricity, giving you that even, consistent heat that many bakers prefer (National Appliance Association). Think of it as having precise stovetop control with baking perfection below. This setup makes them a popular choice for many home chefs.
Why Do Ovens Lose Calibration?
Like any hard-working appliance, ovens can drift from their factory settings over time. We found that frequent use, the natural aging of heating elements, or even minor electrical fluctuations can cause this. It’s not a sign your oven is broken; it just needs a little fine-tuning. Think of it like your car needing a wheel alignment after many miles; it’s a standard part of maintenance.
Signs Your Dual Fuel Oven Needs Calibration
Before you dive into adjustments, how do you know if your oven is truly off? Pay attention to your food. Are your cakes sinking, or breads not rising properly? Are casseroles cooking unevenly, with one side done and the other raw? Many experts say that these are clear indicators (Food Safety News). If your food isn’t consistently coming out as expected, it might be time for a check-up. The oven thermometer test will confirm your suspicions.
The Essential Tool: An Oven Thermometer
You can’t fix what you can’t measure, right? A good quality, independent oven thermometer is your absolute best friend here. Don’t rely on the oven’s built-in display; those can be inaccurate. Place the thermometer in the center of your oven. Preheat your oven to a common temperature, like 350°F, and let it sit for about 20-30 minutes. Then, check the thermometer reading. Is it higher or lower than 350°F? This difference is your target for calibration.
Step-by-Step Calibration: Manual Adjustment
Many older dual fuel ovens have a manual calibration option on the thermostat dial. This is often a small screw located behind the temperature knob. To access it, you might need to gently pull off the knob. We found that turning this screw clockwise typically increases the temperature, while counter-clockwise decreases it. Make small adjustments, like 5-10 degrees at a time, and then retest your oven.
Calibration Checklist: Manual Ovens
- Purchase a reliable oven thermometer.
- Place thermometer in center of cold oven.
- Preheat oven to 350°F and wait 20-30 minutes.
- Note the actual temperature difference.
- Carefully remove oven temperature knob.
- Locate the tiny calibration screw.
- Turn screw slightly (e.g., 5-10 degrees worth).
- Replace knob and retest temperature.
- Repeat small adjustments until accurate.
Digital Oven Calibration: A Different Path
Newer dual fuel ovens often feature digital controls. This means no screws! Instead, you’ll enter a special calibration mode through the control panel. We found that the exact steps vary significantly by brand and model. You’ll likely need to consult your owner’s manual for precise instructions. Look for terms like “oven offset,” “temperature adjust,” or “calibration mode” in the index. You’ll typically enter a positive or negative number to adjust the oven’s displayed temperature to match the true temperature (Appliance Repair Pros Association).
Tips for Accurate Calibration
Patience is key during calibration. Don’t rush the process. Always allow your oven to fully preheat and stabilize before checking the temperature. Make small adjustments; you’re aiming for precision, not a drastic change. And remember to retest after each adjustment. It’s a bit like tuning a musical instrument; small tweaks lead to perfect harmony in your cooking.
Understanding Temperature Swings
Even a perfectly calibrated oven will have slight temperature swings. We found that most ovens naturally cycle on and off to maintain a set temperature. This means the temperature inside might fluctuate by 15-25 degrees Fahrenheit. This is normal and doesn’t mean your oven is off. The goal of calibration is to ensure the average temperature is accurate. So, don’t worry if the thermometer isn’t rock-solid at one number; look for the range it operates within.
When to Call a Professional
While calibrating your oven is a relatively straightforward DIY task, there are times when professional help is best. If your oven’s temperature is wildly off (e.g., more than 50 degrees) or if it simply won’t heat up, it might indicate a failing sensor or heating element. In these cases, it’s safer and often more cost-effective to call an appliance technician. We found that tampering with electrical components without expertise can be risky (Consumer Product Safety Commission).
Comparing Calibration Methods
Let’s look at the main differences between manual and digital calibration approaches. Each has its own rhythm, much like playing a record versus streaming music.
| Method | Access | Typical Adjustment | Complexity |
|---|---|---|---|
| Manual (Dial) | Behind temperature knob (screw) | Physical screw turn | Moderate (needs care with small parts) |
| Digital (Panel) | Through control menu | Number input (+/- degrees) | Easy (if you have the manual) |
Maintenance Beyond Calibration
Once your oven is calibrated, how do you keep it that way? Regular cleaning is surprisingly important. Burnt-on food or grease can affect heating efficiency. We also found that avoiding harsh abrasives when cleaning helps protect internal components. A quick check with your oven thermometer every six months is a good habit. Think of it as a routine check-up for your most loyal kitchen helper.
The Joy of an Accurate Oven
Imagine baking a perfect cake or roasting vegetables to crispy perfection, consistently. An accurately calibrated dual fuel oven makes all the difference. It saves you from food waste, frustration, and wasted time. It empowers you to cook with confidence, knowing your appliance is truly listening to your commands. This small adjustment can really elevate your home cooking experience.
Conclusion
Calibrating your dual fuel oven temperature is a straightforward, yet incredibly impactful, task. By simply using an independent oven thermometer to verify accuracy and making minor adjustments, you restore precision to your cooking. Whether you have a manual dial or a digital panel, this process ensures your meals turn out exactly as intended. Remember, a little patience and a reliable thermometer are all you need to bring harmony back to your kitchen.
What is the ideal temperature difference for oven calibration?
Ideally, you want your oven’s actual temperature to be within 5-10 degrees Fahrenheit of the set temperature. Anything more suggests a need for calibration to ensure consistent and predictable cooking results. We found that most recipes account for minor fluctuations within this small range.
Can I calibrate a dual fuel oven myself without an owner’s manual?
For manual dial ovens, you can often calibrate by finding the small screw behind the temperature knob. However, for digital ovens, an owner’s manual is almost essential. The specific button sequences and menu options for calibration vary greatly between models and brands. Without it, you might struggle to access the calibration mode.
How often should I check my dual fuel oven’s calibration?
Many experts recommend checking your oven’s calibration with an independent thermometer at least once or twice a year, or whenever you notice inconsistencies in your cooking. If you frequently bake or cook with precise temperature requirements, more frequent checks might be beneficial.
Will calibrating my oven void its warranty?
Generally, performing a simple temperature calibration as outlined in your owner’s manual will not void your oven’s warranty. However, if you attempt repairs or disassemble components beyond what’s specified, you could risk voiding it. If you’re unsure, it’s always best to contact the manufacturer or a certified technician.
What if my oven’s temperature is consistently too high or too low after calibration attempts?
If your oven still reads significantly off even after several careful calibration attempts, or if it has major heating issues, it’s likely a component failure, such as a faulty temperature sensor or heating element. In such cases, professional appliance repair is needed. DIY fixes for these issues can be dangerous and are best left to experts.
