
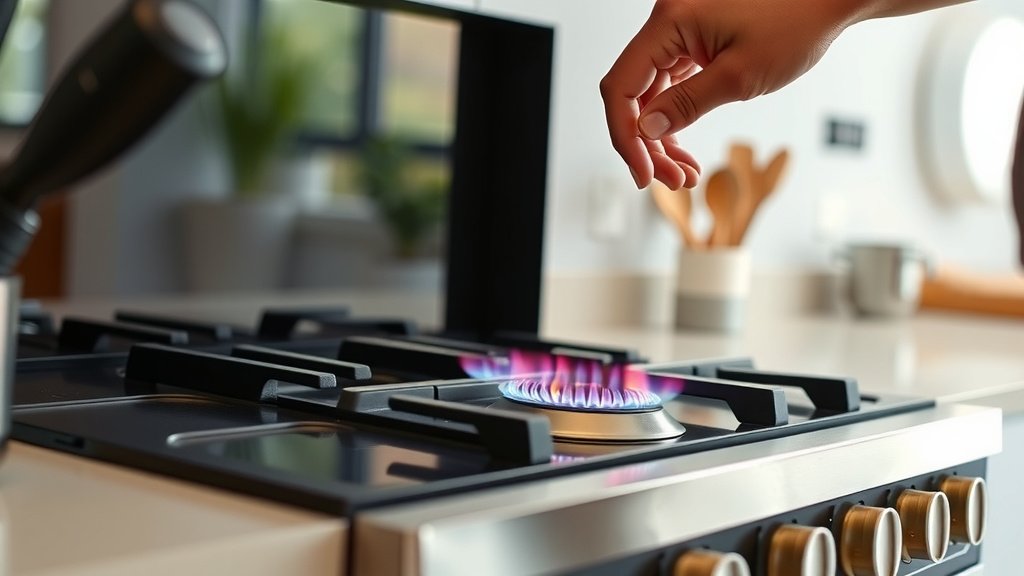
To adjust the flame on your dual fuel oven cooktop, you typically need to access the burner’s adjustment screw or bypass valve, often located under the control knob or directly on the burner valve stem, then turn it with a small screwdriver while the burner is lit until the flame is a stable blue with a small, visible inner cone.
This process ensures your burners provide the correct heat for cooking and operate safely, preventing issues like sooting or inefficient gas usage.
- You can adjust your dual fuel cooktop flame at the burner’s adjustment screw.
- Always turn off the gas and power before attempting any adjustments for safety.
- A stable, blue flame with a clear inner cone is ideal for efficient cooking.
- Improper flame adjustments can lead to poor cooking results or safety risks.
- If you smell gas or face persistent issues, it’s best to call a professional.
How To Adjust Flame On Dual Fuel Oven Cooktop?
Adjusting the flame on your dual fuel cooktop might seem a bit daunting, but it’s a straightforward task once you know where to look and what to do. You’re aiming for a strong, steady blue flame that helps you cook effectively.
Understanding Your Dual Fuel Cooktop’s Flame
Dual fuel ranges give you the best of both cooking worlds: a gas cooktop for precise flame control and an electric oven for consistent heat. The gas cooktop, with its open flames, requires occasional adjustments to perform its best.
Getting the flame just right is more than just a preference; it impacts your cooking results. Too high, and you might scorch food; too low, and things take ages to heat. We found that a properly adjusted flame uses gas efficiently and cooks your food evenly.
Safety First: What You Need Before You Start
Before you touch anything, safety must be your priority. Working with gas appliances means taking extra care. You’ll want to make sure the area is well-ventilated, and your hands are clear of any open flames or hot surfaces.
Turning off the power and gas supply to your range is a critical first step. Many experts say this prevents accidental ignition or gas leaks while you’re working (Appliance Manufacturers’ Guidelines).
Essential Tools for Flame Adjustment
Gathering your tools beforehand makes the job much smoother. You won’t need anything fancy, just a few basics you probably already have around the house. Here’s a quick checklist:
- A small flathead screwdriver
- A flashlight (to see into dimmer spaces)
- A clean cloth (for wiping dust)
- A pen and paper (for notes, if you like)
- Your range’s owner’s manual (always helpful!)
Step-by-Step Guide: Adjusting Surface Burner Flames
Ready to fine-tune your cooktop? Let’s walk through the steps together. This process focuses on the surface burners, not the oven burner, as oven flame adjustments are usually left to professionals.
First, ensure the gas supply and electrical power to your range are turned off. This is important before removing any parts. It’s like checking the fuel gauge before a road trip – essential for a smooth journey.
Locating the Burner Adjustment Screws
Most gas cooktops have adjustment screws for each surface burner. You’ll often find these screws under the control knobs. Gently pull off the knob associated with the burner you wish to adjust.
Sometimes, the screw might be on the valve stem itself, just beneath where the knob sits. Other models might have a small hole near the burner base where you can insert a screwdriver to reach the bypass screw.
The Ideal Flame: What Does It Look Like?
Once you’ve located the screw, it’s time to see the flame in action. Turn the gas and power back on. Light the burner to the lowest setting. You’re looking for a flame that’s mostly blue, stable, and doesn’t lift away from the burner ports. Imagine a gentle sigh, not a wild gust of wind.
If your flame is yellow, flickering erratically, or too high/low, it needs attention. A small, clear blue inner cone is a good sign that your gas and air mixture is correct.
Now, with your small flathead screwdriver, carefully turn the adjustment screw. Turn it clockwise to decrease the flame size and counter-clockwise to increase it. Make small, quarter-turn adjustments.
Pause after each turn to observe the flame. Is it becoming more stable? Is the yellow disappearing? You want a steady, blue flame, about half an inch high, with that defined inner cone.
Why Does My Flame Need Adjusting?
You might wonder why your flame needs tuning in the first place. Over time, or with changes, adjustments become necessary. We found that several factors can contribute to flame inconsistencies.
One common reason is converting your range from natural gas to LP (liquid propane) or vice versa. This requires specific orifice changes and subsequent flame adjustments to ensure proper operation. Another reason can be natural wear and tear or minor installation variations (AGA Guidelines).
When to Call a Professional
While adjusting a flame can be a DIY task, there are times when calling an expert is the safest and smartest choice. If you ever smell gas, even faintly, turn off the supply immediately and contact a professional. Gas leaks are serious business.
Also, if you’ve tried adjusting and the flame still isn’t right, or if your igniters are failing consistently, a qualified technician can diagnose and fix the issue. They have specialized tools and knowledge.
Troubleshooting Common Flame Issues
Sometimes, your flame might show signs of trouble that need addressing. Here are a few common issues and what they might mean for your cooktop’s performance.
A yellow flame, for example, often indicates incomplete combustion, meaning there isn’t enough air mixing with the gas. A flame that lifts off the burner ports suggests too much air or high gas pressure.
| Flame Issue | Possible Cause | Quick Fix |
|---|---|---|
| Yellow, wavy flame | Insufficient air for combustion | Clean burner ports; check air shutter (if applicable) |
| Lifting, noisy flame | Too much air or high gas pressure | Decrease air supply; professional pressure check |
| Flame too high/low | Incorrect bypass screw setting | Adjust the burner bypass screw |
| Flame flickering | Drafts, dirty burner, or gas pressure issue | Check for drafts; clean burner; professional check |
Maintaining Your Cooktop for Optimal Flame
Regular maintenance is like giving your car a tune-up; it keeps everything running smoothly. Keeping your burner caps and heads clean is a simple yet effective way to ensure a consistent flame.
Food spills or debris can block the tiny ports where the gas exits, leading to an uneven or yellow flame. Many experts advise cleaning these parts regularly with warm, soapy water (Cooktop Care Guides).
Cleaning Burner Caps and Heads
Remove the burner grates, then the burner caps and burner heads. Soak them in warm, soapy water to loosen any baked-on grime. Use a soft brush or non-abrasive scrubber to clean the ports thoroughly. Make sure they are completely dry before putting them back.
Gas Pressure and Its Role
While you can adjust individual burner flames, the overall gas pressure to your home or appliance plays a big role. If you suspect a general gas pressure issue affecting all burners, this is definitely a job for a professional. They can check the regulator and ensure safe operation (Utility Company Recommendations).
Conclusion
Adjusting the flame on your dual fuel oven cooktop is a practical skill that enhances your cooking experience. By understanding the basics, prioritizing safety, and following a few simple steps, you can achieve that perfect blue flame. Remember, a well-maintained cooktop is a happy cooktop, providing delicious meals for years to come.
How do I know if my dual fuel cooktop flame is correctly adjusted?
A correctly adjusted flame on your dual fuel cooktop will appear stable and mostly blue, with a small, clear blue inner cone. It should not be yellow or lift away from the burner ports, and it should provide even heat across the bottom of your cookware.
What causes a yellow flame on a gas cooktop?
A yellow flame usually indicates that the gas isn’t mixing with enough air for complete combustion. This can be due to dirty burner ports, obstructed air shutters, or sometimes issues with gas pressure. Cleaning the burner is often the first step to fix this.
Can I adjust the flame on my dual fuel oven’s oven burner?
Adjusting the oven burner flame on a dual fuel range is typically a more complex task that should be performed by a qualified appliance technician. Unlike surface burners, oven burners have specific calibration requirements for safe and efficient operation, and improper adjustment can lead to serious safety hazards.
How often should I check and adjust my cooktop flames?
It’s a good idea to visually check your cooktop flames regularly, especially after cleaning or if you notice changes in cooking performance. Full adjustments are usually only needed if you notice a consistent issue, after an appliance has been moved, or if it was converted to a different gas type.
What should I do if I can’t find the adjustment screw on my cooktop?
If you can’t locate the adjustment screw, consult your specific range’s owner’s manual. Appliance manufacturers provide detailed diagrams and instructions for their models. If you still have trouble, it might be best to contact the manufacturer’s customer service or a professional technician.
