
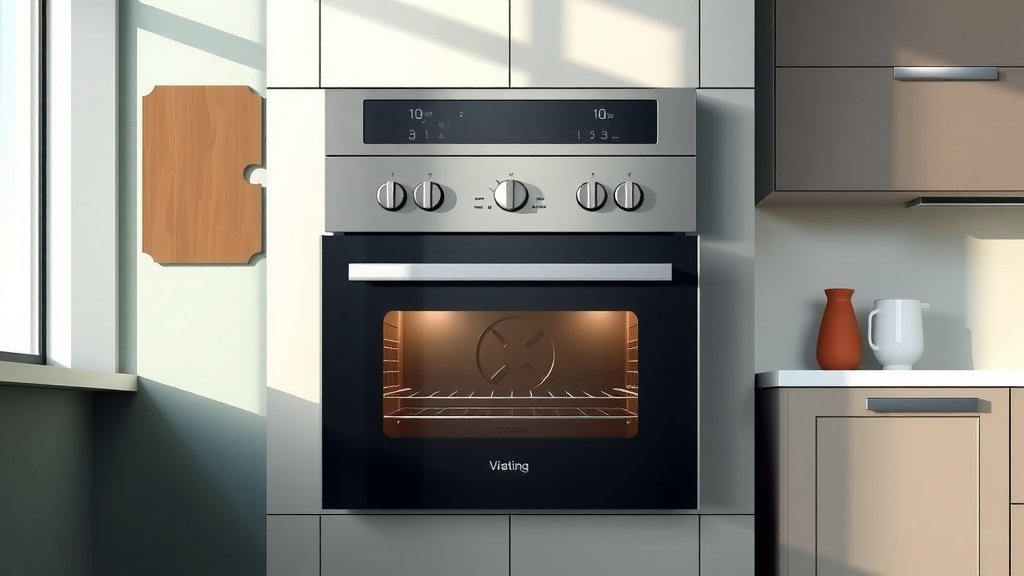
To clean a double oven, begin by ensuring it’s completely cool and unplugged, then remove all racks and visible food debris from both cavities.
You can effectively clean a double oven using either its self-cleaning function, a homemade baking soda paste, or a suitable commercial oven cleaner, always remembering to ventilate your kitchen properly.
Before diving into the full cleaning process, here’s a quick look at what we’ll cover:
- Always prioritize safety first: cool oven, unplugged, and well-ventilated space.
- Remove everything inside, including racks and any loose food.
- Choose your cleaning method: natural solutions like baking soda, commercial cleaners, or the self-clean cycle.
- Clean each oven cavity, the doors, and even the seals thoroughly.
- Rinse and wipe everything clean, then let it air out.
How To Clean A Double Oven?
Cleaning a double oven involves treating each cavity separately with your chosen method, focusing on thorough scrubbing and rinsing to remove baked-on grime.
Imagine your double oven as the heart of your kitchen. It works tirelessly, often juggling multiple dishes at once. But what happens when that tireless effort leaves behind a landscape of grease and burnt food? You’re left with a cleaning challenge! We get it; looking at a dirty oven can feel overwhelming. But don’t worry; we’re here to guide you through cleaning your double oven, making it feel less like a chore and more like a satisfying accomplishment.
Why Your Double Oven Needs a Good Clean
A dirty oven isn’t just an eyesore; it can actually impact your cooking. Leftover food particles can burn, creating smoke and odd smells that transfer to your freshly baked cookies or roasted chicken. Many experts say that regular cleaning helps maintain your oven’s efficiency and lifespan. Plus, a clean oven simply cooks better, ensuring your food tastes as it should.
What You’ll Need: Your Cleaning Arsenal
Before you begin, gather your tools. Having everything ready makes the process smoother. We found that a well-stocked cleaning caddy saves a lot of time and effort.
- Rubber gloves (always protect your hands!)
- Baking soda
- White vinegar
- Dish soap
- Warm water
- Sponge or non-abrasive scrubber
- Several clean cloths or paper towels
- Spray bottle
- Plastic scraper (for tough spots)
- Oven cleaner (optional, if you choose this method)
Getting Started: Safety First!
Safety is paramount when cleaning any appliance. You wouldn’t run a marathon without stretching, right? Cleaning your oven is similar; a few prep steps make all the difference. Many guidelines point to disconnecting power as a good first step (Environmental Working Group).
First, ensure both oven cavities are completely cool. Never attempt to clean a warm or hot oven. Next, unplug your appliance or turn off the circuit breaker that powers it. This prevents any accidental activation during cleaning. Open nearby windows to ensure good ventilation, especially if you plan to use commercial cleaners.
Self-Cleaning Cycle? A Quick Note
Some double ovens come with a self-cleaning feature. This can be tempting, but it’s a high-heat process that turns grime into ash. While convenient, we found that it can create strong fumes and sometimes leave a smoky residue. Always remove racks before using the self-clean cycle, as the high heat can damage their finish. If you use this feature, ensure your kitchen is extremely well-ventilated and consider stepping out of the house for a while. Once cooled, simply wipe away the ash.
The Top Oven: Tackling Splatters and Spills
Your top oven often sees more action with daily cooking. This means more splatters! We recommend starting here because it might be less grimy than the bottom one, giving you an early win.
Remove all oven racks from both cavities. Place them in a sink filled with warm, soapy water to soak while you work on the oven interiors. Use a plastic scraper to gently remove any large, loose food particles or baked-on bits from the oven walls and floor.
Gentle Scrubbing Methods
For a natural approach, mix half a cup of baking soda with a few tablespoons of water to form a thick paste. Spread this paste generously over the greasy areas and baked-on food, avoiding heating elements and fan openings. Let it sit for at least 4-6 hours, or ideally overnight. The longer it sits, the better it works to break down the grime.
Dealing with Baked-On Messes
After the paste has worked its magic, spray the dried baking soda with white vinegar. This will create a fizzing action, helping to loosen the grime further. Use a damp cloth or sponge to wipe away the paste and loosened dirt. For stubborn spots, reapply the paste or use a non-abrasive scrubber.
The Bottom Oven: Often Dirtier, Needs Love Too
The bottom oven often collects more spills and can be harder to reach. But don’t let that deter you! This cavity might require a bit more elbow grease, but the process is similar.
Removing Racks and Trays
Just like the top oven, ensure all racks and any additional trays are removed. These should still be soaking in your sink. Give the bottom oven a preliminary scrape to get rid of any large debris.
Natural Cleaning Solutions
Apply the same baking soda paste method to the bottom oven’s interior. Pay extra attention to the corners and the floor, as these areas often gather the most cooked-on residue. Allow the paste to sit for several hours or overnight. Remember that patience is your best cleaning tool here.
Don’t Forget the Details: Doors, Gaskets, and Knobs
A truly clean oven means sparkling details. We often overlook these parts, but they contribute significantly to the overall cleanliness and hygiene of your appliance.
Sparkling Oven Doors
For the interior glass of your oven doors, use the baking soda paste. Apply it, let it sit for about 30 minutes, then scrub gently with a non-abrasive sponge. For the exterior glass and stainless steel, a mixture of equal parts water and white vinegar in a spray bottle works wonders. Spray and wipe with a clean cloth for a streak-free shine.
Gasket Care
The rubber gasket around your oven door seal is important. It keeps heat in. Use a damp cloth with mild dish soap to gently wipe away any crumbs or grime. Be very careful not to scrub too hard or damage the gasket, as this can affect your oven’s performance.
Controls and Knobs
Wipe down the control panel and knobs with a damp cloth. For sticky knobs, you might need a tiny bit of dish soap. Some knobs can be pulled off for a more thorough wash in the sink. Always check your oven’s manual first to see if this is possible.
Chemical vs. Natural Cleaners: What’s Best for You?
When it comes to cleaning solutions, you have choices. Both commercial oven cleaners and natural methods have their pros and cons. We found that the best choice often depends on personal preference and the level of grime.
| Cleaning Method | Pros | Cons |
|---|---|---|
| Natural (Baking Soda & Vinegar) | Non-toxic, inexpensive, no harsh fumes, safe for most surfaces. | Requires more dwell time, needs more scrubbing for heavy grime. |
| Commercial Oven Cleaner | Very effective on tough, baked-on grease, faster results. | Contains strong chemicals, requires good ventilation, can be harsh on skin. |
Post-Cleaning Steps: The Finishing Touches
You’re almost there! Once you’ve scrubbed everything, it’s time to rinse. This is a crucial step to ensure no residue is left behind, especially if you used commercial cleaners. Research often connects thorough rinsing with safe food preparation (USDA).
Use clean, damp cloths to wipe down all interior surfaces repeatedly. You want to remove all traces of cleaner or baking soda paste. Rinse your cloths frequently. Once you’re confident everything is clean, let your oven air dry completely with the doors ajar for a few hours before reinserting the racks.
Maintaining a Clean Double Oven: Tips for the Future
Cleaning is great, but preventing future messes is even better. A little bit of maintenance goes a long way in keeping your double oven sparkling. Think of it as preventative care for your kitchen workhorse.
Quick Wipes After Each Use
After your oven cools down from cooking, give the interior a quick wipe with a damp cloth. This immediately removes fresh spills before they have a chance to bake on and become stubborn. This simple habit can drastically reduce the need for deep cleaning.
Liners and Trays
Consider using oven liners on the bottom of your oven cavities. These silicone or aluminum foil liners catch drips and spills, making cleanup incredibly easy. Just remove, wash, or replace! We found that using baking sheets or foil under dishes can also prevent messes.
Conclusion
Cleaning a double oven might seem like a daunting task, but by breaking it down into manageable steps, it becomes much more achievable. Whether you opt for a natural approach with baking soda and vinegar or a powerful commercial cleaner, remember that consistency and care are key. A clean oven not only looks better but also performs better, making your time in the kitchen more enjoyable. So, roll up your sleeves, pick your method, and get ready to enjoy a gleaming, fresh-smelling double oven!
How often should you clean a double oven?
Many experts recommend a light wipe-down after major spills and a deeper clean every 3-6 months, depending on how frequently you use it and what you cook. Regular maintenance helps prevent difficult buildup.
Is it safe to use a self-cleaning oven cycle?
Yes, it’s generally safe, but always ensure proper ventilation and remove all racks and accessories beforehand. Some people with respiratory sensitivities might find the fumes irritating, so consider leaving the house during the cycle.
Can I use steel wool to clean my oven?
No, we advise against using steel wool or other abrasive scrubbers on your oven’s interior. These can scratch the enamel finish, making it more prone to future staining and potentially damaging the surface. Stick to non-abrasive sponges or plastic scrapers.
What if the baking soda paste doesn’t remove all the grime?
For particularly stubborn spots, you might need to reapply the baking soda paste and let it sit for a longer duration, possibly 24 hours. Alternatively, a gentle scrub with a plastic scraper after the paste has softened the grime can be very effective. Sometimes, a commercial oven cleaner might be necessary for extremely tough stains.
How do I get rid of the smell after cleaning my oven?
After cleaning, leave your oven doors ajar for several hours to allow it to air out naturally. You can also place a bowl of white vinegar or activated charcoal inside each cavity overnight to absorb any lingering odors. Running the oven on a low temperature for 15-20 minutes with the windows open can also help burn off any residual smells.
