
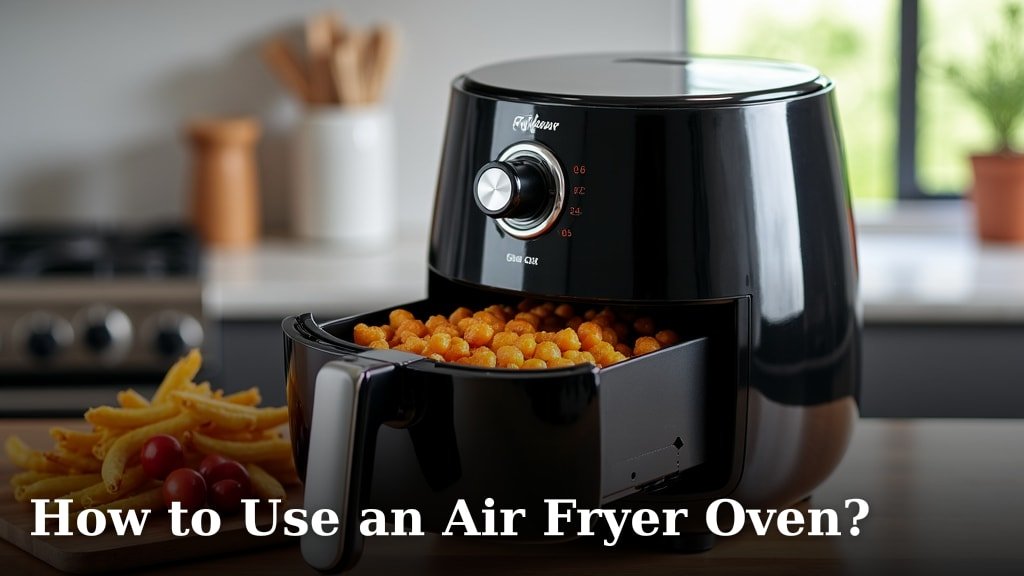
The easiest way to use an air fryer oven is to preheat it first, arrange your food in a single layer, and then select the appropriate cooking function and temperature. Air fryer ovens are incredibly versatile, allowing you to crisp, roast, and even bake your favorite foods with less oil. You’ll love how simple it is!
You might be surprised at how much an air fryer oven can do for your kitchen. It’s essentially a miniature convection oven on your countertop, designed to circulate hot air with remarkable efficiency. This means you get that desirable golden-brown crunch without deep-frying, making healthier meals a real possibility.
TL;DR:
- Preheat your air fryer oven for best results.
- Don’t overcrowd the basket or tray.
- Use less oil than traditional frying.
- Adjust cooking times for different foods.
- Clean accessible parts after each use.
Ready to transform your cooking experience? Let’s walk through exactly how to master your air fryer oven, step by simple step.
Getting Started with Your Air Fryer Oven
Beginning your air frying journey is surprisingly simple. Your air fryer oven is ready to transform your meals with just a few initial steps. We’ll guide you through setting it up and understanding its basic functions.
Unboxing and First Use Essentials
When you first get your air fryer oven, you’ll want to carefully remove all packaging. Check for any protective films or ties. Always consult your specific model’s manual for detailed unboxing instructions.
Initial Cleaning
Before its first culinary adventure, give your air fryer oven a quick clean. Wash the basket, trays, and any removable accessories with warm, soapy water. Wipe down the interior and exterior with a damp cloth (CDC). This helps remove any manufacturing residues.
The “Burn-Off” Cycle
Many manufacturers recommend a “burn-off” cycle before cooking food. This involves running the empty appliance for about 10-15 minutes at a high temperature. You might notice a slight plastic smell during this time. Don’t worry, it’s normal and helps eliminate any residual manufacturing odors.
Understanding Your Air Fryer Oven’s Components
While models vary, most air fryer ovens share common parts. Knowing what each part does will make cooking much easier. Think of it like learning the anatomy of a new kitchen helper.
- Basket/Trays: These are where your food goes. Some models have a single basket, others have multiple trays for layering.
- Heating Element: Usually located at the top, this generates the heat.
- Fan: This crucial component circulates the hot air, giving your food that distinctive crispy texture.
- Control Panel: This is where you set time, temperature, and cooking functions. It can be digital or analog.
- Drip Tray: Located at the bottom, this collects any fats or crumbs that fall during cooking, making cleanup easier.
Mastering the Art of Air Frying
Once you’re familiar with your appliance, it’s time to cook! Air frying is more than just turning it on; it involves a few key techniques to achieve perfect results every time. You’ll quickly become a pro.
Preheating for Success
Just like a conventional oven, preheating is vital for an air fryer oven. It ensures even cooking and helps achieve that desired crispiness. Skipping this step can lead to food that’s cooked on the outside but still cold inside.
- Set your desired temperature.
- Let the air fryer oven run empty for 3-5 minutes.
- Many models have a “preheat” indicator or sound.
We found that preheating helps to “shock” the food’s surface, creating a delicious crust. This is especially true for items like frozen fries or chicken wings.
The Golden Rule: Don’t Overcrowd
This is perhaps the most important tip for air frying. Air needs to circulate freely around your food for even cooking and crispness. Overcrowding blocks this airflow, leading to steamed rather than fried results.
Think of it this way: if your food is stacked or touching too much, the hot air can’t get to all surfaces. You’ll end up with some parts crispy and others soggy. Cook in batches if necessary; it’s worth the extra time.
Using Minimal Oil
One of the biggest advantages of an air fryer oven is using significantly less oil. You’re aiming for a light coating, not a deep-fry. A little oil helps with browning and flavor.
- Use a spray bottle for even distribution.
- Toss food with a teaspoon of oil in a bowl before placing it in the air fryer.
- Olive oil, avocado oil, or grapeseed oil work well.
Many experts say that about one to two tablespoons of oil are often enough for a whole batch of food, depending on what you’re cooking (Cleveland Clinic). Some foods, like pre-breaded frozen items, may require no extra oil at all.
Shaking and Flipping for Uniformity
To ensure all sides of your food get exposure to the circulating hot air, shaking the basket or flipping items is a must. This prevents one side from burning while the other remains undercooked.
For smaller items like fries or tater tots, a quick shake of the basket every 5-7 minutes works wonders. For larger items like chicken thighs or fish fillets, use tongs to flip them halfway through the cooking process.
Cooking Versatility: More Than Just Frying
Your air fryer oven is a culinary chameleon. While its name suggests frying, it’s capable of much more. You can roast, bake, and even dehydrate in many models, expanding your kitchen’s capabilities.
Roasting Vegetables and Meats
Imagine perfectly roasted Brussels sprouts or tender chicken breasts, all done on your countertop. Air fryer ovens excel at roasting because of their efficient heat distribution. You’ll get beautiful caramelization and juicy interiors.
Set the temperature according to your recipe, usually between 350°F and 400°F. Toss your vegetables or meat with a little oil and seasoning, then arrange them in a single layer. Roast until tender and golden brown.
Baking Small Treats
Surprise! You can bake in your air fryer oven. Think small batches of cookies, muffins, or even a mini cake. The compact size of the air fryer oven means it heats up faster than a conventional oven, saving you time and energy.
Use oven-safe dishes that fit comfortably inside your air fryer. Adjust baking times, as air fryer ovens often cook faster. We found that reducing traditional oven times by about 20-25% is a good starting point.
Reheating Leftovers Like a Pro
Tired of soggy leftovers from the microwave? Your air fryer oven is the answer. It can bring life back to pizza, fried chicken, or even spring rolls, making them crispy and delicious again.
Set your air fryer to a moderate temperature, around 300°F-325°F. Reheat for a few minutes, checking periodically. This method ensures your food is hot all the way through and has a pleasant texture.
Troubleshooting Common Air Frying Issues
Every new appliance can present a few head-scratchers. Don’t worry, most air fryer oven issues are easy to fix. We’ve compiled some common problems and their simple solutions.
Food Isn’t Crispy Enough?
This is a common complaint for beginners. Usually, it comes down to one or two easy fixes. Are you missing a step?
- Check for overcrowding: Is there enough space for air to circulate?
- Increase temperature: Some foods need higher heat for crisping.
- Extend cooking time: A few extra minutes can make all the difference.
- Add a little oil: Even a tiny bit can aid browning.
Food is Burning on the Outside, Raw Inside?
This suggests an imbalance in your cooking process. It’s often too hot, or not given enough time to cook through properly.
- Lower the temperature: Reduce the heat by 25°F-50°F.
- Preheat properly: A cold start can cause uneven cooking.
- Shake/Flip more often: Even cooking relies on even heat exposure.
- Cut food into smaller, uniform pieces: Smaller pieces cook more evenly and quickly.
Smoke Coming from the Air Fryer?
Seeing smoke can be alarming, but it’s often a simple fix. High-fat foods are usually the culprit.
- Clean the drip tray: Accumulated grease can burn.
- Use less oil: Excess oil can drip and smoke.
- Add a little water to the drip tray: For very fatty foods, a tablespoon of water can prevent smoke by cooling any dripping grease.
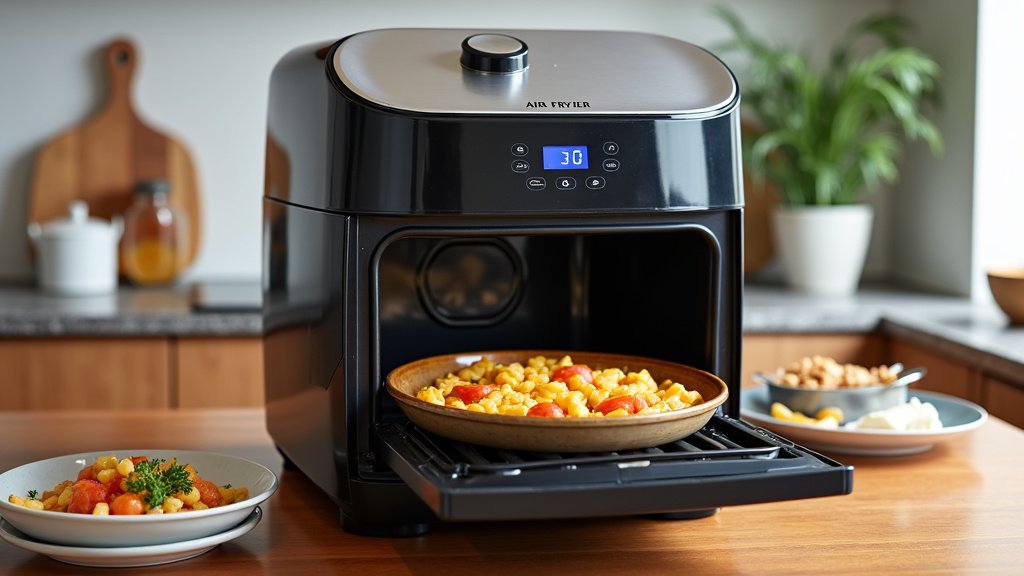
Keeping Your Air Fryer Oven Clean and Happy
Regular cleaning isn’t just about hygiene; it also extends the life of your appliance and prevents performance issues. A clean air fryer means better-tasting food.
After Each Use: The Quick Clean
As soon as the air fryer oven cools down, tackle the easiest parts. This prevents food from hardening and becoming difficult to remove.
- Remove and wash the basket/trays with warm, soapy water.
- Wipe down the interior with a damp cloth.
- Empty and clean the drip tray.
- Dry all parts thoroughly before reassembling.
Deep Cleaning When Needed
About once a month, depending on use, your air fryer oven will benefit from a more thorough cleaning. This addresses splatters and buildup. Many manufacturers suggest using a soft brush for hard-to-reach areas (NIH).
For stubborn grease, a paste of baking soda and water can work wonders. Apply it, let it sit for a few minutes, then scrub gently. Always make sure the appliance is unplugged and completely cool before deep cleaning any electrical components.
Your Air Fryer Oven Checklist for Success
Ready to try your hand at air frying? Follow this simple checklist for optimal results every time.
- Always Preheats your air fryer oven.
- Never overcrowd the cooking basket or trays.
- Use minimal oil, usually a light spray or toss.
- Shake or flip food halfway through cooking.
- Adjust cooking times and temperatures; monitor food closely.
- Clean removable parts after each use to prevent buildup.