
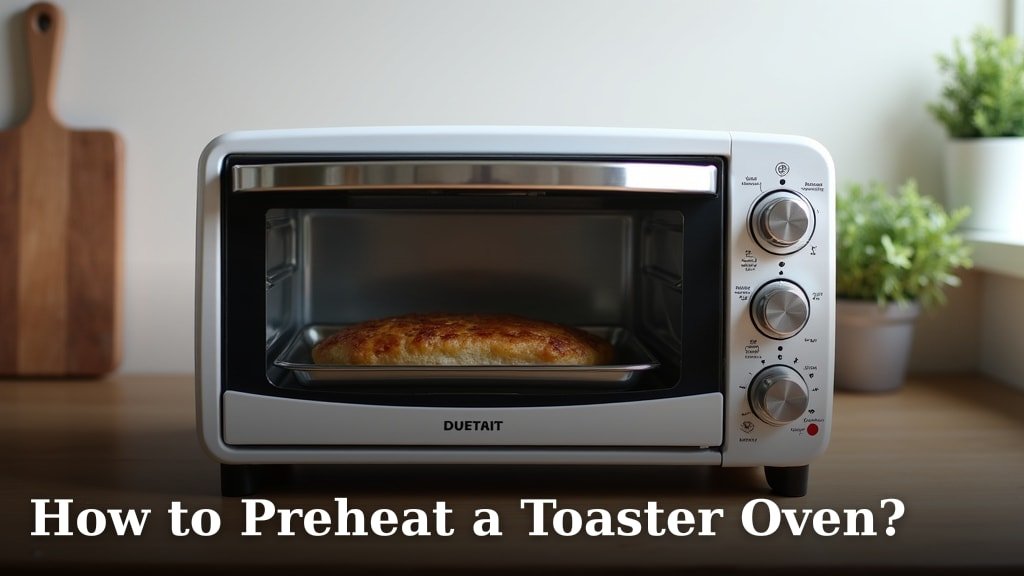
To preheat a toaster oven, simply turn the temperature dial or press buttons to your desired setting, then select a function like “Bake” or “Toast” and let it run empty for 5-10 minutes. This allows the internal elements to reach the correct heat for even cooking.
You might wonder why preheating matters for something so small. We found that skipping this step can lead to unevenly cooked food, with some parts burnt and others still cold. A properly preheated toaster oven ensures your snacks and meals cook just right every time.
- Set temperature and function.
- Wait 5-10 minutes.
- Listen for a click or see an indicator light.
- Enjoy evenly cooked food.
Let’s walk through exactly how to preheat a toaster oven, helping you get the best results from your handy kitchen appliance every time.
Preheating Your Toaster Oven: A Step-by-Step Guide
Understanding how to properly preheat your toaster oven is key to getting the best results. It’s more than just turning it on. You want to create a consistent cooking environment inside.
Think of it like warming up a car on a cold morning. You let it run for a bit before driving to ensure everything is ready. Your toaster oven needs that same kind of preparation.
Understanding Your Toaster Oven’s Controls
Every toaster oven is a little different, but most share common controls. Familiarizing yourself with these dials and buttons is the first step to perfect preheating.
Don’t be intimidated by all the options. We’ll guide you through what each one typically does.
Temperature Settings
Most toaster ovens have a dial or digital buttons for setting the temperature. This is where you tell the oven how hot you want it to get. Temperatures usually range from 150°F (65°C) to 450°F (232°C).
Always set the temperature based on your recipe. Don’t guess here; accuracy matters for good cooking.
Function Modes
You’ll typically see various function modes like “Bake,” “Toast,” “Broil,” “Roast,” or even “Reheat.” These modes determine how the heating elements operate.
For preheating, you’ll most often use “Bake” or “Roast.” The “Toast” function usually has its own specific preheating cycle, if any, designed for bread.
- Bake: Heats primarily from the bottom element, ideal for most oven cooking.
- Roast: Similar to bake, often uses both top and bottom elements for more intense heat.
- Broil: Uses only the top element for direct, high heat, not usually suitable for initial preheating.
- Warm: Maintains a low temperature, not for active cooking or preheating.
The Essential Steps to Preheat
Once you understand your controls, the process itself is straightforward. Follow these steps for consistent heat every time you cook.
This method works for most models, from basic to advanced. It’s a universal approach.
Setting the Desired Temperature
First, turn the temperature dial or press the temperature buttons to match your recipe’s requirement. Double-check that you’ve selected the correct heat level.
If your recipe calls for 375°F, set your oven to 375°F. Simple as that.
Choosing the Correct Function
Next, select the appropriate cooking function. For most cooking, you’ll choose “Bake” or “Roast.” This tells the oven which heating elements to activate.
Avoid selecting “Toast” or “Broil” unless your recipe specifically calls for it and you’re not preheating for general baking.
The Waiting Game: How Long to Preheat
After setting the temperature and function, let the toaster oven run empty. We found that 5-10 minutes is a good range for most models.
Smaller toaster ovens might heat up faster, while larger ones could take a little longer. Pay attention to your specific model.
This waiting period allows the internal temperature to stabilize. It’s not just about the heating elements getting hot, but also the walls and racks absorbing heat.
Signs Your Toaster Oven is Ready
Many modern toaster ovens have an indicator light that turns off or changes color when preheated. Some older models might have an audible ‘click’ from a thermostat.
If your oven lacks these features, simply set a timer for 10 minutes. It’s a reliable way to ensure it’s fully up to temperature.
Remember, the goal is uniform heat throughout the cooking chamber. This helps your food cook evenly from edge to center.
Why Preheating Matters More Than You Think
You might be tempted to skip preheating, especially when you’re in a hurry. However, research consistently shows that preheating is vital for quality cooking (Cook’s Illustrated).
It’s not just an extra step; it’s a foundational part of oven cooking. Skipping it can lead to very different results than the recipe intended.
The Science of Even Cooking
When you place food into a cold or partially heated oven, the food begins to cook slowly from the outside in. This often results in a dry exterior before the inside is done.
A properly preheated oven, however, immediately transfers heat to the entire surface of the food. This creates a “crust” or seal, trapping moisture inside and cooking the food more evenly.
Achieving Consistent Results
Think about baking cookies. If you put them into a cold oven, they spread out too much before the heat sets them. A hot oven gives them the immediate heat they need to rise correctly.
This principle applies to almost everything you cook. From frozen pizzas to roasted vegetables, a consistent starting temperature ensures predictable and delicious outcomes.
Preventing Uneven Doneness
We found that one of the biggest complaints from people who don’t preheat is uneven cooking. Parts of the food might be burnt, while other sections remain raw or undercooked.
Preheating helps prevent this by ensuring the oven interior is uniformly hot. There are no “cold spots” to delay cooking in certain areas.
Tips for Optimal Toaster Oven Preheating
Beyond the basic steps, a few extra tips can make your preheating process even more effective. These small adjustments can improve your cooking experience.
Consider these points for maximum efficiency and deliciousness.
Don’t Rush It
While 5-10 minutes is a general guideline, sometimes you might need a little longer. If you have a very large toaster oven, or if your kitchen is particularly cold, add an extra minute or two.
It’s better to slightly over-preheat than to under-preheat. You want that heat saturation.
Keep the Door Closed
Resist the urge to open the toaster oven door repeatedly during preheating. Each time you open it, a significant amount of heat escapes. This means the oven has to work harder and longer to get back to temperature.
Keep the door shut until it’s time to put your food in. This helps maintain a stable internal temperature.
Using a Toaster Oven Thermometer
If you’re really serious about accuracy, consider getting an inexpensive oven thermometer. You place it inside your toaster oven, and it provides an independent reading of the internal temperature.
We found that many built-in oven thermostats can vary by 25-50°F (14-28°C) from the actual temperature. An external thermometer can help you dial in the perfect preheat.
| Preheat Factor | Impact on Cooking | Recommendation |
|---|---|---|
| Skipping Preheat | Uneven cooking, dry food, longer cook times. | Always preheat for best results. |
| Using Correct Function | Ensures proper heating element activation. | Select “Bake” or “Roast” for most tasks. |
| Preheat Time (5-10 min) | Allows oven walls & racks to absorb heat. | Set a timer, wait for indicator light. |
| Door Opening | Causes significant heat loss, slows preheat. | Keep door closed until food is ready. |
| Oven Thermometer | Verifies actual internal temperature. | Recommended for precision baking. |
Preheating Checklist
To make sure you’re always ready, here’s a quick checklist to follow before you start cooking:
- Set Temperature: Adjust the dial or buttons to your recipe’s exact temperature.
- Select Function: Choose “Bake” or “Roast” for general cooking.
- Run Empty: Ensure no food is inside during the preheat phase.
- Set Timer: Start a timer for 5-10 minutes (or longer if indicated).
- Wait for Readiness: Watch for an indicator light or listen for a click.
- Insert Food: Once preheated, quickly place your food inside and close the door.
Conclusion
You now have all the tools to master preheating your toaster oven. This simple step makes a big difference in your cooking. Remember, it’s about creating a stable, even heat environment for your food.
By taking those few extra minutes, you prevent undercooked centers and burnt edges. You ensure your meals come out perfectly every time.
So, the next time you reach for your toaster oven, take pride in setting it right. Your taste buds will thank you for the delicious, consistent results you achieve.
Frequently Asked Questions
Is preheating always necessary for a toaster oven?
We found preheating is almost always beneficial. It ensures even cooking and helps food stay moist. For items like toast, where a rapid, direct heat is desired, it might be less critical. However, for baking or roasting, it’s essential.
Does opening the toaster oven door repeatedly affect preheating?
Yes, each time you open the door, a significant amount of heat escapes. This means your oven has to work harder to get back up to temperature. Try to keep the door closed until it’s time to put your food in.
How can I tell if my toaster oven is accurately heated?
Many modern toaster ovens have indicator lights that turn off or change color. For older models without this feature, an inexpensive standalone oven thermometer can provide a precise temperature reading. We found this helpful because built-in thermostats can vary.
Can I preheat my toaster oven with food already inside?
No, you should always preheat your toaster oven empty. Placing food in a cold oven means it starts cooking slowly as the oven heats up. This can lead to uneven textures and cooking times.
What if my toaster oven doesn’t have a “Bake” or “Roast” setting?
If your toaster oven only has a “Toast” setting, it’s primarily designed for bread. If you’re trying to bake other items, use an oven thermometer to understand its actual temperature. Otherwise, consider if it’s the best appliance for the job.
