
Yes, you can replace your oven’s heating element yourself with basic tools. It’s often a straightforward DIY repair that can save you money. Many people find this fix is well within their reach. You just need the right replacement part and a little patience.
A malfunctioning heating element means your oven won’t reach or maintain the correct temperature. This can lead to uneven cooking and frustration. Fortunately, identifying a broken element is usually pretty simple. Replacing it is a common appliance repair that many homeowners tackle successfully. We found this guide will help you get your oven back in working order.
- When to replace your oven heating element.
- Safety precautions before you start.
- Tools you’ll need for the job.
- Step-by-step replacement instructions.
- Tips for testing your repair.
Let’s walk through exactly how to replace your oven’s heating element, step by step, so you can get back to baking your favorite treats.
Swapping Out Your Oven’s Heating Element: A Simple Guide
Your oven’s heating element is like the heart of your appliance. When it stops working, your oven won’t heat up properly. This means your cookies might come out pale or your roast might stay raw. But don’t worry, replacing a faulty heating element is a common DIY repair. We found that with a few basic tools and this guide, you can get your oven back to its baking best.
When It’s Time for a New Heating Element
You’ll likely notice a few signs that your heating element has given up the ghost. The most obvious is that your oven simply isn’t heating to the temperature you set. You might also see visible damage on the element itself. Let’s break down the common indicators.
Visible Damage or Discoloration
Take a peek inside your oven. Do you see any cracks or breaks in the heating element? Sometimes, elements can also turn a reddish or purplish color. This often happens when the element is about to fail or has already failed. A blackened or blistered appearance is another clear sign of trouble.
Uneven Cooking or Temperature Issues
If your food isn’t cooking evenly, it might be your heating element. Perhaps one side of your cake is always burnt, or the middle stays doughy. You might also notice that your oven takes a very long time to preheat, or it can’t maintain the set temperature. An oven thermometer can help you confirm if your oven is actually reaching the temperature you set (Cleveland Clinic).
The Oven Doesn’t Heat At All
This is the most definitive sign. You set the oven to 350 degrees Fahrenheit, but nothing happens. The oven remains stubbornly cool to the touch. If the display is on and you can select modes, but there’s no heat, the heating element is a prime suspect.
Safety First! Essential Precautions Before You Start
Working with appliances involves electricity, so safety is our top priority. You absolutely must disconnect the power before you begin any work. It’s the most important step to avoid electric shock. We cannot stress this enough – your safety comes first!
Turn Off the Power
Locate your home’s circuit breaker panel. Find the breaker that controls your oven and flip it to the “Off” position. Double-check by trying to turn on your oven; if it doesn’t respond, the power is off. For added safety, you can even place a piece of tape over the breaker to remind others not to turn it back on.
Let the Oven Cool Down
Heating elements get extremely hot. Make sure your oven has been off for at least a few hours before you start. You don’t want to touch a still-hot element. Patience here prevents painful burns.
Wear Protective Gear
Consider wearing safety glasses to protect your eyes from any dust or debris that might fall. Gloves can also offer a bit of protection against sharp edges.
Gathering Your Tools and the Right Replacement Part
You don’t need a whole toolbox for this job. Most of the time, a few common household tools will do the trick. The most critical item, of course, is the correct replacement heating element. You can’t use just any part; it needs to be specific to your oven model.
Essential Tools for the Job
- Screwdrivers (Phillips and flathead)
- Nut drivers or socket set (often 1/4 inch or 5/16 inch)
- Pliers
- A wire brush (optional, for cleaning contacts)
- Your new heating element
Finding the Right Replacement Element
This is crucial. You’ll need your oven’s make and model number. This is usually found on a sticker inside the oven door frame, on the back of the oven, or in your owner’s manual. Once you have this information, you can search online appliance parts stores or contact the manufacturer. Make sure the part number matches exactly.
| Oven Part | Purpose | Common Issues |
|---|---|---|
| Bake Element | Heats the bottom of the oven. | Doesn’t heat, burns food on bottom. |
| Broil Element | Heats the top of the oven. | Doesn’t heat, cooks unevenly from the top. |
Step-by-Step: Replacing Your Oven Heating Element
Ready to get your hands dirty? Let’s walk through the process. Keep your owner’s manual handy, as some models have slight variations. We found that this general approach works for most common oven types.
Accessing the Heating Element
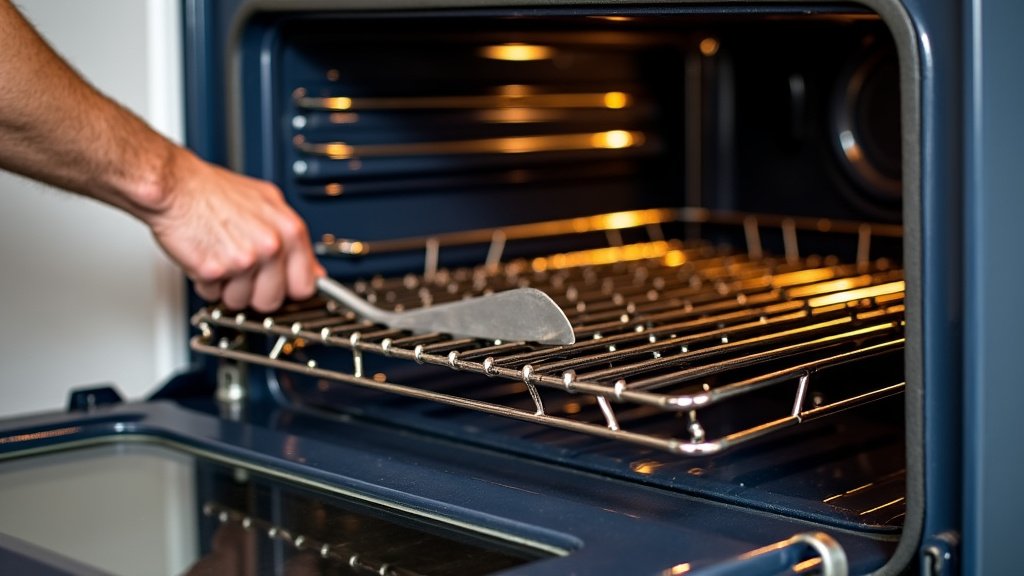
For the lower bake element, it’s usually accessible from the inside of the oven. You might need to remove oven racks and a metal cover plate. This plate is often held in place by screws. Unscrew them carefully and set them aside. Gently pull the cover plate away to reveal the element connections.
For the upper broil element, it’s typically visible when you open the oven door. You may need to remove oven racks. Sometimes there’s a cover plate or screws holding it in place from the inside.
Removing the Old Element
The heating element is usually connected by two wires that plug into terminals on the back of the element. These terminals might be held in place by screws or simply push-fit. Carefully unplug or unscrew the wires from the old element. Take a picture with your phone before you disconnect them if you’re unsure about the connection order.
Once disconnected, the element itself is usually held in place by mounting brackets or screws. Unscrew these and gently pull the old element out of its housing. Be careful not to let it fall or break.
Installing the New Heating Element
Position the new heating element where the old one was. Make sure it’s seated correctly in its mounting brackets or holes. Reattach any screws or brackets that held the old element in place.
Connecting the Wires
Now, reattach the wires to the terminals on the new heating element. Make sure they are securely connected. If you took a picture, refer to it to ensure the correct wires go to the correct terminals. Some people like to use a bit of dielectric grease (often found at auto parts stores) on the connections to prevent corrosion, though this is usually not strictly necessary for a bake element.
Reassembling the Oven
If you removed a cover plate, carefully place it back into position. Reinsert and tighten all the screws you removed earlier. Ensure the plate is flush and secure. If you removed any racks, slide them back into place.
Testing Your Work and Getting Back to Baking
The moment of truth! It’s time to see if your repair was successful. Remember to check that all your tools are out of the oven and that you haven’t left anything behind.
Restoring Power and Initial Test
Go back to your circuit breaker panel and flip the oven’s breaker back to the “On” position. Now, turn on your oven and set it to a baking temperature (e.g., 350°F or 400°F). Listen for any sounds and watch to see if the element begins to glow red. It might take a few minutes to heat up.
Confirming Proper Function
Let the oven preheat fully. Use your oven thermometer to confirm it’s reaching the set temperature. Run it for about 15-20 minutes. If it heats up correctly and maintains the temperature without any issues, you’ve successfully replaced your heating element! Congratulations, you’ve likely saved yourself some money and learned a new skill.
Conclusion
You’ve learned that replacing a broken oven heating element is a totally doable DIY project. By following these steps, you can bring your oven back to life. Remember, safety is key – always disconnect the power first. With the right part and a little patience, you’ll be baking again in no time. If you feel confident after reviewing this guide, go ahead and schedule your repair. Your oven (and your taste buds!) will thank you.
Frequently Asked Questions
How do I know if my oven heating element is bad?
The most common signs are an oven that won’t heat up at all, takes an unusually long time to preheat, or cooks food unevenly. You might also see visible damage like cracks or discoloration on the element itself.
Can I use any heating element to replace mine?
No, you cannot use just any heating element. It’s essential to find a replacement part that is specifically designed for your oven’s make and model number. Using the wrong part can cause damage or be a safety hazard.
What if my oven has both bake and broil elements?
If both elements are malfunctioning, you’ll need to replace them one at a time. Follow the same safety precautions and steps for each element you need to swap out. Ensure you purchase the correct part number for both the bake and broil elements.
Is it safe to touch the wires after disconnecting power?
Yes, once the power is completely turned off at the circuit breaker, the wires themselves are safe to handle. It’s always a good practice to double-check that the oven will not turn on before touching any internal components.
How long should a new heating element last?
A properly installed and used heating element can last for many years. Like any appliance part, its lifespan depends on usage, oven temperature settings, and manufacturing quality. Most people find they last for 5-10 years or more.
