
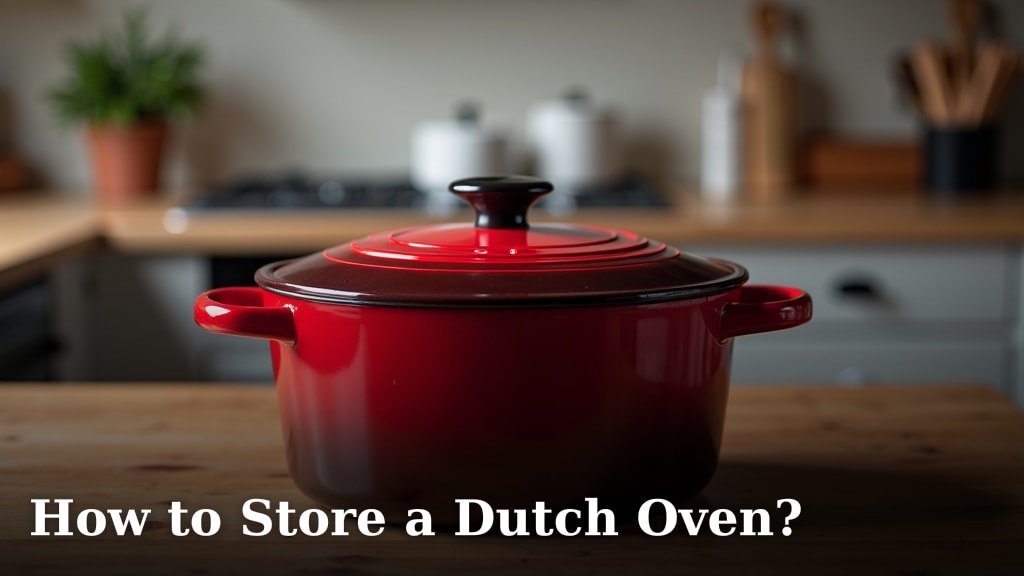
Storing your Dutch oven properly is essential for keeping it in great shape for years to come. The best way to store a Dutch oven is to ensure it’s completely dry and cool. This prevents rust and protects the finish, whether it’s enameled cast iron or bare cast iron. Always store it with its lid slightly ajar or with a paper towel between the lid and pot to allow for air circulation.
Proper storage prevents common issues like rust or chipping. Many home cooks overlook this simple step, leading to a Dutch oven that’s less effective over time. Protecting your investment means being mindful of its storage environment. We found that good storage can even make cleaning your Dutch oven easier later on!
- Ensure your Dutch oven is completely dry before storing.
- Allow it to cool down if it was recently used.
- Store with the lid slightly off or a paper towel to allow airflow.
- Choose a dry cupboard or shelf away from moisture.
So, if you’re wondering about the best practices to keep your trusty Dutch oven ready for its next culinary adventure, you’ve come to the right place. Let’s break down exactly how to store it.
Keeping Your Dutch Oven Shipshape: Storage Essentials
Storing your Dutch oven correctly is simple but mighty important. It keeps your cast iron safe from rust and damage. This means it’s ready for your next big meal. We found that the key is a dry, cool spot with good airflow.
The Absolute Must-Dos for Dutch Oven Storage
Before you even think about tucking your Dutch oven away, there are a few non-negotiables. These steps are foundational to preventing common storage woes like rust or chipped enamel. Think of them as your pre-storage ritual.
1. Ensure It’s Completely Dry
This is the most critical step. Water is cast iron’s enemy. Even a little bit of moisture can lead to rust spots forming. After washing, make sure you dry it thoroughly, both inside and out. We like to do a quick pass with a soft towel, then place it on a low heat on the stove for a few minutes. This evaporates any lingering moisture. It’s a step many overlook, but it makes a huge difference in the long run. Learn how to season a Dutch oven to maintain its protective layer.
2. Let It Cool Down
Never put away a hot Dutch oven. Cast iron retains heat for a long time. Storing it while still warm can create condensation. This condensation leads to moisture buildup. Moisture is exactly what you want to avoid. Let your Dutch oven come to room temperature completely. This might take an hour or two after cooking. Patience here prevents future problems.
3. Allow for Air Circulation
This is where the lid comes into play. You don’t want to seal the lid tightly. Trapped air can become stagnant. Stagnant air can hold moisture. We found that a great way to allow airflow is to place a folded paper towel or a small piece of cardboard between the pot and the lid. Another common method is to store the lid slightly ajar. This lets air move freely. It’s like giving your Dutch oven a little breathing room.
Choosing the Right Storage Spot
Where you store your Dutch oven matters. Think about its environment. You want a place that’s stable and free from humidity. The pantry, a sturdy cabinet, or a dedicated shelf are usually good options. Avoid damp basements or garages if you can. We’ve seen firsthand how humidity can encourage rust, even on well-seasoned cast iron.
Dryness is Key
Look for a spot that naturally stays dry. Kitchen cabinets are generally a good bet. If your kitchen tends to be humid, consider other options. Maybe a dry closet on a higher floor of your house? The goal is to minimize exposure to moisture in any form. This is especially important for bare cast iron, which is more prone to rust than enameled versions.
Temperature Stability
Extreme temperature swings aren’t ideal. While cast iron is durable, rapid changes can potentially stress the material. A consistent, moderate temperature is best. This is why a regular kitchen cabinet is often perfect. It avoids the direct sun or cold drafts you might find elsewhere.
Protective Measures for Your Dutch Oven
Once you’ve got the basics covered, think about adding layers of protection. These extra steps safeguard the finish and prevent scratches. They ensure your Dutch oven remains a beautiful and functional piece for years.
Protecting the Interior and Exterior
Your Dutch oven’s finish is important. Whether it’s the smooth enamel of a Le Creuset or the seasoned surface of a Lodge, you want to keep it pristine. We found that a few simple additions can prevent chips and scrapes.
The Paper Towel Trick (Again!)
Remember that paper towel we used for airflow? It serves a double purpose when storing. Placing a folded paper towel inside the pot before putting the lid on can absorb any residual moisture. It also acts as a buffer. This buffer prevents the lid from scratching the rim of the pot. This is particularly useful for enameled Dutch ovens. A small scratch can sometimes lead to bigger problems down the line.
Silicone Lid Covers or Trivets
Some people opt for silicone lid covers designed specifically for Dutch ovens. These are soft and protective. They prevent metal-on-metal contact. Another option is to place a folded dish towel or a silicone trivet on the bottom of the pot before storing. This cushions the base. It can also absorb any stray moisture. We’ve found these to be great additions for added peace of mind.
Storage Options: Stacked or Separate?
How you arrange your Dutch ovens can impact their safety. If you have multiple, consider how you store them relative to each other. This prevents damage during handling or if the shelf is bumped.
When Stacking is Okay
You can stack Dutch ovens, but do so carefully. Always place a protective layer between them. A folded kitchen towel or a specialized Dutch oven protector works well. Make sure they are stacked securely. Avoid stacking them too high. You don’t want them to become unstable. Research suggests that stable stacking minimizes the risk of accidental drops.
The Case for Separate Storage
For maximum protection, storing each Dutch oven separately is ideal. If you have the space, use individual shelves or cabinets. This eliminates any risk of them knocking against each other. This is especially important for very heavy or large Dutch ovens. Some experts recommend this for preserving the pristine condition of valuable or collectible pieces.
Special Considerations for Bare Cast Iron
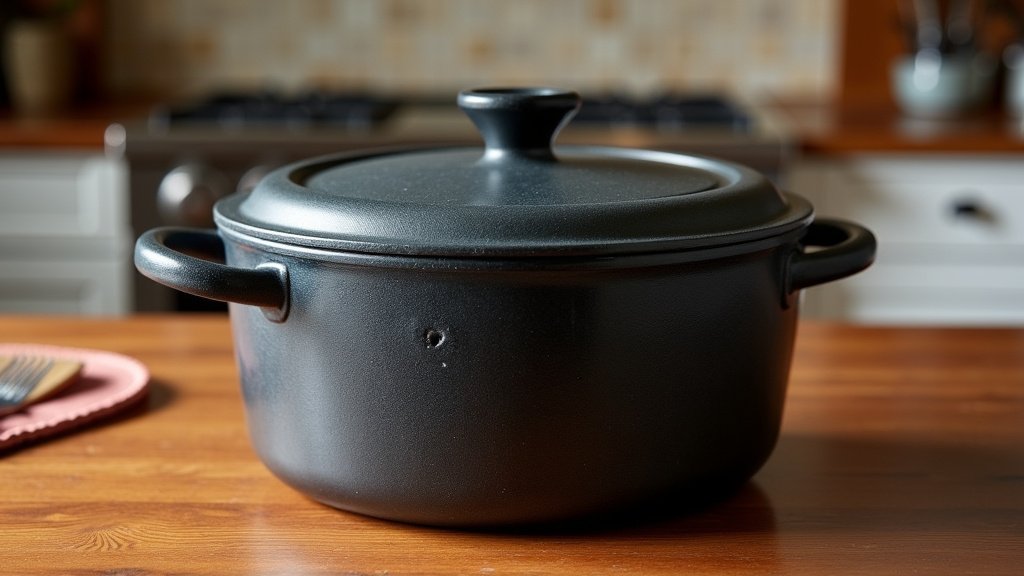
Bare cast iron, also known as un-enameled cast iron, requires a little extra attention. Its porous surface is more susceptible to rust if not properly maintained. The seasoning layer is its best defense.
Maintaining the Seasoning During Storage
Your seasoning is like a protective shield. If you store bare cast iron improperly, this shield can break down. We found that a light re-oiling before storage is a good practice.
A Thin Layer of Oil
After thoroughly drying your bare cast iron Dutch oven, apply a very thin layer of cooking oil to the entire interior surface. Use a paper towel to spread it evenly. Wipe off any excess so it doesn’t feel greasy. This creates an extra barrier against moisture. It helps maintain that hard-earned seasoning. Think of it as giving your cast iron a light coat of sunscreen before its nap.
Rust Prevention for Bare Cast Iron
If you do spot a bit of rust, don’t panic! It’s usually fixable. Small rust spots can often be scrubbed away with steel wool. Then, you’ll need to re-season the affected area. For more persistent rust, you might need to perform a full oven re-seasoning process. Proper storage significantly reduces the chances of this happening in the first place.
Here’s a quick checklist to make sure your Dutch oven is ready for its next culinary adventure:
- Make sure the oven is completely dry.
- Ensure it has fully cooled down.
- Place a paper towel or similar item between the lid and pot.
- Store in a dry cabinet or pantry.
- For bare cast iron, apply a thin layer of oil.
Following these simple storage practices ensures your Dutch oven remains a dependable kitchen workhorse for years to come. It’s an investment worth protecting!
Conclusion
Taking care of your Dutch oven is a simple act of respect for a kitchen workhorse. By ensuring it’s thoroughly dry and cool before storage, and allowing for ample airflow, you’re actively preventing rust and preserving its finish. Whether it’s enameled or bare cast iron, these practices safeguard your investment. Don’t let moisture or stagnant air undo your hard work! Make these steps a habit after every use, and your Dutch oven will be ready for countless more delicious meals. Now, go forth and cook with confidence, knowing your favorite pot is stored perfectly!
Frequently Asked Questions
Can I store my Dutch oven with the lid on?
Yes, but not tightly sealed. Always place a paper towel or a small piece of cardboard between the lid and the pot. This allows for essential air circulation and prevents moisture buildup.
Is it okay to store my Dutch oven in a humid area like a basement?
It’s best to avoid storing your Dutch oven in areas prone to high humidity, such as basements or garages. A dry pantry or kitchen cabinet is a much safer and more effective storage location.
How often should I re-season my bare cast iron Dutch oven for storage?
You don’t need to re-season every time unless you notice the existing seasoning is damaged. A light application of oil before storing bare cast iron is usually sufficient to maintain its protective layer.
What should I do if I find a little rust on my Dutch oven?
Don’t worry if you spot minor rust! You can usually scrub it off with steel wool and then re-season the affected area. Proper drying and airflow during storage can help prevent this from happening in the first place.
Can I stack multiple Dutch ovens together for storage?
You can stack them, but always use a protective layer between each pot. A folded kitchen towel or a dedicated Dutch oven protector can prevent scratches and chips. Ensure they are stacked stably to avoid accidents.
