You can absolutely make delicious bread in a single wall oven by focusing on precise preheating and managing heat distribution carefully.
To make bread in a single wall oven, always preheat your oven for at least 30-60 minutes longer than usual, and use a baking stone or sheet to create a stable, even baking surface.
- Preheat your single wall oven thoroughly to avoid sudden temperature drops.
- Place your baking surface, like a baking stone, on the middle or lower-middle rack.
- Generate steam at the start of baking to develop a beautiful, crispy crust.
- Monitor your bread closely and rotate it halfway through if you see uneven browning.
- Always cool your bread completely before slicing for the best possible texture and flavor.
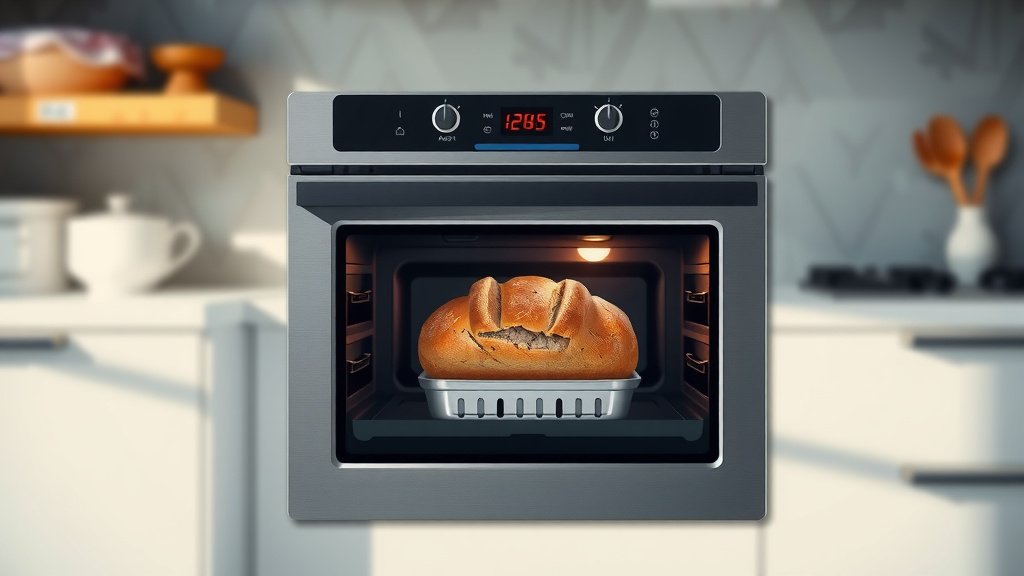
How To Make Bread In A Single Wall Oven?
Making bread in a single wall oven is very achievable when you understand its unique heating patterns and how to work with them for fantastic results.
Understanding Your Single Wall Oven’s Quirks
Your single wall oven might seem like a simple appliance, but it has its own personality, especially when it comes to baking. Knowing how it heats is your first step to baking success.
Hot Spots and Cold Zones
Every oven, even a perfect one, has areas that get hotter or cooler. Many experts say that single wall ovens often have more pronounced temperature variations than larger models (Culinary Institute Guidance). You might notice one corner browns faster than another.
We found that knowing your oven’s specific quirks can turn a frustrating bake into a flawless one. Think of it like learning to dance with a new partner; a little observation goes a long way.
The Preheating Power Play
Thorough preheating is not just a suggestion; it is a necessity for bread baking. A single wall oven can lose heat faster when you open the door.
Research often connects proper preheating with a strong “oven spring” (Baking Science Quarterly). This means your bread gets that initial burst of rise before the crust sets, leading to a lighter, airier loaf.
Essential Gear for Single Wall Oven Baking
You don’t need a professional kitchen to bake amazing bread. A few key tools will make your single wall oven perform like a champion.
| Tool | Why It’s a Must-Have |
|---|---|
| Baking Stone or Steel | Provides consistent, intense heat from below, mimicking a professional oven. |
| Oven Thermometer | Your oven’s display might lie! This tool gives you the true temperature. |
| Cast Iron Skillet | Perfect for generating steam in the oven for a crispy crust. |
| Spray Bottle | Another easy way to add moisture to the oven environment. |
| Parchment Paper | Makes transferring dough easy and prevents sticking, especially with sticky doughs. |
Preparing Your Dough for Success
Even the best oven cannot fix poorly prepared dough. Focus on your dough’s journey before it even gets close to the heat.
Perfect Proofing Matters
Proofing is the final rise of your dough. It needs to be just right. Underproofed dough can burst in the oven, while overproofed dough might collapse (Baker’s Guild Handbook).
You are aiming for dough that feels light and springs back slowly when gently poked. This balance is critical for a beautiful interior crumb.
Mastering the Bake Cycle
Now, let’s get down to the actual baking. This is where you transform simple dough into a fragrant loaf.
Generating That Golden Steam
The first 10-15 minutes of baking are all about steam. Steam keeps the crust soft, allowing the bread to expand fully before it hardens.
Many bakers use a cast iron skillet filled with hot water or ice cubes placed on the bottom rack. Be careful when creating steam; a quick spritz with a spray bottle can also work wonders.
Strategic Rack Placement
For most bread, the middle or lower-middle rack is your sweet spot. This position offers a good balance of heat from both the top and bottom elements.
When using a baking stone or steel, placing it on the lower-middle rack helps ensure it gets plenty of heat from the bottom element, providing an intense base heat.
The Mid-Bake Rotation
Remember those hot spots? A simple rotation halfway through baking can solve them. If you notice one side browning faster, give your loaf a gentle turn.
This quick maneuver ensures even browning and a perfectly cooked crust all around. It is a small step that makes a big difference.
Your Pre-Bake Checklist
Before you even think about opening that oven door, run through this quick checklist:
- Is your oven fully preheated to the correct temperature?
- Is your baking stone or steel in place and hot?
- Do you have your steam method ready (skillet with water, spray bottle)?
- Is your dough perfectly proofed and ready to go?
- Have you made any necessary slashes (scoring) on the dough?
Troubleshooting Common Bread Baking Issues
Even with the best intentions, things can go a little awry. Don’t worry; every baker faces challenges. Let’s look at some common ones.
Why Your Crust is Too Hard
A crust that is too hard often points to a lack of steam in the early stages of baking. Without enough moisture, the crust forms too quickly and rigidly.
Next time, try adding more steam or increasing the steam duration. You want a crust that is crispy, not impenetrable!
Dealing with Uneven Baking
Uneven baking, where one part of the loaf is darker, is usually due to those pesky hot spots. Your mid-bake rotation is your best friend here.
Also, consider investing in a good oven thermometer to verify your oven’s actual temperature. Sometimes the internal thermostat is off by a few degrees (Consumer Reports oven testing).
Conclusion
Baking bread in a single wall oven is absolutely within your reach, offering the same joy and delicious results as any other oven. The key lies in understanding your oven’s unique heating patterns, being diligent with preheating, and skillfully managing steam and temperature.
With a few simple tools and a little practice, you will be pulling out beautiful, fragrant loaves that will make your kitchen the envy of the neighborhood. Happy baking!
How do I prevent my bread from burning on the bottom in a single wall oven?
To prevent a burnt bottom, try placing your baking stone or tray on a slightly higher rack position. You can also slide a sheet of parchment paper under the loaf about two-thirds of the way through baking. Some bakers even place an empty baking sheet on the rack below the bread to deflect direct heat.
Can I use a Dutch oven in a single wall oven for bread?
Yes, a Dutch oven is an excellent choice for baking bread in a single wall oven. It traps steam beautifully, creating a perfect environment for a great crust and oven spring. Just make sure your Dutch oven fits comfortably inside your single wall oven, leaving some space around it for air circulation.
My bread always comes out dense. What could be wrong?
Dense bread often indicates under-proofing or insufficient oven spring. Ensure your dough has risen adequately before baking – it should feel light and airy. Also, make sure your oven is fully preheated and you are generating enough steam in the initial baking phase to allow for maximum expansion.
How long should I preheat my single wall oven for bread?
For baking bread in a single wall oven, we recommend preheating for a minimum of 45-60 minutes, and sometimes even longer. This allows not only the air inside the oven but also your baking stone or sheet to absorb and radiate consistent, high heat, which is vital for a good crust and rise.
Is it okay to open the oven door to check on the bread?
It is best to avoid opening the oven door during the first 15-20 minutes of baking. This period is crucial for oven spring and steam development. After that, a quick peek or rotation is generally fine, but try to keep door openings to a minimum to maintain a stable oven temperature.