To use a temperature probe in your single wall oven, simply insert the probe’s metal tip into the thickest part of your food, avoiding bone, then plug the other end into the oven’s dedicated jack.
Once connected, set your desired internal temperature on the oven’s control panel, and the oven will alert you when your food reaches that precise doneness.
- Get started by making sure your probe is clean and ready.
- Insert the probe correctly into the food’s thickest part.
- Connect the probe securely to the oven’s specific jack.
- Set your target temperature using the oven’s controls.
- Wait for the oven to signal when your food is perfectly cooked.
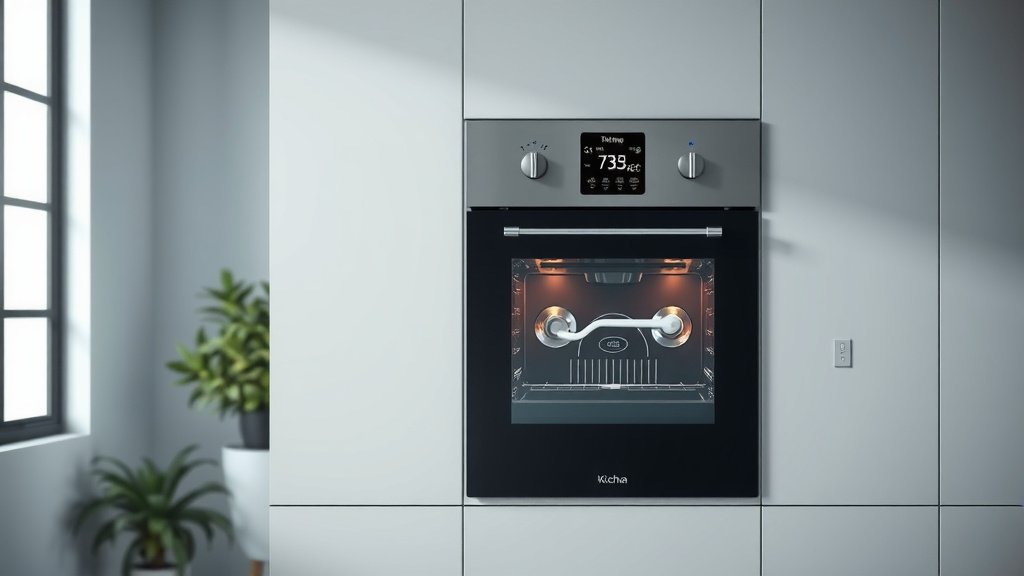
How To Use Temperature Probe In Single Wall Oven?
Using a temperature probe in your single wall oven is a simple way to get perfect cooking results every time. It helps you accurately monitor your food’s internal temperature, taking the guesswork out of cooking.
Understanding Your Oven’s Temperature Probe
Your single wall oven likely comes with a built-in temperature probe. This handy tool is designed to measure the internal temperature of your food as it cooks. Think of it as your secret weapon for perfectly roasted meats and baked goods.
It’s a small metal rod with a wire that connects to a special port in your oven. The probe then sends real-time temperature data to the oven’s display. This feature helps prevent both undercooking and overcooking, giving you confidence in your kitchen efforts.
Why Use a Probe Anyway?
Why bother with a probe when you can just set a timer? The main reason is accuracy and food safety. Timers only estimate cooking time, but a probe tells you the exact internal temperature. Research from the USDA highlights that using a food thermometer is the only reliable way to ensure meat, poultry, and egg products are cooked to a safe minimum internal temperature.
We found that many home cooks appreciate probes because they deliver consistently delicious, juicy results. No more dry turkey or undercooked roasts; your meals will be just right.
Getting Ready: Prepping Your Meal and Probe
Before you even think about putting food in the oven, make sure your temperature probe is clean. A quick wash with warm, soapy water and a rinse will do the trick. You want to make sure there are no lingering food particles from previous uses.
Always have your food prepared and ready for the probe. For meats, make sure it’s thawed and seasoned. For baked items, ensure they are in their baking dish before you insert the probe.
Where Does the Probe Go?
This is a crucial step! For meats like roasts, whole chickens, or turkey, you need to insert the probe into the thickest part of the food. Make sure the probe tip does not touch any bone, fat, or gristle. Bones conduct heat differently and can give you a false reading.
If you’re cooking a large roast, aim for the center of the largest muscle. For poultry, insert it into the thickest part of the thigh, avoiding the bone. The idea is to measure the coldest part of the food to ensure it’s fully cooked.
Connecting the Probe to Your Oven
After inserting the probe into your food, find the probe jack inside your oven. It’s usually located on the side wall or at the back of the oven. It looks like a small port, sometimes with a cap you need to remove.
Carefully plug the probe’s cord into this jack. You should feel it click into place. Make sure the cord is not pinched by the oven door when you close it. The connection needs to be secure for the probe to send accurate readings.
Setting Your Desired Temperature
With the probe connected, it’s time to tell your oven what internal temperature you’re aiming for. On your oven’s control panel, you’ll find a dedicated “Probe” or “Meat Probe” setting. Activate it, then use the up or down arrows to select your target internal temperature.
Many experts say that knowing the correct target temperature is key for food safety and deliciousness. Here’s a quick guide:
| Food Item | Safe Internal Temperature (F) |
|---|---|
| Poultry (whole, ground) | 165°F |
| Ground Meat (beef, pork, lamb) | 160°F |
| Beef, Pork, Veal, Lamb (steaks, roasts, chops) – Medium-Rare | 145°F (with 3-minute rest) |
| Beef, Pork, Veal, Lamb (steaks, roasts, chops) – Medium | 160°F |
| Fish | 145°F |
These are general guidelines, and recipes may suggest slightly different temperatures for texture preferences. Always cross-reference with your recipe or reliable food safety charts (USDA).
Starting the Cook Cycle
Once the probe is in, connected, and your target temperature is set, simply choose your desired oven temperature and cooking function (like “Bake” or “Roast”). Then, press “Start.” Your oven’s display will likely show both the current internal temperature of your food and the target temperature you set. It’s like having a personal cooking assistant right there.
The oven will begin to heat up and cook your food. You can relax, knowing the probe is doing its job. You won’t need to constantly open the oven door and check, which helps maintain a stable cooking temperature inside.
Monitoring Progress and Your Oven’s Alert
As your food cooks, you’ll see the current internal temperature slowly rise on your oven’s display. It’s fascinating to watch the numbers climb. When your food reaches the set target temperature, your oven will typically beep loudly or display a “Done” message.
This alert is your signal that the food has reached its ideal doneness. The oven might even automatically switch to a “Keep Warm” setting or turn off completely, depending on your model. This feature is super convenient for busy home chefs.
When to Remove the Probe (And the Food!)
When the oven alerts you, it’s time to take out your culinary creation. Carefully open the oven door and, using oven mitts, remove the dish with the probe still inserted. It’s important to remember that the probe itself will be hot.
Carefully pull the probe out of the food. Many experts suggest allowing meat to rest for a few minutes after cooking. This resting period lets the juices redistribute, resulting in a more tender and flavorful dish. It also allows the internal temperature to rise a few more degrees, known as carryover cooking.
- Remove dish from oven with mitts.
- Carefully pull the probe from the food.
- Place the probe in a safe, heat-proof spot to cool.
- Let meat rest for recommended time.
- Unplug the probe from the oven jack when cool.
Cleaning and Storing Your Temperature Probe
After each use, it’s really important to clean your temperature probe thoroughly. Once it has cooled down, use warm, soapy water and a soft cloth. Avoid abrasive cleaners or scrubbing pads, as these can damage the probe’s surface. Pay extra attention to the tip that was in the food.
Rinse it well and dry it completely before storing. Many ovens have a designated spot or hook inside the oven for probe storage. If not, keep it in a drawer where the wire won’t get tangled or bent. Proper cleaning and storage extend your probe’s life.
Common Probe Questions and Quick Fixes
Sometimes, you might encounter an issue with your temperature probe. One common problem is a “Probe Error” message on your oven display. This usually means the probe isn’t plugged in correctly, or the connection is loose. Try unplugging it and then firmly re-inserting it into the jack. Check the probe’s connection to the food too.
We found that sometimes the probe itself might be faulty. If you’ve tried re-plugging it and still get an error, your probe might need replacing. Most oven manufacturers offer replacement probes if yours stops working.
Beyond Meat: Other Uses for Your Probe
While often associated with meat, your oven’s temperature probe can be useful for other dishes too. For example, some bakers use it to check the internal temperature of artisan bread to ensure it’s fully baked (often around 200-210°F). It can also be used for casseroles where internal temperature indicates doneness. Think of it as a tool for any recipe where precise internal heat is important.
Conclusion
Using the temperature probe in your single wall oven is an incredibly effective way to achieve consistent and safe cooking results. By correctly inserting the probe, setting your desired temperature, and letting the oven do the monitoring, you can enjoy perfectly cooked meals with minimal fuss. It’s a simple feature that significantly enhances your cooking experience, making every dish turn out just right.
FAQ: Can I leave the temperature probe in my food during the entire cooking time?
Yes, absolutely! The temperature probe is designed to stay in your food for the entire cooking process. It continuously monitors the internal temperature, sending updates to your oven’s display until your food reaches its target doneness.
FAQ: What if my oven doesn’t have a built-in probe jack?
If your single wall oven doesn’t have a built-in probe jack, you can still use an external, stand-alone digital meat thermometer with a probe. You’ll just need to carefully run the probe’s wire out the oven door, making sure it isn’t pinched too tightly, and monitor the temperature manually.
FAQ: How do I know what internal temperature to set for my food?
The correct internal temperature depends on the type of food and your desired doneness. For food safety, we found that the USDA provides reliable guidelines for meats and poultry. For personal preference (like medium-rare beef), consult trusted recipes or cooking charts (Mayo Clinic).
FAQ: Can the temperature probe go in the dishwasher?
No, typically the temperature probe should not go in the dishwasher. The electronic components and wire connection can be damaged by the harsh detergents and high heat. Always hand wash the probe with warm, soapy water and dry it thoroughly.
FAQ: My oven shows “Probe Disconnected” even when it’s plugged in. What should I do?
First, ensure the probe is firmly seated in the oven’s jack. Check for any kinks or damage to the probe’s wire. If the issue persists, try unplugging and re-plugging it. If it still doesn’t work, the probe might be faulty and could need a replacement.