
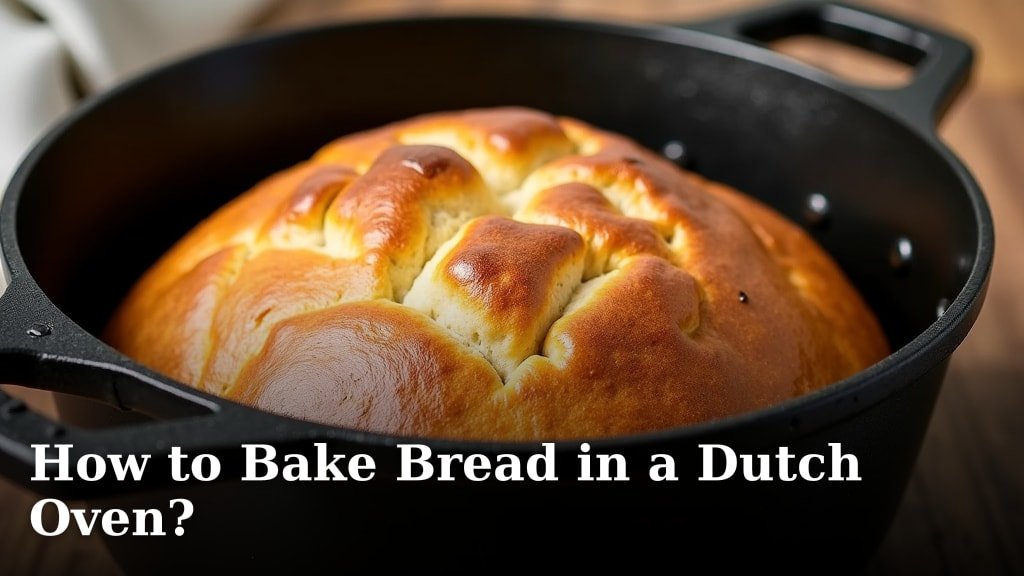
The easiest way to bake bread in a Dutch oven is to preheat the Dutch oven along with your oven. This creates a super hot, steamy environment, mimicking a professional bakery oven. It gives your homemade loaf that desired crispy crust and beautiful rise.
You might be surprised how simple it is to get bakery-quality results right in your own kitchen. Many home bakers find that a Dutch oven turns a good loaf of bread into a truly great one. It’s especially useful for no-knead bread recipes.
- Preheat your Dutch oven inside the regular oven.
- Carefully transfer your dough into the hot pot.
- Bake with the lid on first to trap steam.
- Remove the lid partway through for browning.
- Enjoy perfectly crispy, delicious homemade bread.
Ready to transform your bread-baking game? Let’s walk through exactly how to bake bread in a Dutch oven, step by simple step.
Mastering Dutch Oven Bread Baking
Baking bread in a Dutch oven is simpler than you might think. It’s all about creating the right environment for your dough to shine. Think of your Dutch oven as a mini, super-hot bakery oven right in your kitchen.
The Magic of High Heat and Steam
What makes the Dutch oven method so effective? It comes down to two things: high, consistent heat and trapped steam. Your Dutch oven gets incredibly hot during preheating. This heat transfers directly to the dough, giving it a powerful “oven spring.”
Then there’s the steam. When you put the lid on, the moisture from your dough has nowhere to go. This steamy environment keeps the crust soft and pliable initially. This lets the bread expand fully before the crust sets, achieving that beautiful, airy crumb inside. Without the steam, your crust would harden too quickly, limiting expansion.
Why Steam Matters for Crusts
Have you ever noticed how professional bakery loaves have those amazing, crunchy crusts? A big part of that is steam. As one leading culinary school explains, steam prevents the crust from forming too early (Culinary Institute of America). It allows the bread to achieve its maximum volume, then turns crispy and golden once the lid comes off.
What You’ll Need for Your Baking Journey
Before you start, gather your tools. Having everything ready makes the baking process smoother and more enjoyable. You don’t need much, just the right essentials.
Essential Equipment Checklist
Here’s a quick list of what you’ll need. We found these items are truly indispensable for consistent results.
- Large Dutch oven with a tight-fitting lid
- Heat-resistant oven mitts (important!)
- Parchment paper or a good dusting of flour
- A sharp knife or razor blade (lame) for scoring
- A cooling rack
- Your ready-to-bake bread dough
Choosing the Right Dutch Oven Size
Size matters when it comes to Dutch ovens for bread. A common question is, “What size should I use?” We typically recommend a 5 to 7-quart Dutch oven. This size is versatile enough for most standard loaf recipes.
If your Dutch oven is too small, your loaf might be crammed and dense. Too large, and the steam might dissipate more quickly, affecting your crust. A 6-quart cast iron Dutch oven is a fantastic all-around choice for home bakers.
Step-by-Step Guide to Baking Your Loaf
Let’s get to the fun part: baking your bread! Following these steps will help you achieve a perfectly beautiful and delicious loaf every time. It’s like following a trusted recipe for success.
Preheating: The Crucial First Step
This is arguably the most important step for a great crust and spring. You need a very hot environment. Your oven and your Dutch oven need to be at the same scorching temperature.
- Place your Dutch oven (with the lid) into your cold oven. Don’t forget the lid!
- Preheat your oven to 450-475°F (232-246°C).
- Let it preheat for at least 30-60 minutes. This gives the cast iron time to absorb and hold serious heat.
A Note on Oven Spring
This high temperature gives your bread what bakers call “oven spring.” It’s that rapid rise you see in the first few minutes of baking. It’s truly satisfying to watch it happen.
Transferring Your Dough Safely
Once your oven and Dutch oven are screaming hot, it’s time to transfer your dough. This step requires a little care and speed. Safety first, always!
- Carefully remove the hot Dutch oven lid using your heavy-duty oven mitts.
- Gently lower your dough into the hot Dutch oven. You can use parchment paper to help. If not, carefully slide it in.
- If using parchment paper, let a bit of it hang over the sides of the Dutch oven. This makes removing the hot loaf easier later.
- If not using parchment, you can dust the bottom of the hot Dutch oven with a tiny bit of cornmeal or rice flour to prevent sticking.
- Score the top of your dough with a sharp knife or razor blade. A few slashes allow for controlled expansion and a nice look.
- Quickly place the lid back on the Dutch oven.
Pro Tip: Work quickly but carefully. That Dutch oven is extremely hot, and you want to keep as much heat inside as possible.
Baking with the Lid On (Steam Phase)
This is where the magic steam works its wonders. The trapped moisture from your dough creates that perfect environment for expansion. Many baking resources emphasize this crucial phase (King Arthur Baking Company).
- Bake with the lid on for 20-30 minutes, still at 450-475°F (232-246°C).
- This initial bake is when your bread gets its amazing oven spring.
- The crust stays soft, allowing the dough to expand freely.
Baking with the Lid Off (Browning Phase)
Now it’s time for that gorgeous, golden-brown crust. You’ll remove the lid to let the moisture escape and the crust crisp up. Get ready for that wonderful aroma to fill your kitchen!
- Carefully remove the lid from the Dutch oven. (Again, use those mitts!)
- Continue baking for another 15-25 minutes.
- You might want to lower the oven temperature slightly to 425-450°F (218-232°C) during this phase to prevent over-browning.
- Bake until the crust is a deep golden brown and sounds hollow when tapped on the bottom.
The internal temperature of a fully baked loaf should be around 200-210°F (93-99°C) if you use a thermometer (USDA).
Cooling: Patience is a Virtue
You’ve done it! Your beautiful loaf is out of the oven. But don’t cut into it just yet. This final step is vital for the bread’s texture and flavor.
- Carefully remove the hot loaf from the Dutch oven. Use the parchment paper “handles” if you had them.
- Transfer the bread to a wire cooling rack.
- Let it cool completely for at least 1-2 hours. This allows the internal moisture to redistribute and the crumb to set. If you cut it too early, you might get a gummy texture.
We know, it’s hard to wait. The smell is incredible! But trust us, it’s worth it for that perfect slice.
Troubleshooting Common Dutch Oven Bread Issues
Even seasoned bakers sometimes run into little snags. Don’t worry, we’re here to help you navigate them. Think of these as learning opportunities!
Why is My Crust Not Crispy Enough?
This is a common question. If your crust isn’t reaching that satisfying crispness, a few things might be contributing. We often find it’s related to cooking temperatures or times.
- Under-baking with the lid off: Make sure you’re baking long enough in the second phase.
- Temperature too low: Your oven or Dutch oven might not have been hot enough. Double-check your oven thermometer.
- Too much moisture in the dough: Some doughs are wetter than others. Try reducing the water slightly next time.
My Bread Looks Pale – What Happened?
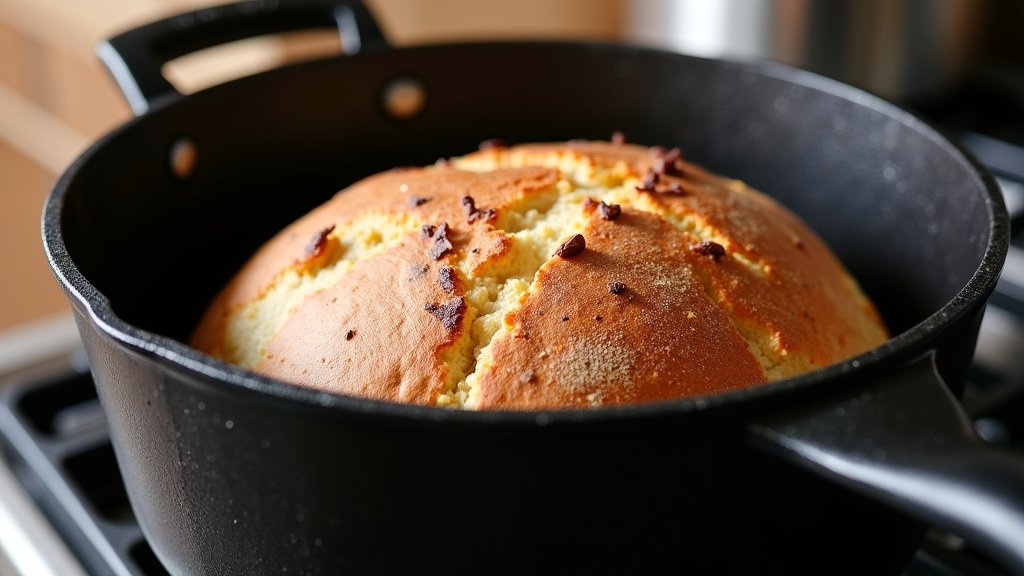
A pale crust usually means it needed more time or higher heat during the uncovered baking phase. Don’t be afraid of a deep golden color!
We recommend letting your bread get very dark brown, almost mahogany. This usually yields the best flavor and texture. If it’s too light, it’s likely not fully cooked through, even if it feels done.
Conclusion
You now have all the tools and knowledge to bake incredible bread using your Dutch oven. This method consistently delivers loaves with an amazing crispy crust and a wonderful, airy interior. Don’t be afraid to experiment with different doughs and always trust the process!
Remember, patience and a good pair of oven mitts are your best friends. Keep practicing, and you’ll soon be pulling out consistently beautiful, bakery-quality loaves. So, grab your dough and get baking!
Frequently Asked Questions
What if my Dutch oven isn’t cast iron? Can I still use it?
Yes, you can often use other heavy, oven-safe pots with tight-fitting lids. Ceramic or enamel-coated Dutch ovens work well too. Just ensure they are rated for the high temperatures needed for bread baking.
My bread keeps sticking to the bottom. What am I doing wrong?
If you’re not using parchment paper, try dusting the bottom of the hot Dutch oven with a thin layer of cornmeal or rice flour before adding your dough. Make sure your dough isn’t overly wet on the bottom either.
How do I prevent burning the bottom of my bread?
Sometimes Dutch ovens can create intense direct heat on the bottom. Try placing a folded sheet of aluminum foil or an upside-down baking sheet on the rack below your Dutch oven in the oven. This creates a buffer.
Can I bake multiple loaves in a Dutch oven?
Generally, you bake one standard-sized loaf at a time in a Dutch oven. This ensures even baking and proper steam retention. For multiple loaves, you would need multiple Dutch ovens or bake them in succession.
Is it really necessary to preheat the Dutch oven for so long?
Yes, preheating for 30-60 minutes is crucial. This step is what makes the cast iron super hot. This extreme heat provides the necessary “oven spring” and helps create that desirable crispy crust right from the start.
