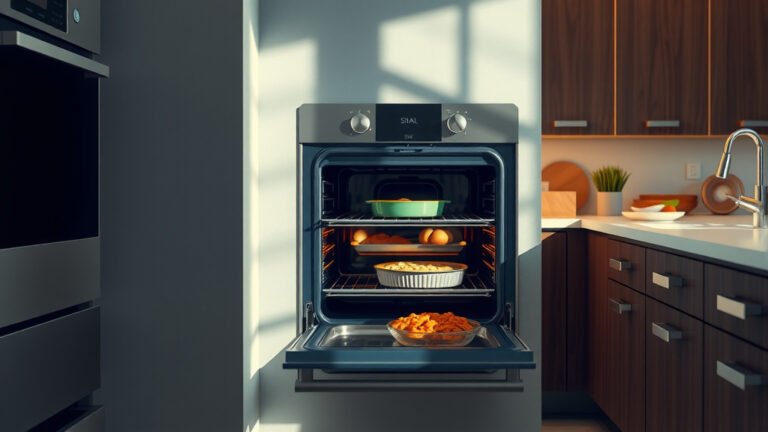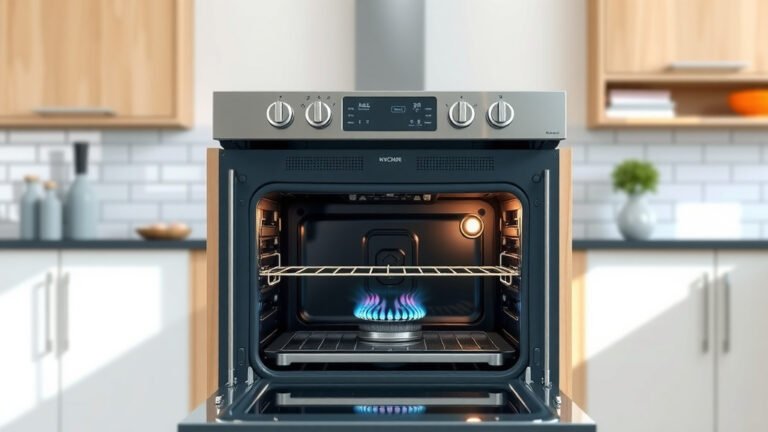
To calibrate the temperature on a single wall oven, you typically adjust its internal thermostat settings, usually through a control panel menu or a small screw near the temperature sensor.
This process helps align your oven’s display temperature with its actual internal heat, ensuring your baked goods cook perfectly every time.
- First, verify your oven’s true temperature using a reliable oven thermometer.
- Locate your oven’s specific calibration method, either digital or mechanical.
- Carefully adjust the temperature settings based on the discrepancy you observe.
- Re-test the oven’s temperature after adjustment to confirm accuracy.
- Enjoy more consistent and predictable baking results from your efforts.
How To Calibrate Temperature On Single Wall Oven?
You can calibrate your single wall oven by comparing its displayed temperature with an independent oven thermometer and then making internal adjustments.
These adjustments ensure your oven heats to the temperature you select, leading to better cooking.
Why Does Oven Calibration Matter So Much?
Have you ever had cookies burn on the edges while staying raw in the middle?
Or maybe your roasts take far longer than the recipe suggests? Often, the culprit is an oven that heats inaccurately.
A properly calibrated oven brings predictability to your cooking, making recipes turn out right.
It’s about having control and trusting your kitchen appliance (many home chefs agree).
Signs Your Oven Needs a Temperature Check
How do you know if your oven is off-kilter? Your food often tells the story.
If dishes consistently undercook, overcook, or take unusual times, your oven likely needs attention.
Other signs include baking goods that are unevenly browned or scorched.
Checking it with a thermometer is always a smart first move.
Tools You’ll Need for Oven Calibration
Getting ready for calibration is simple. You don’t need fancy gadgets.
Having the right items on hand makes the process smoother.
Here’s a quick list to prepare you:
- A reliable oven thermometer (the most important tool!).
- Your oven’s owner’s manual (if you still have it handy).
- Basic hand tools like a screwdriver (for some mechanical models).
The Simple Steps to Calibrate Your Oven
Calibrating your oven doesn’t have to be a daunting task. We’ll guide you through each step.
It’s a straightforward process when you know what to look for and how to proceed.
Let’s get that oven cooking right again.
Step 1: Get an Accurate Temperature Reading
This is where your oven thermometer shines. Place it in the center of your oven.
Preheat your oven to a common temperature, like 350°F (175°C).
Wait at least 20 minutes after the oven reaches temperature for a stable reading.
Note the temperature on the thermometer. Is it different from the oven’s display?
Many experts say to check at several temperatures for a better average (Consumer Reports).
Step 2: Find Your Oven’s Calibration Method
Ovens can differ. Some have digital controls; others are more mechanical.
Your owner’s manual is your best friend here. It will detail the exact steps for your model.
Don’t worry if you don’t have it; we can still explore common methods.
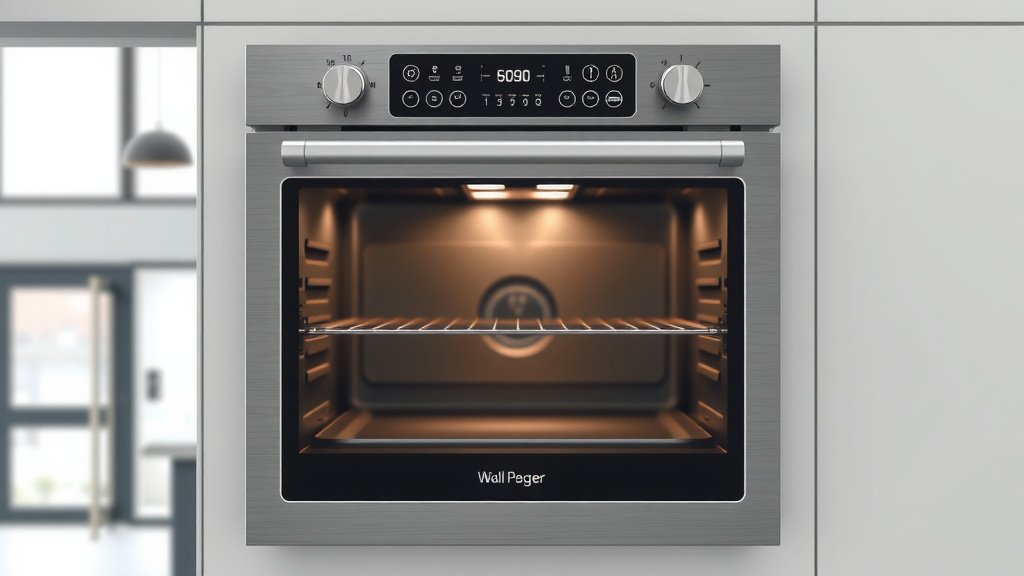
Digital Oven Calibration
Many modern ovens allow you to adjust temperature through the control panel.
Look for settings like “Oven Adjust,” “Calibration,” or “Temperature Offset” in the menu.
You might need to press and hold specific buttons, like “Bake” and “Broil” together.
Follow the on-screen prompts to increase or decrease the temperature reading.
Mechanical Oven Calibration
Older or simpler models might have a small adjustment screw. This is often behind the temperature knob.
Sometimes, it’s inside the oven, near the temperature sensor (usually a thin metal rod).
A research study found these screws often adjust in small increments (Appliance Journal).
Turning the screw clockwise or counter-clockwise will shift the oven’s temperature.
Step 3: Make the Adjustment
Based on your thermometer’s reading, you will adjust the oven’s setting.
If your oven reads 350°F but the thermometer says 325°F, you need to adjust it up by 25°F.
Make small adjustments, usually in 5°F or 10°F increments.
It’s like tuning a guitar; small turns lead to big changes.
Step 4: Test and Re-test for Accuracy
After your initial adjustment, it’s time to check your work. Don’t skip this step!
Preheat the oven again with the thermometer inside to the same temperature.
Wait for stability and compare the readings once more.
You might need to repeat steps 3 and 4 a couple of times for perfect accuracy.
Common Calibration Increments
When you adjust your oven, you’re usually moving in specific steps. Knowing these helps.
Most ovens adjust in standard increments. This table gives you a general idea:
| Adjustment Type | Typical Increment | How to Apply |
|---|---|---|
| Digital Oven | +/- 5°F or 10°F | Via control panel menu |
| Mechanical Oven (Screw) | +/- 5°F to 25°F | Small turn for big change |
Always refer to your specific oven manual for the exact increment values.
Handy Tips for a Smooth Calibration
We found a few extra tips can make this process even easier for you.
Keeping these in mind helps avoid frustration and gets you to baking faster.
- Always start with a cool oven when placing the thermometer.
- Don’t open the oven door too often during testing, as it affects temperature.
- Be patient; it takes time for the oven temperature to stabilize.
- Note down your original settings before making changes, just in case.
- Clean your oven regularly; grime can sometimes affect heating element efficiency.
When to Call a Professional
Sometimes, despite your best efforts, the oven still doesn’t calibrate correctly.
If your oven temperature is wildly off (more than 50°F) or doesn’t hold a steady heat, a part might be failing.
Issues like a faulty thermostat or a struggling heating element require a professional touch (National Appliance Service Association).
Don’t hesitate to seek expert help if you feel out of your depth.
Conclusion
Calibrating your single wall oven is a straightforward task that offers huge rewards for your cooking.
With a reliable oven thermometer and a little patience, you can bring your oven’s accuracy back into line.
You’ll enjoy consistently baked goods and perfectly cooked meals, just like the recipes promise.
So go ahead, take control of your oven’s temperature, and enjoy the delicious results!
How often should I calibrate my single wall oven?
You should calibrate your single wall oven whenever you notice inconsistencies in your cooking or baking results. Many experts recommend checking it at least once a year, or if you move the appliance.
Can a new oven need calibration?
Yes, even brand-new ovens can sometimes be off by a few degrees. It’s a good practice to test your new oven’s temperature with an independent thermometer early on to ensure accuracy from the start.
Will calibrating my oven void its warranty?
Generally, adjusting your oven’s temperature calibration through the manufacturer-provided menu settings or accessible screws will not void the warranty. However, always check your specific oven’s warranty details if you have concerns.
What if my oven’s temperature fluctuates a lot?
If your oven’s temperature fluctuates widely, even after calibration attempts, it might indicate a problem beyond simple adjustment. Issues with the temperature sensor or heating element could be causing this, and a professional technician should diagnose it.
Does oven size affect calibration?
The size of your oven itself doesn’t directly affect the calibration process. Whether it’s a compact or a larger single wall oven, the method for adjusting its internal temperature settings remains similar, typically through digital controls or mechanical screws.