How to Clean a Toaster Oven?
On this page (6 sections)
The easiest way to clean a toaster oven is to first unscrew and remove the crumb tray, wires, and racks. Then, wipe down the interior with a damp cloth and mild dish soap. Don’t forget to clean the outside surfaces too.
You probably use your toaster oven all the time. It’s perfect for quick snacks or small meals. But sometimes, it gets pretty dirty inside and out. This quick guide will help you keep it sparkling clean.
- Remove all loose parts carefully.
- Wipe down the interior with a cleaning solution.
- Tackle stubborn stains and baked-on grease.
- Clean the outside for a finished look.
- Reassemble once everything is dry.
Ready to make your kitchen appliance shine again? Let’s walk through the simple steps to clean your toaster oven.
Cleaning Your Toaster Oven Thoroughly
Cleaning your toaster oven isn’t just about appearances; it’s about hygiene and appliance longevity. A clean toaster oven performs better and lasts longer. Plus, it prevents those burnt smells and smoke when you’re simply trying to toast a bagel. Let’s get into the nitty-gritty of making it sparkle.
Safety First: Unplug and Cool Down
Before you even think about touching your toaster oven, remember this golden rule: unplug it. This step is non-negotiable for your safety. We found that many kitchen accidents involve electricity or burns, so always unplug.
Next, ensure it’s completely cool. Cleaning a hot appliance is not only dangerous but also less effective. Give it at least 30 minutes to cool after its last use. You don’t want to accidentally burn yourself on a still-warm surface.
Gather Your Cleaning Arsenal
You probably have most of these items already in your kitchen. We’re not asking you to buy anything fancy. A little preparation goes a long way to make the cleaning process smooth and efficient.
- A soft cloth or sponge
- Microfiber cloths (for buffing)
- Mild dish soap
- Warm water
- Baking soda
- White vinegar (optional, for stubborn stains)
- Rubber gloves (to protect your hands)
- A small brush or old toothbrush
- A flat, non-abrasive spatula or plastic scraper
Disassembling Your Toaster Oven for Cleaning
Think of it like preparing for surgery, but for your toaster oven. Gently taking it apart allows you to access all those hidden crumbs and grease spots. You’ll be surprised what you find accumulating in there.
Remove Crumb Tray, Racks, and Pans
The crumb tray is the MVP of your toaster oven, catching all those fallen bits. Carefully slide it out. Sometimes it’s easy, sometimes it needs a little wiggle. You’ll likely discover a collection of crispy bits and maybe even some forgotten snacks.
Next, take out the wire racks and any baking pans or trays you use inside. These are usually the dirtiest parts, bearing the brunt of spills and splatters. Set them aside; we’ll tackle them separately.
Dealing with Baked-on Goodness (or Badness)
If your accessories have baked-on food, don’t despair. A simple soak can work wonders. Fill your sink with hot, soapy water and let them sit for at least 15-20 minutes. This softens the grime, making it much easier to scrub away.
For really tough spots, consider a baking soda paste. Mix equal parts baking soda and water to form a thick paste. Apply it to the baked-on areas, let it sit for 10-15 minutes, then scrub gently with a brush or sponge. This method is surprisingly effective, we found, and won’t scratch the surfaces.
Tackling the Interior of Your Toaster Oven
This is where the real work begins. The inside of your toaster oven can get quite messy. Grease splatters, melted cheese, and burnt-on crumbs can cling to the walls and heating elements. Patience is key here.
Wipe Down the Inside Walls
First, grab a damp cloth or sponge. You want it damp, not soaking wet. Add a tiny drop of dish soap to the cloth. Gently wipe down the interior walls. Start from the top and work your way down. You will probably see a lot of grime coming off. This initial wipe removes loose crumbs and some grease.
Avoid getting too much water on the heating elements. While most toaster ovens are designed to handle some moisture, excessive water can damage components. Be mindful of those fragile parts.
Conquering Stubborn Stains and Grease
Some stains are just plain stubborn, aren’t they? For these, we found a baking soda paste to be your best friend. Mix about three tablespoons of baking soda with one tablespoon of water to create a thick paste. It should look like toothpaste.
Apply this paste directly to the stained areas. Allow it to sit for about 10-15 minutes. The baking soda works to break down the grease and lift the stains. After pausing, gently scrub with a soft sponge or an old toothbrush. You’ll see the grime start to disappear.
Here’s a quick comparison of cleaning methods for tough grease:
| Method | Pros | Cons |
|---|---|---|
| Dish Soap & Water | Simple, readily available, good for light grease. | Less effective on baked-on, stubborn stains. |
| Baking Soda Paste | Excellent for breaking down grease and stains, non-abrasive. | Requires mixing, needs dwell time. |
| White Vinegar Spray | Good for cutting grease, deodorizing, natural. | Strong smell, may require ventilation. |
After scrubbing, wipe away the paste and residue with a clean, damp cloth. You might need to rinse and wring out your cloth several times until all the baking soda is gone. You want a streak-free finish.
Cleaning the Glass Door
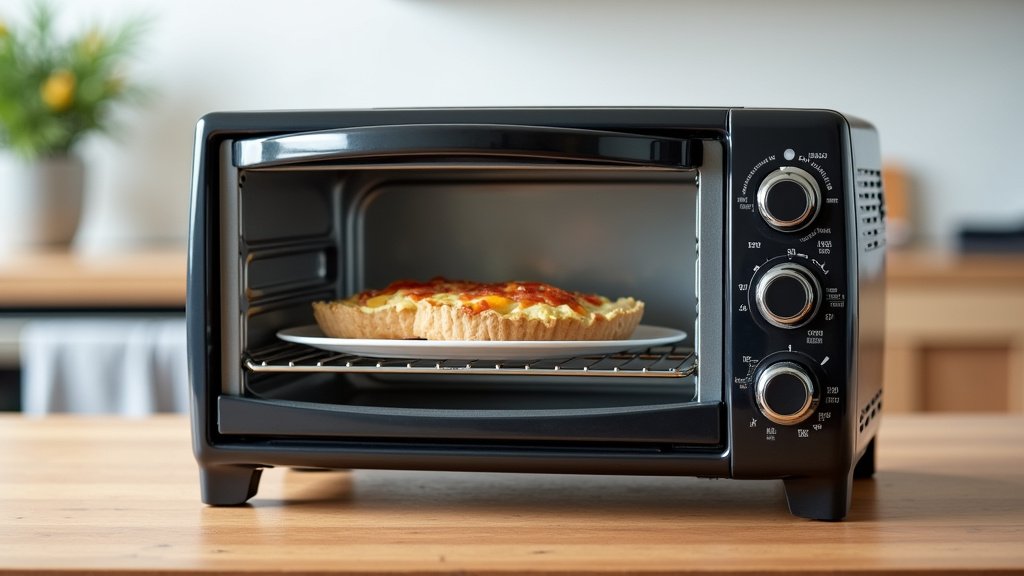
The glass door is often a window into your toaster oven’s soul – and how dirty it is! For the inside of the glass, the baking soda paste works wonderfully. For the outside, simply use a solution of warm water and dish soap, wiping with a microfiber cloth for a streak-free shine. It’s amazing what a clean door does for the whole appliance.
The Exterior: Don’t Forget the Outside
Once the inside is sparkling, you can’t neglect the outside. Fingerprints, kitchen grease, and dust can accumulate on the exterior surfaces, making your otherwise clean toaster oven look neglected. A little attention here makes a big difference.
Wipe Down Outer Surfaces
Using a clean, damp cloth with a small amount of dish soap, wipe down the entire exterior. Pay attention to the handles and knobs, which can collect a surprising amount of grime from daily use. We found that microfiber cloths are excellent for this step, as they leave no lint behind.
For stainless steel exteriors, you might consider a specialized stainless steel cleaner for that extra shine once it’s clean. Always wipe in the direction of the grain for the best results.
A Quick Checklist for Reassembly
Before you put everything back together, ensure every part is completely dry. Moisture inside your toaster oven is a no-go. We can’t stress this enough: dryness prevents rust and electrical issues (NSF International).
- Are the main interior walls dry?
- Are the heating elements free of moisture?
- Are the crumb tray, racks, and pans thoroughly dry?
- Is the power cord in good condition?
- Is the exterior completely dry and polished?
Once you’ve ticked off all these points, you can carefully reinsert the crumb tray, racks, and any other removable parts. Plug it back in, and your toaster oven is ready for its next culinary adventure!
Conclusion
You’ve now got all the tools and know-how to keep your toaster oven spotless and performing its best. Regular cleaning not only keeps it looking good but also prevents unpleasant smells and fire hazards. Make this chore a simple, quick habit, and you’ll extend the life of your appliance.
Remember, a clean toaster oven is a happy toaster oven, and it makes for happier, healthier cooking. So, take these steps and enjoy a sparkling clean kitchen companion. You’ve got this!
Frequently Asked Questions
How often should I clean my toaster oven?
We generally recommend a quick clean of your crumb tray and a wipe-down of the interior after every few uses to keep your toaster oven clean. A more thorough cleaning, as described here, is good to do once a month or as soon as you notice significant grease buildup or crumbs.
Can I use oven cleaner in my toaster oven?
No, you should avoid using commercial oven cleaners in your toaster oven. These products are often too harsh and contain chemicals that can damage the internal components or leave harmful residues. Stick to mild dish soap, baking soda, and vinegar for safe cleaning.
What if my toaster oven smells burnt even after cleaning?
A persistent burnt smell after cleaning usually means there’s still some stubborn residue you missed, perhaps on the heating elements or in hard-to-reach crevices. Let it cool completely, then inspect thoroughly with a flashlight and try another round of baking soda paste on any remaining spots.
Is it safe to get the heating elements wet?
It’s best to avoid directly soaking or spraying the heating elements with water. We found that too much moisture can damage them. Gently wipe around them with a barely damp cloth if necessary, but focus on the walls and floor, and ensure everything is completely dry before plugging the unit back in.
Can cleaning improve my toaster oven’s cooking performance?
Absolutely! A clean toaster oven reflects heat more efficiently, leading to more even cooking and toasting. Built-up grease and grime can absorb heat, making your appliance work harder and perform less effectively. Keeping it clean ensures optimal performance.