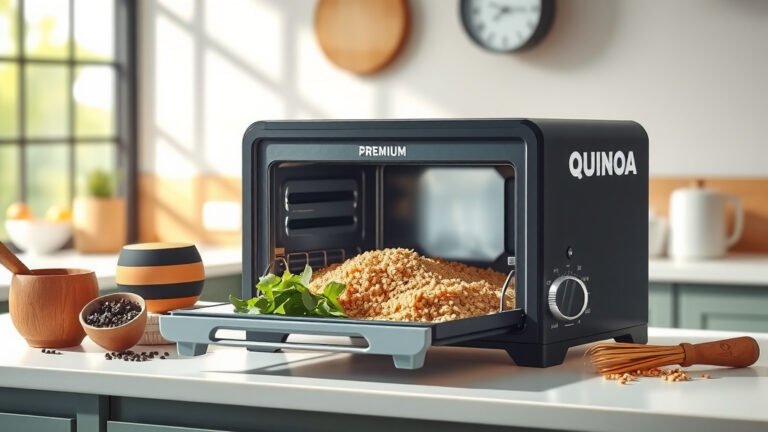
You can dehydrate food in a toaster oven by setting it to its lowest temperature, often around 150-200°F (65-93°C), and leaving the door slightly ajar to allow moisture to escape.
This process slowly removes water content from sliced fruits, vegetables, and herbs, preserving them for longer periods while concentrating their flavors.
- Dehydrating in a toaster oven is possible with the right settings and preparation.
- Always set your toaster oven to the lowest possible temperature for best results.
- Proper food preparation, like thin slicing, is key for successful dehydration.
- Ventilation is crucial; keep the toaster oven door slightly open to release moisture.
- Store your dehydrated goods in airtight containers once they are completely cool and dry.
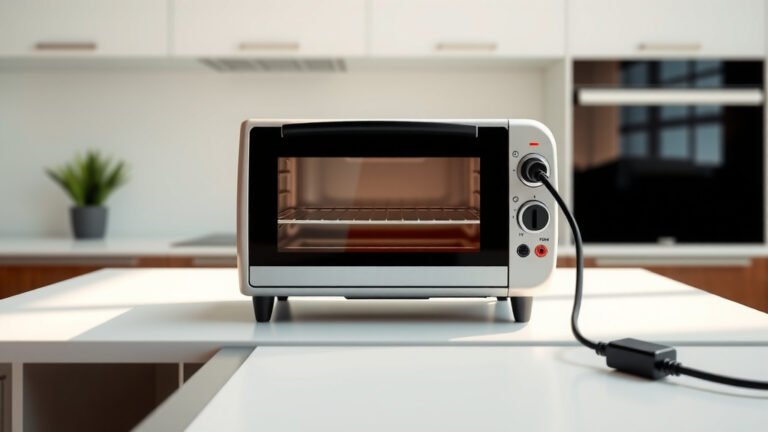
How To Dehydrate Food In A Toaster Oven?
Dehydrating food in a toaster oven involves using very low heat over several hours to remove moisture, turning fresh produce into shelf-stable snacks or ingredients.
It’s a fantastic way to preserve food, even if you don’t own a dedicated dehydrator.
Why Dehydrate Food At Home?
Dehydrating your own food can save you money on groceries. Think about those expensive dried fruit snacks!
It also helps reduce food waste by using up fresh produce before it spoils. Many experts say it’s a smart way to enjoy seasonal favorites year-round (CDC).
Plus, homemade dehydrated foods often taste better and you control all the ingredients.
Is Your Toaster Oven Up To The Task?
Not all toaster ovens are created equal for dehydrating. You’ll need one that can maintain a very low temperature, typically below 200°F (93°C).
Some newer models have a “dehydrate” setting, which is perfect. If yours doesn’t, check for the lowest possible bake setting.
A good ventilation system is also helpful, or at least the ability to prop the door open slightly.
Checking Your Toaster Oven’s Lowest Setting
Before you begin, turn your toaster oven to its lowest bake temperature. Let it run for about 15 minutes.
Can it hold that low heat consistently? If it cycles on and off at much higher temperatures, it might be too hot for dehydration.
You want a gentle warmth, not a bake.
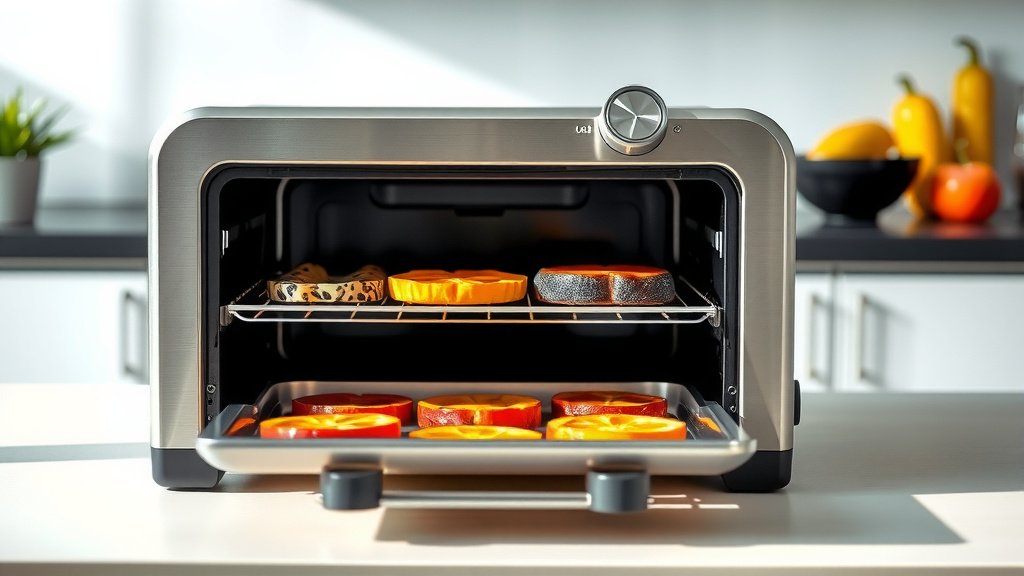
Preparing Your Food for Dehydration
Preparation is where the magic starts. Clean your produce thoroughly under cold running water.
For fruits and vegetables, consistent, thin slices are absolutely essential for even drying. Think about potato chips, but even thinner if possible.
Slice It Thin, Slice It Right
Aim for slices between 1/8 to 1/4 inch thick. A mandoline slicer can be a real time-saver here.
For some fruits, like apples or pears, a quick dip in lemon juice can prevent browning, maintaining their vibrant color (Mayo Clinic).
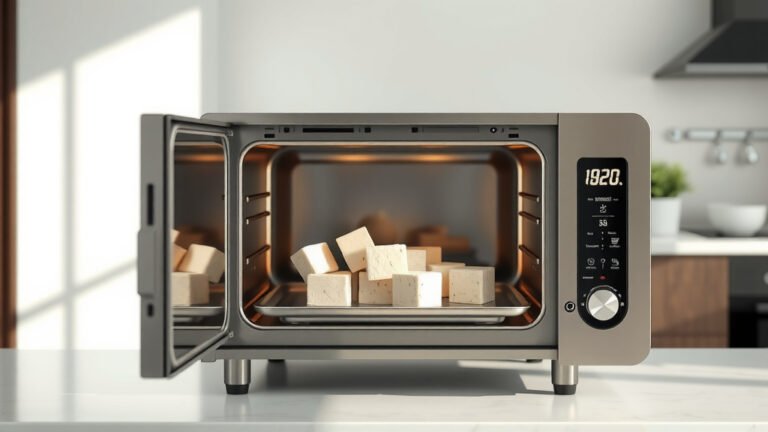
Vegetables like carrots or sweet potatoes may benefit from blanching briefly before drying.
Setting Up Your Toaster Oven for Success
Line your toaster oven’s wire racks with parchment paper. This prevents sticking and makes cleanup easier.
Arrange your food in a single layer, ensuring pieces don’t touch each other. Air circulation is key to efficient drying.
The Importance of Good Airflow
Crowding your food can lead to uneven drying and potentially mold. Give each piece its own personal space.
If your toaster oven has multiple racks, you can use them all, but be prepared to rotate them for even drying.
Temperature and Time Guidelines
Set your toaster oven to its lowest temperature, typically between 135°F and 170°F (57°C to 77°C).
Many experts suggest starting at the lower end to avoid “cooking” the food instead of dehydrating it.
The total time can range from 4 to 12 hours, sometimes even longer, depending on the food type and thickness.
| Food Type | Recommended Temperature | Approximate Time |
|---|---|---|
| Apple Slices | 135-150°F (57-65°C) | 6-10 hours |
| Banana Slices | 135-150°F (57-65°C) | 6-12 hours |
| Strawberry Slices | 135-150°F (57-65°C) | 8-12 hours |
| Carrot Slices | 140-160°F (60-71°C) | 8-12 hours |
| Herbs (e.g., Basil, Thyme) | 100-120°F (38-49°C) | 2-4 hours |
Ventilating Your Toaster Oven
Remember to prop the toaster oven door open slightly, about an inch or two. A wooden spoon works perfectly for this.
This allows humid air to escape, letting the food dry instead of steam. It’s a small but vital step.
Monitoring the Dehydration Process
Check your food every few hours. You’ll want to rotate the trays or flip the food for more uniform drying.
This prevents hot spots and ensures every piece gets equal exposure to the warm, dry air.
How to Tell When It’s Ready
Your food is fully dehydrated when it’s pliable but no longer sticky for fruits, or brittle and crisp for vegetables.
There should be no soft spots or visible moisture. Research often confirms that proper dryness prevents spoilage (NIH).
Imagine a potato chip; it should snap, not bend.
Troubleshooting Common Issues
Sometimes, things don’t go perfectly. If your food is still soft after many hours, it might not be sliced thin enough.
Uneven drying often means you need better airflow or more frequent rotation of your racks.
If you see any signs of mold, discard the food immediately.
Storing Your Dehydrated Goodies
Once your food is completely cool, store it in airtight containers. Glass jars with tight-fitting lids are excellent.
Make sure there’s no residual moisture, or it could lead to mold growth. We found that vacuum-sealed bags also work wonderfully.
Label your containers with the date and contents. Most dehydrated foods last for several months to a year when stored correctly in a cool, dark place.
Essential Dehydrating Checklist
- Choose fresh, high-quality produce.
- Clean and slice food thinly and uniformly.
- Set toaster oven to its lowest temperature (135-170°F).
- Prop the door open slightly for ventilation.
- Arrange food in a single layer on parchment-lined racks.
- Monitor and rotate trays every few hours.
- Dry until leathery (fruits) or brittle (vegetables).
- Cool completely before storing in airtight containers.
Conclusion
Dehydrating food in your toaster oven is a rewarding and practical skill. It lets you extend the life of fresh produce, create healthy snacks, and enjoy natural flavors year-round.
With a little patience and attention to detail, you’ll be amazed at what your humble toaster oven can achieve.
So, why not give it a try? Your taste buds and your wallet will thank you!
Can I use any toaster oven to dehydrate food?
Ideally, you need a toaster oven that can maintain a consistent temperature below 200°F (93°C), with some models even having a dedicated dehydrate setting around 135°F (57°C). If your lowest setting is too high, it might cook your food instead of dehydrating it.
How do I know if my dehydrated food is safe to store?
Properly dehydrated food should be completely dry. Fruits should be leathery and pliable but not sticky, while vegetables should be brittle and snap when bent. There should be no soft or moist spots, as residual moisture can lead to mold growth during storage.
Do I need to blanch vegetables before dehydrating them in a toaster oven?
Blanching is recommended for many vegetables, such as carrots, green beans, and broccoli, before dehydration. This process helps to preserve their color, flavor, and nutrients, as well as deactivating enzymes that could cause spoilage (Cleveland Clinic).
What kind of container is best for storing dehydrated food?
Airtight containers are essential for storing dehydrated food to prevent moisture reabsorption and spoilage. Glass jars with tight-fitting lids, food-grade plastic containers with sealed lids, or vacuum-sealed bags are excellent choices for long-term storage.
Can I dehydrate meat or jerky in a toaster oven?
While some people attempt it, dehydrating meat for jerky in a toaster oven can be risky due to temperature control challenges. Meat needs to reach specific temperatures to kill harmful bacteria before or during the drying process, which can be difficult to guarantee safely in a standard toaster oven.