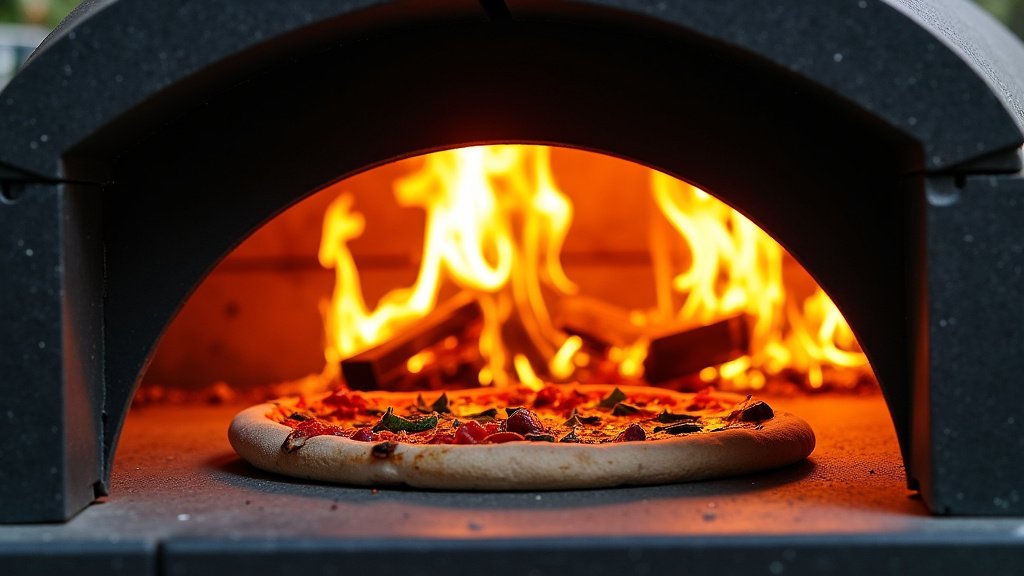
To light a wood-fired pizza oven, you’ll want to start small with kindling, gradually building a larger fire. We found that a few pieces of paper and some small, dry sticks are perfect to get the flame going. This method helps your oven heat up evenly and efficiently.
You’re aiming for a strong, clean-burning fire that heats the oven walls. This process needs a little patience, but it’s essential for that perfectly cooked pizza crust. Many experts say that proper wood selection and placement are key to success.
- Start with small, dry kindling.
- Gradually add larger pieces of wood.
- Aim for a consistent, hot flame.
- Allow the oven to reach optimal temperature.
- Maintain the fire during cooking.
Ready to bake some delicious pies? Let’s walk through exactly how to light your wood-fired pizza oven, step by step.
Getting Your Pizza Oven Fired Up Right
Lighting your wood-fired pizza oven correctly is crucial for achieving that authentic, delicious pizza. It’s not just about fire; it’s about heat management and flavor development.
Gathering Your Essential Supplies
Before you even think about striking a match, you need to have all your materials ready. This makes the process smooth and prevents interruptions once the fire is going.
Choosing the Right Wood for Your Oven
The type of wood you use significantly impacts the heat and flavor. We found that hardwoods are best for pizza ovens because they burn hotter and longer than softwoods.
- Oak: Burns hot and steady, imparting a mild, smoky flavor.
- Maple: Similar to oak, offers a clean burn and subtle sweetness.
- Ash: Easy to split and burns well, producing good heat.
- Fruit woods (apple, cherry): Offer a slightly sweeter aroma and flavor, excellent for certain pizzas.
- Avoid softwoods: Pine, fir, and cedar burn too quickly, produce excessive smoke, and can leave a resinous taste on your food.
Always use seasoned wood, which means it’s been dried for at least 6-12 months. Wet wood smokes excessively and struggles to reach high temperatures.
Kindling and Fire Starters You’ll Need
Kindling is what gets your main wood burning. Don’t underestimate its importance. You need small, easily combustible materials to start the fire.
- Small, dry sticks: About pencil-sized, they catch fire quickly.
- Paper or cardboard: A few crumpled sheets work wonders to ignite your kindling.
- Natural firelighters: Chemical-free options like wood wool or cotton soaked in wax are effective. We advise against chemical starters, as they can leave odors or residues.
Having enough kindling ensures a successful start. Running out means you might have to restart, which wastes time and effort.
The Step-by-Step Lighting Process
You’ve got your wood, your kindling, and your fire starters. Now, let’s get that oven roaring. Patience is your friend here.
Building Your Initial Fire Stack
Start with a small, manageable stack. Think of it as a tiny campfire inside your oven. This initial fire creates the foundation for your cooking heat.
Place a few crumpled pieces of paper or your natural firelighter in the center of your oven’s hearth, towards the front. Then, build a small teepee or log cabin structure around it using your smallest kindling sticks. Leave gaps for airflow.
The goal is to allow oxygen to reach the flames, helping them grow. A tightly packed fire will just smolder and smoke.
Igniting the Kindling and Nurturing the Flame
Light your paper or firelighter. Once the kindling catches, slowly add slightly larger pieces of kindling. Don’t rush this step. You want a steady, growing flame.
As the fire establishes itself, you’ll notice the flames becoming more vigorous. This is a good sign! It means your oxygen flow is good and your kindling is doing its job.
Gradually Adding Larger Logs
Once your kindling fire is burning well, begin to introduce small pieces of your hardwood. Place them gently onto the established flames. Start with pieces that are a few inches thick.
Avoid smothering the fire with too much wood at once. This can extinguish your flames or cause excessive smoke. We found that adding wood incrementally works best.
Continue adding larger logs as the fire grows. You’ll see the flames licking up the sides of the oven, starting to blacken the dome. This is part of the seasoning process, indicating heat transfer.
Monitoring and Reaching Optimal Temperature
Getting the oven hot enough is critical for perfectly cooked pizzas. It takes time, so be prepared to wait.
Observing the Oven Dome’s Color Change
One of the most satisfying parts of firing up your oven is watching the dome change color. The soot from the fire will start to burn off, revealing the original, clean brick or stone.
This process, called “curing” or “cleaning the dome,” indicates that your oven is reaching high temperatures. You’ll notice the black soot turning white or grey, starting from the back and moving forward.
When the entire dome, or at least 70-80% of it, has turned white, your oven is getting close to pizza-baking temperatures. This visual cue is a reliable indicator of readiness.
Using an Infrared Thermometer for Precision
While visual cues are helpful, an infrared thermometer gives you precise temperature readings. This tool is invaluable for ensuring your oven is truly ready.
Point the thermometer at different spots on the oven floor and walls. You’re aiming for a floor temperature between 700-900°F (370-480°C) for Neapolitan-style pizza. Many experts agree on this range for quick, crispy crusts (Wood Stone Ovens Guide).
Remember that the floor and dome temperatures might differ. You want a balance for even cooking.
Maintaining the Fire While Cooking
The fire doesn’t just go out once you start cooking. You need to maintain it to keep temperatures consistent.
Keeping the Flame Alive and Hot
While cooking, you’ll want to keep a small, active flame burning on one side of the oven. This fire continuously radiates heat to the dome and floor, ensuring quick cooking times.
Push the main embers to the back or side of the oven. Then, add a small log every 15-20 minutes, or as needed, to keep the flame alive. This replenishes the heat that gets absorbed by your pizzas.
A consistent flame means consistent pizza quality. If your flames die down, your pizzas will take longer to cook and might not get that signature leopard-spotted crust.
Monitoring and Adjusting Airflow
Airflow is critical for a good burn. If your fire is smoking excessively or struggling, it might not be getting enough oxygen.
Check if your flue or chimney is fully open. If your oven has a door, you might need to leave it slightly ajar or remove it for brief periods to allow more air in, especially when first starting.
Conversely, once the oven is hot, you might slightly close the flue to retain heat if it’s getting too hot, but generally, wood-fired ovens need good airflow to prevent a smoky, inefficient burn.
Quick Checklist for Lighting Success
To summarize, here’s a quick list to ensure you’re set up for success:
- Gather all seasoned hardwood and kindling.
- Ensure natural fire starters are at hand.
- Build a small, airy kindling stack in the oven.
- Light the kindling and gradually add small wood.
- Wait for the dome to clear (turn white).
- Confirm floor temperature with an infrared thermometer.
Troubleshooting Common Lighting Issues
Sometimes, things don’t go perfectly. Don’t worry; we’ve all been there.
Dealing with Excessive Smoke
If your oven is producing a lot of smoke, it’s usually an indication of incomplete combustion. This often means your wood is too wet, or the fire isn’t getting enough air.
Check your wood. Is it dry? If not, switch to drier wood. Also, ensure your flue is open and the fire has plenty of space around it for oxygen flow. You might need to add more kindling to get a hotter, cleaner burn.
If Your Fire Won’t Get Hot Enough
A lukewarm oven means your pizza won’t cook properly. The most common culprits are insufficient wood, wood that isn’t burning efficiently, or a lack of time.
Are you adding enough wood? You need a good amount to saturate the oven walls with heat. Is your wood seasoned? Wet wood struggles to produce high temperatures. Give the oven more time to heat up; larger ovens take longer. If you’re still struggling, our guide on why your pizza oven not getting hot enough offers further troubleshooting tips.
Also, make sure your fire is getting enough air. A smoldering fire won’t generate the heat you need for pizza.
| Issue | Possible Cause | Solution |
|---|---|---|
| Lots of smoke | Wet wood, poor airflow | Use dry, seasoned wood; increase air circulation. |
| Fire won’t start | Insufficient kindling, damp kindling | Add more dry kindling; use a reliable fire starter. |
| Oven not hot enough | Not enough wood, wet wood, insufficient time | Add more seasoned hardwood; allow longer pre-heating. |
| Flames dying quickly | Lack of oxygen, too much large wood at once | Ensure good airflow; add smaller wood pieces gradually. |
By following these steps and understanding the nuances of fire management, you’ll master lighting your wood-fired pizza oven. Get ready for some incredibly delicious pizzas!