To use a steam oven for bread proofing, you typically set a low temperature, around 80-95°F (27-35°C), and introduce steam to create a warm, humid environment that helps yeast activate and dough rise beautifully. This method helps prevent a dry crust from forming too early, giving your bread a better texture.
- Achieve perfect bread proofing using your steam oven.
- Set your oven to a low, warm temperature, usually between 80-95°F.
- Introduce steam to create ideal humidity levels, preventing your dough from drying out.
- Learn the best practices for placing your dough and monitoring its rise.
- Avoid common mistakes like over-proofing for consistently good results.
How To Use Steam Oven For Bread Proofing?
Using a steam oven for bread proofing involves setting a specific low temperature with added humidity to create an ideal environment for your dough to rise. This controlled setting helps your bread develop great flavor and texture.
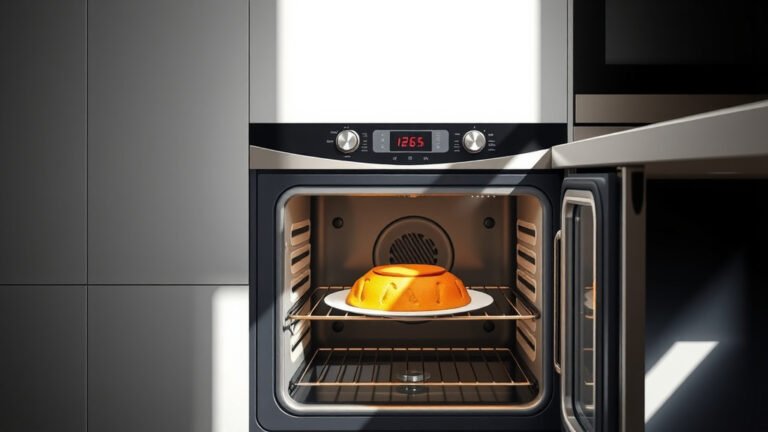
Why Your Steam Oven is a Proofing Game-Changer
Think of your steam oven as a controlled greenhouse for your bread dough. Unlike a regular oven or just leaving it on the counter, a steam oven provides consistent warmth and moisture. We found that this dual control is incredibly effective.
Yeast loves a warm, damp spot to thrive, and a steam oven offers exactly that. This method helps your dough rise evenly. It also prevents the surface from drying out and forming a “skin” too quickly (National Association of Bakers).
The Perfect Proofing Environment
What makes a steam oven so good? It’s all about creating the right microclimate. You want temperatures generally between 80-95°F (27-35°C). Simultaneously, you need a good amount of steam, often around 60-80% humidity. We found that this balance is key for optimal yeast activity.
Getting Your Dough Ready for Its Spa Day
Before your dough goes into the steam oven, do your usual kneading and shaping. Make sure your dough is in a bowl or on a baking sheet. Lightly oiling the bowl can prevent sticking, which is always a good idea.
Many experts say to cover your dough loosely with plastic wrap or a damp towel. This adds an extra layer of protection against drying. Even in a humid environment, a little extra care never hurts.
Step-by-Step Proofing in Your Steam Oven
Ready to get started? It’s simpler than you might think. Just follow these steps for a happy dough.
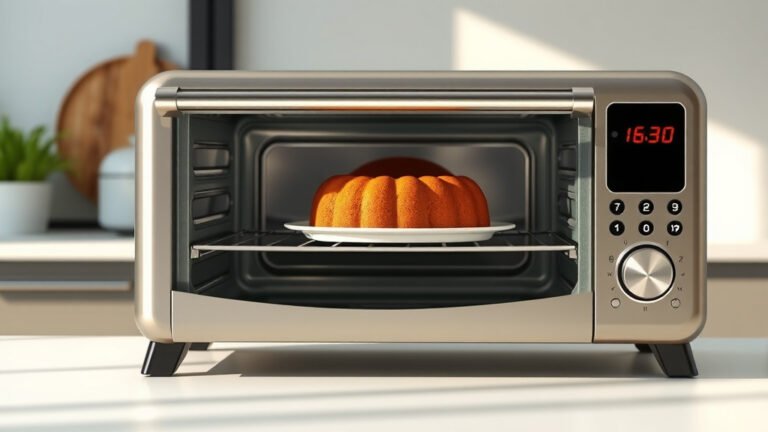
Setting the Temperature
Turn on your steam oven. Set the temperature to that sweet spot, generally 80-95°F (27-35°C). Some ovens have a dedicated “proofing” setting. If yours does, definitely use it. If not, pick the lowest warm setting that allows for steam.
Adding the Steam
This is where the magic happens. Select a steam function. You might have a low steam or medium steam option. The goal is to introduce moisture. Your oven might even have a specific “steam proof” mode.
If your oven doesn’t have a direct steam proofing mode, don’t worry. Some models let you pour water into a reservoir. Just make sure you follow your oven’s manual for steam generation. Research often connects proper humidity with better bread texture (Journal of Food Science).
Placing Your Dough
Carefully place your dough inside the preheated, steamy oven. Make sure it’s on an oven-safe rack or tray. Keep it on the middle rack for the most even heat distribution.
Monitoring the Proof
Proofing times vary greatly. It depends on your recipe, yeast type, and kitchen temperature. Generally, it takes anywhere from 30 minutes to 90 minutes. Keep an eye on your dough through the oven door. It should double in size. Avoid opening the door too often, as this releases heat and steam.
How to Tell if Your Dough is Proofed?
Knowing when your dough is ready is a skill you’ll quickly develop. Here’s a simple checklist:
- Does the dough look visibly larger, often doubled in size?
- When you gently poke the dough with a floured finger, does the indentation slowly spring back halfway?
- Does the dough feel light and airy, almost pillowy?
- Does it show signs of gas bubbles forming just under the surface?
- Has the overall shape expanded nicely, without looking stretched thin?
If you answered yes to most of these, your dough is likely ready for the next step!
Common Proofing Mistakes to Avoid
We all make mistakes, especially when learning something new. With steam oven proofing, there are a couple of common pitfalls. Being aware of them can save your bread.
Over-Proofing Your Dough
This is a big one. Over-proofed dough often collapses when you bake it. It can also taste yeasty and have a crumbly texture. Keep an eye on the time and that poke test. If it doesn’t spring back at all, you might be over-proofed.
Not Enough Humidity
Without enough steam, your dough can dry out. This forms a crust too early, limiting its ability to rise. Always ensure your steam function is active and working throughout the proofing process.
Comparing Proofing Methods
It’s helpful to see how steam proofing stacks up against other methods. Each has its pros and cons, but many experts say the steam oven offers real consistency.
| Method | Pros | Cons |
|---|---|---|
| Countertop Proofing | Simple, no special equipment needed. | Uncontrolled temperature/humidity, can take a long time. |
| Oven with Light On | Creates some warmth. | No humidity, inconsistent temperature, can still dry out. |
| Dedicated Proofing Box | Excellent control over heat and humidity. | Extra equipment to buy and store, can be expensive. |
| Steam Oven | Precise temperature and humidity control, prevents drying. | Requires a steam oven, initial learning curve for settings. |
Beyond Proofing: Other Uses for Steam in Baking
Your steam oven is not just for proofing, of course. Many bakers use steam for the actual baking process itself. A burst of steam at the start of baking can create an amazing crust and oven spring. This gives you that professional-looking finish and often a better crumb structure.
We found that steam can really elevate your baking. It’s a versatile tool once you get the hang of it. Think of it as your secret weapon for making bakery-quality bread at home.
Conclusion
Using your steam oven for bread proofing is a fantastic way to achieve consistently great results. By providing a warm, humid environment, you’re helping your yeast do its best work. This leads to dough that rises beautifully, creating bread with an airy texture and excellent crust. Don’t be afraid to experiment with your oven’s settings. You’ll quickly discover the ideal conditions for your favorite recipes. Happy baking!
Can I use any steam oven for bread proofing?
Most steam ovens with adjustable temperature and steam functions can be used for bread proofing. Look for settings that allow for low temperatures (80-95°F) and controlled steam release. Check your oven’s manual for specific proofing modes or recommendations.
What if my steam oven doesn’t have a “proofing” setting?
No dedicated proofing setting? No problem! You can manually set your oven to a low temperature, typically around 80-95°F (27-35°C), and then activate a low or medium steam function. Just ensure the temperature is stable and consistent.
How long should I proof bread in a steam oven?
Proofing times vary widely based on the recipe, yeast type, and ambient conditions. In a steam oven, it typically takes 30 to 90 minutes. Always perform the “poke test” to check if your dough is ready: gently poke it, and if the indentation slowly springs back halfway, it’s usually good to go.
Will steam proofing change the taste of my bread?
Steam proofing primarily affects the texture and rise of your bread, not its fundamental taste. By creating an ideal environment for yeast, it helps the dough achieve its full potential, often resulting in a lighter, airier crumb and a better overall structure that enhances the flavor experience.
Is it possible to over-proof dough in a steam oven?
Yes, it is definitely possible to over-proof dough in a steam oven, just like with any other method. The controlled warmth and humidity can sometimes speed up the process. Always monitor your dough closely, watching for it to double in size and using the poke test to determine readiness to prevent over-proofing.