Curing a new pizza oven typically takes 3 to 5 days for most wood-fired models, involving a gradual increase in temperature to dry out moisture.
For gas or electric ovens, the curing process is often quicker, usually requiring just 1 to 2 hours of initial low-heat seasoning.
- Curing is essential to remove moisture from your new pizza oven’s materials, preventing damage.
- The duration depends on your oven type: wood-fired ovens need more time, typically 3-5 days.
- Gas and electric ovens cure much faster, often in a few hours.
- Follow a gradual temperature schedule, starting low and slowly increasing heat each day.
- Skipping curing can lead to cracks and damage, shortening your oven’s lifespan.
How Long To Cure A New Pizza Oven?
Curing a new pizza oven involves a careful process of drying out its construction materials. This critical step prevents damage and ensures your oven performs beautifully for years to come.
What is Curing and Why is it Necessary?
Imagine your new pizza oven as a fresh, damp canvas. The mortar, brick, and refractory materials contain a lot of water. Curing is the act of gently evaporating this moisture. It’s like letting a cake cool slowly to prevent it from cracking.
This drying process makes the oven structure strong and stable. If you rush it, the trapped moisture turns to steam. This steam can create cracks or even explosive spalling, which means pieces breaking off the oven surface (Pizza Oven Manuals).
Why You Must Cure Your Oven
You wouldn’t run a marathon without training, right? Similarly, your pizza oven needs preparation before its big cooking debut. Curing strengthens the oven’s integrity against the extreme heat cycles it will face. It’s about building durability from the start.
Many experts say that skipping this step is the number one cause of early oven failure. We found that proper curing extends your oven’s life significantly. Think of it as investing time now to save money and frustration later.
Understanding Different Oven Types
The time you spend curing depends heavily on the type of pizza oven you own. Each material reacts differently to heat and moisture removal. Knowing your oven is the first step to success.
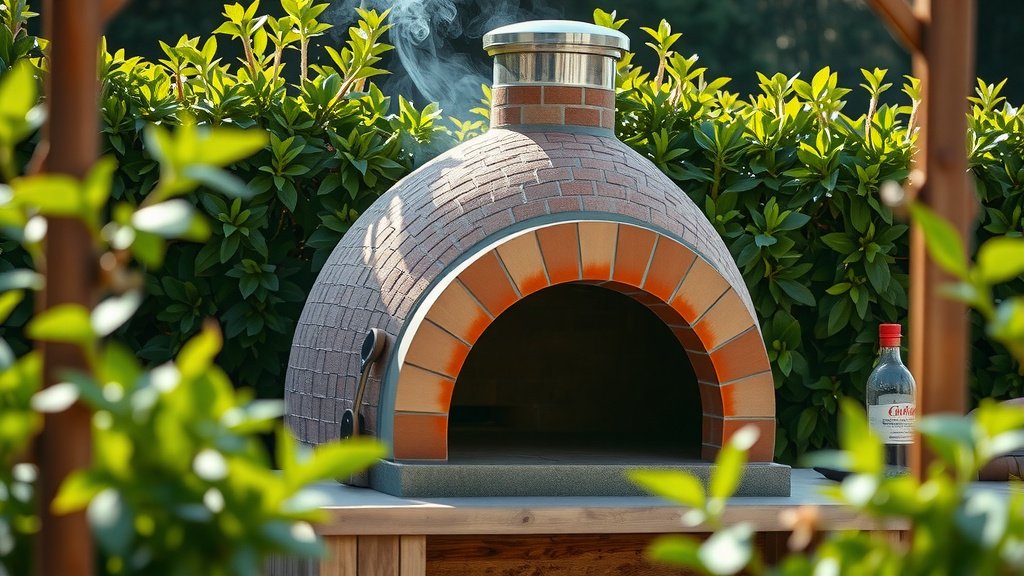
Wood-Fired Ovens
These traditional ovens, often made from refractory cement, brick, or clay, hold significant moisture. Curing a wood-fired oven typically takes 3 to 5 days. Some larger, more substantial builds might even need a full week.
The slow, gradual heating is paramount for these ovens. You are literally baking out the water. Many manufacturers provide specific guidelines for their particular models (Dome Oven Guides).
Gas Pizza Ovens
Gas ovens generally have a much quicker curing or seasoning process. They use different materials that don’t retain as much moisture. You’re usually looking at a 1 to 2-hour session at a low to medium temperature.
This initial burn-in helps to remove any manufacturing oils or residues. It also acclimates the metal components to heat. Always consult your oven’s manual for exact recommendations.
Electric Pizza Ovens
Electric ovens are often the simplest to cure. Similar to gas ovens, the process is usually short, around 1 to 2 hours. The goal is to burn off any factory smells and ensure components are working.
Again, check your manual. Some electric ovens might only require running them at a low temperature for a short period. It’s less about drying and more about initial seasoning.
The Curing Timeline: What to Expect
Let’s walk through a typical curing schedule for a wood-fired oven. Remember, patience is a virtue here. You are building a solid foundation for future delicious pizzas.
First Day: Gentle Heat
Start with a very small, gentle fire. Think of it as a small campfire, not a roaring blaze. You want the internal temperature to be around 150-200°F (65-93°C). Maintain this for 4-5 hours. This initial warmth starts the evaporation process slowly.
You might see steam coming from the oven opening. That’s a good sign! It means moisture is leaving the materials. Keep the fire small to avoid rapid temperature changes.
Day 2-3: Increasing the Temperature
On day two, you can slowly increase the fire size. Aim for temperatures around 250-350°F (121-177°C). Maintain this for another 4-5 hours. You are gradually heating deeper into the oven’s structure.
Day three follows a similar pattern, pushing temperatures to about 400-500°F (204-260°C). Continue burning for 4-5 hours. The goal is to incrementally dry out the oven, preventing stress on the materials.
Final Curing Days: Reaching Pizza Heat
For days four and five, you can build fires that approach actual pizza cooking temperatures, around 600-700°F (315-370°C). Hold these temperatures for a few hours each day. This final stage ensures all residual moisture is gone and the oven is ready for high-heat cooking.
We found that completing these steps thoroughly sets you up for long-term success. Don’t rush these last days; they are just as important.
Temperature Schedule for Curing
This table offers a general guide for curing a wood-fired pizza oven. Always refer to your specific oven’s manual first.
| Curing Day | Target Temperature Range | Duration |
|---|---|---|
| Day 1 | 150-200°F (65-93°C) | 4-5 hours |
| Day 2 | 250-350°F (121-177°C) | 4-5 hours |
| Day 3 | 400-500°F (204-260°C) | 4-5 hours |
| Day 4 | 550-650°F (288-343°C) | 3-4 hours |
| Day 5 | 650-750°F (343-399°C) | 3-4 hours |
Signs Your Oven is Cured and Ready
How do you know when your oven is truly ready for its first pizza? Look for a few key indicators. The most obvious sign is the absence of steam from the oven opening, even at higher temperatures.
The interior walls should appear dry and uniform in color. You shouldn’t see any damp patches. A fully cured oven will also hold heat more consistently, a sign that the materials are fully dry and performing as intended (Oven Maintenance Guides).
Essential Curing Checklist
Preparing for your oven’s first use means more than just lighting a fire. A little planning goes a long way.
- Read your oven’s specific manual before starting.
- Gather small, dry kindling and small logs for gentle fires.
- Have an infrared thermometer to monitor internal temperatures.
- Ensure you have a full, uninterrupted schedule for each curing day.
- Keep a spray bottle of water handy for fire control (just in case).
- Protect your oven from rain or extreme weather during the curing process.
What Happens If You Skip Curing?
Skipping the curing process is a bit like driving a car without oil. It might work for a little while, but serious damage is inevitable. The most common issues are cracks forming in the dome, hearth, or chimney.
These cracks not only look bad but also compromise your oven’s ability to hold heat. This leads to inefficient cooking and a shorter lifespan for your investment. We found that early cracks are almost always linked to insufficient curing.
Common Curing Mistakes to Avoid
It’s easy to make a mistake when you’re excited to use your new oven. Here are a few things to watch out for. Don’t build a massive fire on day one. You want slow, gentle heat, not an inferno.
Avoid trying to bake a pizza too soon. The temptation is real, but resist it! Rushing the process will only lead to disappointment. Also, don’t leave your oven exposed to rain during curing. Water re-absorption defeats the purpose (Industry Best Practices).
Patience is Your Best Ingredient
Think of curing as the first, most important ingredient for perfect pizza. Just like a slow-fermented dough yields the best crust, a patiently cured oven delivers the best cooking experience. You’re building a relationship with your oven from day one.
Conclusion
Curing your new pizza oven is a crucial, non-negotiable step that safeguards your investment and enhances your cooking experience. While the time varies based on your oven type – 3 to 5 days for wood-fired models, and a few hours for gas or electric – the principle remains the same: gradually dry out the materials. By following a steady temperature schedule and avoiding common mistakes, you’ll ensure your oven is robust, efficient, and ready to bake countless delicious pizzas. Your patience now means years of enjoyment later.
How do I know if my wood-fired oven is fully dry after curing?
You’ll know your wood-fired oven is fully dry when you no longer see steam rising from the dome or opening, even after several hours of consistent heat. The interior refractory materials should also appear lighter and uniform in color, without any damp patches.
Can I cure a pizza oven in cold weather?
Yes, you can cure a pizza oven in cold weather, but it might take a bit longer. Cold, damp conditions mean moisture evaporates slower. It’s important to protect the oven from rain, snow, or excessive humidity during the curing period to prevent moisture re-absorption.
What is the ideal fuel to use for curing a wood-fired pizza oven?
For curing a wood-fired pizza oven, use small pieces of very dry, seasoned hardwood kindling. Avoid using large logs, treated wood, or materials that produce excessive smoke. Small, consistent fires are key to a slow and gentle drying process.
Is it normal for a new pizza oven to smoke a lot during curing?
A new pizza oven might produce some smoke during the initial curing phase, especially on the first day, as residual moisture and manufacturing oils burn off. However, excessive, heavy smoke indicates the fire might be too large or the wood too damp. Aim for a clean, gentle flame.
Can I put food in my oven during the curing process?
No, you should not put food in your oven during the curing process. The primary goal is to dry the oven materials and burn off any manufacturing residues. Cooking food at this stage could introduce unwanted flavors or expose food to unburnt residues, and the oven isn’t at a stable cooking temperature anyway.