
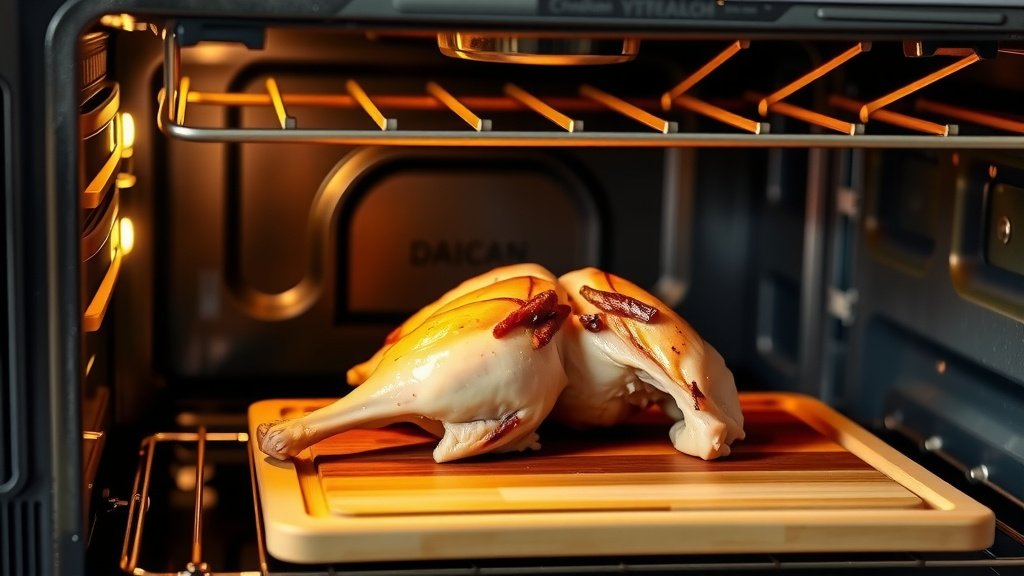
To cook chicken breast in a gas oven, preheat your oven to 400°F (200°C) and bake for 20-30 minutes until the internal temperature reaches 165°F (74°C).
Ensure your chicken breasts are evenly sized and seasoned for the best cooking results in a gas oven, checking for doneness with a meat thermometer.
- Preheat your gas oven to 400°F (200°C) for even cooking.
- Season chicken breasts well for maximum flavor and moisture retention.
- Bake for 20-30 minutes, turning once for uniform browning and tenderness.
- Always use a meat thermometer to confirm an internal temperature of 165°F (74°C).
- Rest the cooked chicken for 5-10 minutes before slicing to keep it wonderfully juicy.
How To Cook Chicken Breast In Gas Oven?
Cooking chicken breast in a gas oven involves consistent heat and precise timing to achieve juicy, perfectly cooked results.
You can easily master this by following a few simple steps for delicious meals every time you cook.
Understanding Your Gas Oven
Gas ovens cook differently than electric ones. Many people find their gas ovens have a slightly more humid heat, which can be great for moisture.
However, they can also have hot spots, so understanding your oven’s quirks helps a lot.
The Heat Distribution Difference
We found that gas ovens often cook more from the bottom due to the flame source. This means items on lower racks might brown faster.
Knowing this helps you rotate your food or adjust rack placement as needed for even cooking.
Preheating Is Key
You might think skipping preheating saves time, but it’s a mistake. Preheating your gas oven allows it to reach a stable, consistent temperature.
This prevents the chicken from drying out or cooking unevenly. Always give your oven at least 15-20 minutes to preheat.
Preparing Your Chicken Breast for Success
Great cooking starts with great preparation. Taking a few extra minutes here makes a big difference in the final taste and texture.
It’s about setting yourself up for a win before the cooking even begins.
Choosing the Right Cut
Opt for boneless, skinless chicken breasts. They cook faster and more evenly than bone-in options.
If your breasts are very thick, consider pounding them slightly to an even thickness. This ensures they cook through at the same rate (USDA).
Seasoning for Flavor
Don’t be shy with seasoning! A simple mix of salt, black pepper, garlic powder, and paprika works wonders.
For more flavor, try fresh herbs like rosemary or thyme. Rubbing a little olive oil on the chicken helps the seasoning stick and keeps it moist.
To Brine or Not to Brine?
Brining can add amazing moisture to chicken breast, especially if you fear it might dry out. A simple salt solution for 30 minutes can do the trick.
However, it’s not strictly necessary if you plan to cook it quickly and monitor the temperature closely.
The Step-by-Step Cooking Process
Once your chicken is prepped, the actual cooking is straightforward. Follow these steps for reliable, delicious results every time.
It’s simpler than you might think to get that perfect golden-brown exterior and juicy interior.
Setting the Oven Temperature
Many experts recommend a higher temperature for chicken breast, around 400°F (200°C).
This high heat helps sear the outside quickly, locking in juices before the inside overcooks.
Pan Selection Matters
Use a baking sheet or an oven-safe dish. A shallow pan allows for better air circulation around the chicken.
Lining your pan with parchment paper or foil makes cleanup a breeze, which is always a bonus!
Cooking Time Essentials
For average-sized boneless, skinless chicken breasts (about 6-8 ounces each), expect them to cook for 20-30 minutes at 400°F (200°C).
You might want to flip them halfway through to promote even browning, especially in a gas oven.
The Importance of a Meat Thermometer
This is your secret weapon against dry chicken. Always use a meat thermometer to check doneness (FoodSafety.gov).
Insert it into the thickest part of the breast. When it reads 165°F (74°C), your chicken is safely cooked and ready.
Ensuring Juicy Results
No one wants dry, rubbery chicken breast. The key to juicy results lies in two simple practices: proper temperature and resting.
These small steps make a huge difference in the final experience.
Don’t Forget to Rest
After taking the chicken out of the oven, do not cut into it immediately. Cover it loosely with foil and let it rest for 5-10 minutes.
This resting period allows the juices to redistribute throughout the meat, keeping it moist and tender.
Common Pitfalls and How to Avoid Them
Even experienced cooks can make mistakes. Knowing what to watch out for helps you avoid common problems and perfect your technique.
It’s like learning from others’ experiences without having to make the same errors yourself.
Here are some things to avoid:
- Not preheating your oven, leading to uneven cooking.
- Overcrowding the pan, which steams the chicken instead of roasting it.
- Cutting into the chicken too early, losing precious juices.
- Guessing doneness instead of using a meat thermometer, often resulting in dry meat.
- Not patting chicken dry before seasoning, which hinders browning.
Recipe Idea: Simple Herb-Roasted Chicken Breast
Let’s put this all into practice with a quick, delicious recipe. This simple approach yields fantastic flavor.
You’ll be amazed at how easy it is to create a restaurant-quality meal at home.
| Ingredient/Step | Amount/Description |
|---|---|
| Chicken Breasts | 2 boneless, skinless (6-8 oz each) |
| Olive Oil | 1 tablespoon |
| Dried Herbs | 1 teaspoon (Italian blend, oregano, or thyme) |
| Garlic Powder | 1/2 teaspoon |
| Salt & Pepper | To taste |
| Oven Temp | 400°F (200°C) |
| Cook Time | 20-30 minutes |
Your Quick Checklist for Perfect Chicken
Keep this handy list nearby next time you cook chicken breast in your gas oven. It’s a great reminder of the key steps.
Following these points will consistently lead to delightful, moist chicken.
- Preheat oven to 400°F (200°C).
- Pat chicken dry.
- Season generously.
- Use a suitable baking pan.
- Check internal temperature (165°F / 74°C).
- Rest the chicken for 5-10 minutes.
Conclusion
Cooking chicken breast in a gas oven doesn’t have to be a mystery. By understanding your oven’s characteristics and applying a few simple techniques, you can achieve perfectly juicy results every time.
Remember to preheat, season well, use a meat thermometer, and always allow your chicken to rest. With these tips, you’re well on your way to becoming an oven-roasted chicken master!
How do I prevent chicken breast from drying out in a gas oven?
To prevent dry chicken, preheat your oven properly, avoid overcooking by using a meat thermometer to reach exactly 165°F (74°C), and always let the chicken rest for 5-10 minutes after cooking to redistribute juices.
Should I cover chicken breast when baking it in a gas oven?
Generally, you don’t need to cover chicken breast when baking it in a gas oven. Leaving it uncovered allows for better browning and a crisper exterior. However, if it’s browning too quickly, a loose foil tent can help slow it down.
What rack position is best for chicken breast in a gas oven?
The middle rack is usually the best position for cooking chicken breast in a gas oven. This allows for the most even heat distribution, balancing the bottom heat source with the top browning.
Can I cook frozen chicken breast in a gas oven?
Yes, you can cook frozen chicken breast in a gas oven, but it will take about 50% longer than thawed chicken. Ensure you verify it reaches 165°F (74°C) with a meat thermometer. Thawing beforehand is always recommended for better texture.
How do I know if my chicken breast is cooked through without a thermometer?
While a thermometer is always recommended, you can sometimes check by piercing the thickest part with a knife. If the juices run clear and the meat is opaque throughout, it’s likely done. However, this method is less reliable and can lead to dry chicken if you cut into it too much.
