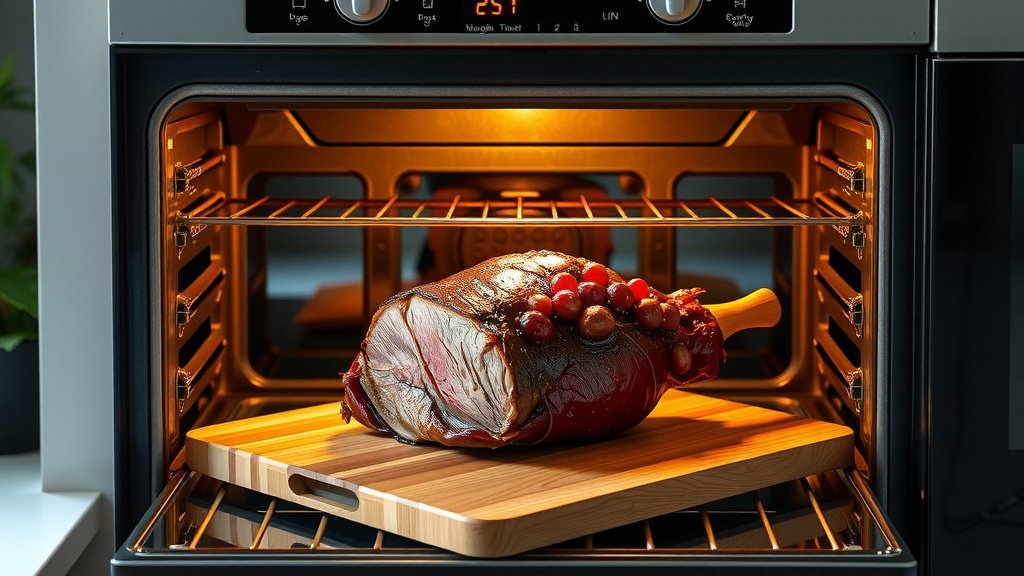
To cook venison in an electric oven, generally aim for a low to medium temperature around 300-325°F (150-163°C) and ensure you add moisture to prevent drying out. Resting the meat afterwards is just as important for a tender, juicy result.
The key to perfect venison is gentle cooking and careful monitoring of internal temperature, which should reach 130-135°F (54-57°C) for medium-rare, allowing it to climb slightly during resting.
Here’s a quick overview of what you’ll find in this guide:
- Understand why venison is different from beef.
- Learn essential preparation steps for optimal flavor.
- Discover the best oven temperatures and cooking times.
- Get tips on keeping your venison moist and tender.
- Find out how to tell when your venison is perfectly done.
How To Cook Venison In Electric Oven?
Cooking venison in an electric oven requires understanding its lean nature. You will primarily focus on lower temperatures and methods to retain moisture.
Understanding Venison: Not Your Average Beef
Venison, being wild game, presents unique cooking characteristics. It is significantly leaner than most domestic meats. This means it has less fat content, which can lead to dryness if not cooked carefully.
Think of it like a marathon runner compared to a couch potato. The runner, venison, has very little insulating fat. This demands a different approach than fattier cuts of beef.
Why Electric Ovens Are Great for Venison
Electric ovens often provide a very consistent heat source. This steady temperature control is ideal for venison. You can maintain a gentle warmth, which helps prevent overcooking. We found that consistent heat is a friend to lean meats (USDA).
Prepping Your Venison: The First Steps to Success
Proper preparation lays the groundwork for delicious venison. Don’t skip these initial stages. They truly make a difference.
Thawing Safely
If your venison is frozen, thaw it slowly in the refrigerator. This slow process helps keep the meat tender. Avoid thawing on the counter, as this can invite bacteria. Many experts say slow thawing is best for texture (Mayo Clinic).
Marinating: Your Moisture Ally
Marinating venison is a fantastic way to add moisture and flavor. A good marinade can also help tenderize the meat. We found that marinades with acids, like vinegar or citrus, break down tough fibers. Consider a blend of olive oil, red wine, garlic, and herbs.
Bringing to Room Temperature
Before cooking, let your venison sit out for 30-60 minutes. This brings it closer to room temperature. This simple step helps the meat cook more evenly. It prevents the outside from overcooking before the inside is done.
Setting the Stage: Oven Temperature and Timing
Getting the oven temperature right is half the battle. We’re aiming for a slow, gentle roast. This prevents the muscle fibers from seizing up and becoming tough.
Here’s a general guide:
| Cut of Venison | Oven Temperature | Approximate Cook Time (Medium-Rare) |
|---|---|---|
| Roast (Loin, Rump) | 300-325°F (150-163°C) | 15-20 min per pound |
| Steaks/Chops (Thicker) | 350°F (175°C) (After Searing) | 10-15 minutes |
| Ground Venison (Meatloaf, etc.) | 350-375°F (175-190°C) | Varies by recipe, ensure internal temp. |
Always remember these are guidelines. Your oven might vary slightly. An accurate meat thermometer is your best friend here.
Mastering Moisture: Essential Techniques
Keeping venison moist is a top priority. Without fat, it dries out very easily. So, what are your options?
Barding or Larding
Some people wrap lean cuts of venison with bacon or fatback. This is called barding. It adds fat and flavor, keeping the meat moist. Another option is larding, which involves inserting strips of fat into the meat itself.
Basting for Success
Regular basting can help. Use pan juices, broth, or your marinade. Every 20-30 minutes, open the oven and baste. This continuous moisture keeps the surface from drying out. It’s like giving your venison a drink while it cooks.
Using a Roasting Pan with Liquid
Place your venison roast in a roasting pan with a little liquid. This could be broth, water, or even a bit of wine. The liquid creates a humid environment. It helps steam the meat gently, keeping it from becoming bone-dry. Many chefs recommend this simple trick.
The Internal Temperature Test: Don’t Guess!
This is perhaps the most important tip. Don’t guess if your venison is done. Use a reliable meat thermometer. It’s the only way to ensure perfect results every single time.
Here are target temperatures:
- Rare: 125-130°F (52-54°C)
- Medium-Rare: 130-135°F (54-57°C)
- Medium: 135-140°F (57-60°C)
- Well-Done: 145°F (63°C) (Generally not recommended for venison due to dryness risk)
Remove the venison from the oven when it’s about 5 degrees below your target. It will continue cooking as it rests.
Resting Your Venison: The Secret to Juiciness
Once your venison reaches the desired internal temperature, take it out of the oven. Cover it loosely with foil. Let it rest for 10-20 minutes, depending on the size of the cut. This resting period is not optional; it’s vital.
During rest, the juices, which have gathered in the center, redistribute throughout the meat. Cutting too early means all those lovely juices will run out onto your cutting board. This leaves you with dry, tough meat. Don’t cheat yourself out of a tender bite!
Common Mistakes to Avoid
We’ve all made cooking mistakes. Learning from them makes us better cooks. Here are some common venison errors to sidestep.
- Overcooking: The biggest sin with venison. It dries out quickly. Always use a thermometer.
- High Heat: Starting with too high heat will toughen the outside quickly.
- No Resting: Cutting into the meat immediately lets all the juices escape.
- Ignoring Marinade: For leaner cuts, a good marinade is a game changer.
Your Venison Cooking Checklist:
- Thaw venison properly in the fridge.
- Marinate lean cuts for extra moisture and flavor.
- Bring meat to room temperature before cooking.
- Preheat electric oven accurately.
- Use a meat thermometer for precise doneness.
- Rest venison generously after cooking.
Conclusion
Cooking venison in an electric oven can produce wonderfully tender and flavorful results. The key is understanding its unique lean profile. By focusing on lower temperatures, careful moisture management, and precise temperature monitoring, you can avoid dry, tough meat. Remember to prep well, use a thermometer, and always allow for a generous resting period. Enjoy your perfectly cooked venison!
How do I prevent venison from drying out in an electric oven?
To prevent venison from drying out, consider marinating it before cooking. You can also bard it with bacon or fatback, baste it regularly with liquid during cooking, or place it in a roasting pan with some broth. Maintaining a lower oven temperature also helps preserve moisture.
What is the best temperature for cooking venison roast in an electric oven?
Many experts recommend a lower temperature for venison roasts. A good range is 300-325°F (150-163°C). This slower, gentler heat helps the meat cook evenly without drying out, allowing you to achieve a tender interior.
Should I sear venison before putting it in the electric oven?
Searing venison before roasting is a great idea, especially for thicker cuts or roasts. It creates a flavorful crust through the Maillard reaction. Just sear on all sides in a hot pan, then transfer to the preheated electric oven to finish cooking.
How long should venison rest after cooking in the oven?
After cooking, venison should rest for at least 10-20 minutes, depending on the size of the cut. Cover it loosely with foil during this time. Resting allows the meat’s juices to redistribute, resulting in a more tender and juicy final product.
Is it better to cook venison covered or uncovered in the oven?
For most venison cuts, especially roasts, cooking them uncovered for part of the time allows for browning and crust development. However, if your venison seems to be drying out too quickly, you can cover it loosely with foil for the last portion of the cooking time to help retain moisture.