
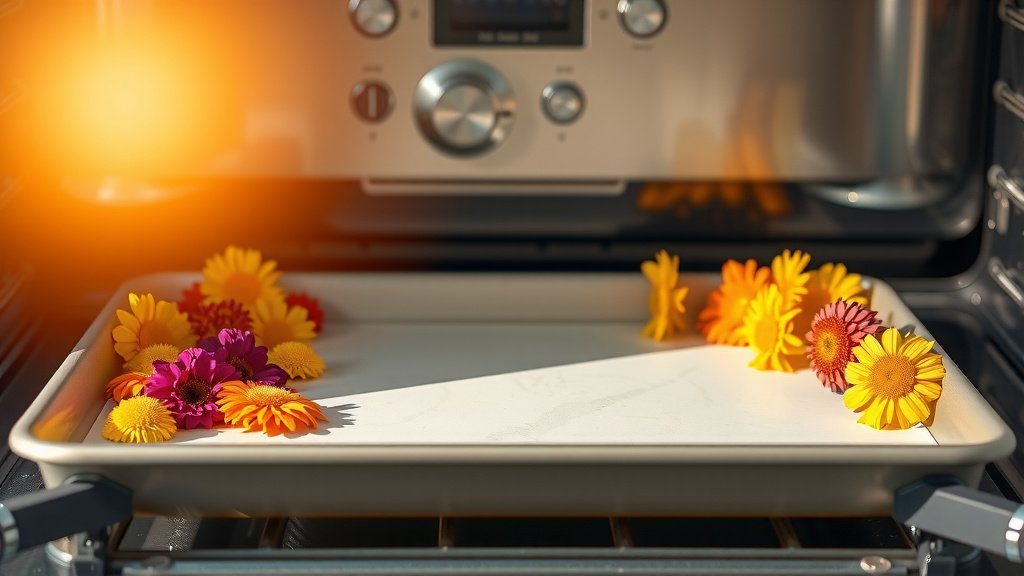
Yes, you absolutely can dry flowers in an electric oven, but it requires careful temperature control and monitoring to prevent burning.
Using an electric oven for drying flowers offers a faster alternative to air drying, preserving their beauty for crafts and keepsakes.
Here’s what you need to know about drying flowers in an electric oven:
- An electric oven can quickly dry flowers, but precision is key.
- Use the lowest temperature setting, around 150-200°F (65-93°C), with the door slightly ajar.
- Always monitor your flowers closely to prevent burning or over-drying.
- Some flowers dry better than others; thicker blooms might not be ideal.
- It’s a great method for preserving blooms for various creative projects.
Can You Dry Flowers In An Electric Oven?
You can certainly use an electric oven to dry flowers, a method that speeds up the natural drying process considerably.
This technique helps preserve your beautiful blooms for crafts or decorative purposes, but it asks for your full attention.
Why Choose an Electric Oven for Drying?
Have you ever wanted to keep a special bouquet forever, but traditional air drying takes too long?
An electric oven offers a much quicker solution, transforming fresh flowers into lasting treasures in just hours, not weeks.
Speed and Convenience
One big reason people turn to oven drying is its speed. We found that air drying can take up to three weeks, while an oven can finish the job in a few hours.
This method is great when you need dried flowers quickly for a project or gift, letting you work on your own timeline.
Getting Your Flowers Ready for the Heat
Before your flowers hit the heat, a little preparation goes a long way. Think of it as setting them up for their best performance.
Prepping correctly helps them retain their shape and color as much as possible.
Selecting the Right Blooms
Not all flowers are oven-drying superstars. Choose blooms that are fresh and firm, without any wilting or brown spots.
Flowers with thinner petals often dry better and keep their vibrancy more readily.
Prepping Your Stems
Trim the stems to your desired length, removing any excess leaves. Too many leaves can create moisture, making the drying process longer.
Arranging them on a baking sheet lined with parchment paper ensures they don’t stick.
Setting the Perfect Oven Temperature
This is perhaps the most critical step in oven drying. Too hot, and you’ll burn them; too cold, and nothing much happens.
The goal is to gently remove moisture, not cook your delicate petals.
The “Low and Slow” Rule
Many experts say to set your oven to its lowest possible temperature, usually around 150°F to 200°F (65°C to 93°C).
Using very low heat ensures the flowers dry evenly without scorching, keeping their beauty intact.
Ventilation: The Key to Success
You might be wondering why you shouldn’t just close the oven door. It’s all about letting moisture escape.
Leaving the door slightly ajar is vital for proper airflow and drying.
This small gap allows the humid air released by the flowers to escape, preventing them from steaming or cooking.
A wooden spoon can often keep the door propped open just enough for effective ventilation.
Monitoring Your Flowers During Drying
Just like baking a cake, you can’t just set it and forget it. Constant supervision is your best friend here.
Checking regularly helps you catch any issues and ensures perfectly dried results.
Set a timer for every 15 to 20 minutes to peek at your blooms. You’re looking for signs of progress, not disaster.
The drying time varies greatly, depending on the flower type and its moisture content.
How to Check for Dryness
A fully dried flower will feel crisp and brittle to the touch, almost like tissue paper.
It should not feel soft or pliable, which indicates there’s still moisture present (NIH).
Best Flowers for Oven Drying
Some flowers are simply better candidates for oven drying than others. Think delicate and less fleshy.
We found that smaller, less dense flowers often yield the most beautiful results.
- Roses (smaller varieties)
- Lavender
- Hydrangeas
- Baby’s breath
- Delphiniums
Flowers to Avoid Oven Drying
While adventurous, some flowers just don’t take well to the oven’s heat. These often have high water content or thick petals.
Trying to dry them might lead to browning, burning, or just not drying effectively.
Avoid very thick-petaled flowers like lilies or tulips, which tend to brown or become mushy. Also, extremely delicate flowers might just shrivel away to nothing.
It’s better to choose other drying methods for these types of blooms.
Common Issues and How to Fix Them
Even with the best intentions, you might run into a few snags. Don’t worry, these are often simple to fix.
The goal is a beautiful, well-preserved flower, not a charred crisp.
If flowers are browning, your oven might be too hot or too close to the heating element. Try reducing the temperature slightly or moving the baking sheet.
If they feel soggy, you may need to increase the drying time or ensure better ventilation.
Safety First: Oven Drying Tips
Using your oven for anything other than cooking always calls for extra caution. Your safety and the integrity of your oven are important.
Here’s a quick checklist to keep things safe and successful:
- Preheat oven to lowest setting (150-200°F).
- Line baking sheet with parchment paper.
- Arrange flowers without touching.
- Place sheet in oven, leave door slightly ajar.
- Check flowers every 15-20 minutes.
- Remove when fully dry and crisp.
Never leave your oven unattended while drying flowers. It’s always best to be present and watchful, just in case something goes awry.
Ensure nothing flammable is near the oven, keeping your work area clear.
| Pros of Oven Drying | Cons of Oven Drying |
|---|---|
| Much faster drying time than air. | Higher risk of burning or discoloration. |
| Good for smaller batches quickly. | Requires constant monitoring and precise settings. |
| Can achieve a durable, crisp texture. | Uses more energy than air drying. |
| Preserves flower shape for crafts. | May not be suitable for all flower types. |
Conclusion
Drying flowers in an electric oven is a fantastic way to quickly preserve their beauty, turning momentary blooms into lasting memories. It’s a method that truly offers speed and efficiency, provided you follow a few simple rules.
Remember to keep the temperature low, ensure good ventilation, and stay present to monitor your flowers. With a little care and attention, you can successfully dry many types of flowers, ready for all your creative projects. Give it a try, and enjoy your preserved floral treasures!
FAQ: Can I dry flowers in a microwave?
Yes, you can dry flowers in a microwave, often combined with silica gel. This method is incredibly fast, sometimes taking just minutes. It’s excellent for preserving both color and shape, but also requires careful monitoring to prevent scorching.
FAQ: How do I store dried flowers?
Store your dried flowers in a cool, dark, and dry place. Keep them out of direct sunlight and away from humidity, which can cause fading or mold. A box, airtight container, or even a sealed display case works wonderfully to protect them.
FAQ: What’s the fastest way to dry flowers?
The fastest way to dry flowers is typically using a microwave with silica gel. This method can dry flowers in just a few minutes, drastically reducing the time compared to air drying or even oven drying. It’s ideal when time is a critical factor.
FAQ: Can I use a gas oven for drying flowers?
While technically possible, using a gas oven for drying flowers is generally not recommended. Gas ovens often have less precise low-temperature control and can release more moisture or fumes, potentially impacting the flowers. Electric ovens are usually a safer and more consistent choice for this task.
FAQ: Do dried flowers last forever?
No, dried flowers do not last forever, but they can last for many years with proper care. Over time, they may naturally fade in color, become more brittle, or accumulate dust. Keeping them away from sunlight and moisture helps prolong their lifespan significantly.
