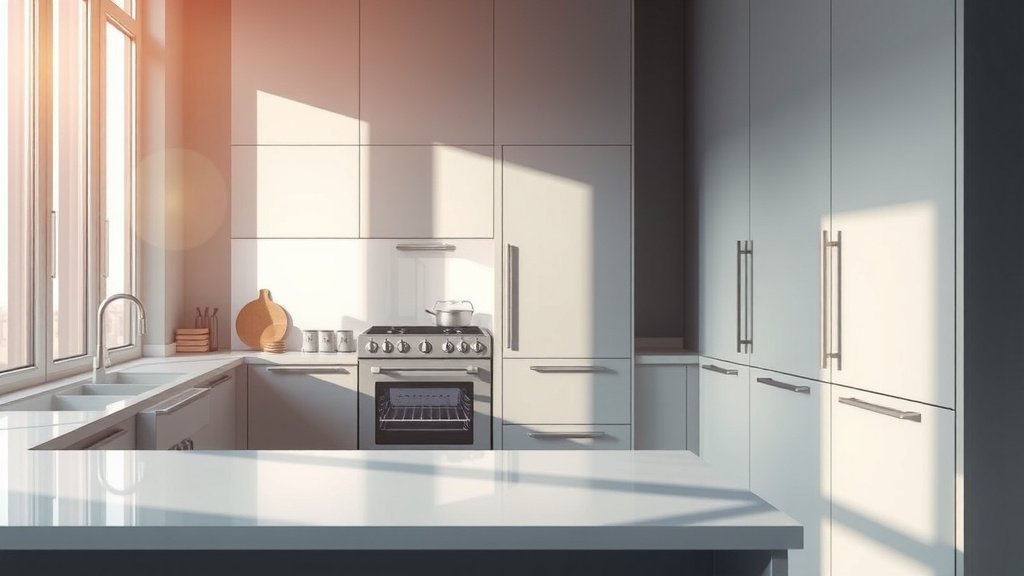
Setting up a dual fuel oven involves carefully connecting both its gas supply for the cooktop and its electrical power for the oven. You’ll need to check local codes and ensure proper ventilation before starting.
This setup typically requires professional assistance for gas lines to ensure safety and compliance with building standards.
Here’s a quick overview of what you’ll find in this guide:
- Always prioritize safety, checking gas and electrical connections carefully.
- Professional installation for gas lines is often a wise decision for safety.
- Read your specific oven’s manual; models can vary quite a bit.
- Perform an initial “burn-off” to remove manufacturing odors.
- Test your oven’s temperature for accurate cooking results.
How To Set Up A Dual Fuel Oven?
Setting up a dual fuel oven involves connecting it to both a gas line for the cooktop and an electrical outlet for the oven’s heating elements. This process requires careful attention to safety and local regulations.
What is a Dual Fuel Oven?
Imagine the best of both worlds in your kitchen. A dual fuel oven gives you a gas cooktop for instant heat control and an electric oven for even, consistent baking and roasting. Many chefs love this combination.
You get the responsiveness of gas flames for boiling water or searing meats. Then, the electric oven provides dry, consistent heat, which is fantastic for baking cookies or a perfect roast chicken.
Why Choose Dual Fuel?
Choosing a dual fuel oven often means you’re looking for superior cooking performance. We found that electric ovens often maintain a more stable temperature than gas ovens (Consumer Reports). This can significantly improve your baking.
Plus, the gas burners offer precise control when you’re simmering a delicate sauce or stir-frying. It’s a versatile choice for home cooks who appreciate precision.
Essential Safety Checks First
Before you even unbox your new appliance, pause for a moment. Safety is paramount when you’re dealing with gas and electricity. Think of it as your kitchen’s first line of defense.
Many experts say reviewing your home’s infrastructure is a smart move (National Fire Protection Association). This preparation can save you headaches later.
Gas Line Inspection
Is your gas line ready for a new connection? You need a dedicated, properly sized gas line for the cooktop. Check for any visible damage or signs of wear on the existing line; cracks are a red flag.
If you’re unsure about the gas line’s condition or connection point, calling a licensed gas fitter is truly the safest option. They can ensure everything is up to code.
Electrical Requirements
Your electric oven needs its own dedicated circuit, typically 240 volts. This is different from standard wall outlets. We found that overloading circuits is a common household hazard.
Make sure you have the correct receptacle type and amperage. If not, an electrician should install the right wiring. Never try to force a plug into an unmatched outlet.
Step-by-Step Installation Guide
Okay, with safety checks done, let’s get your new dual fuel oven ready for action. Take it slow, one step at a time, like you’re learning a new dance. You’ll master it soon!
Unpacking and Placement
Carefully remove all packaging materials. Keep the manual close by; it contains specific instructions for your model. Sometimes, there are hidden screws or brackets to remove.
Position the oven near its final spot, but leave enough room to work behind it. It’s often a two-person job due to the weight. Always lift with your legs, not your back.
Connecting the Gas Line
This is where precision matters most. Remember, natural gas or propane requires respect. A slight leak can be dangerous.
Here’s a quick checklist for connecting the gas line:
- Confirm the gas supply valve is closed.
- Apply gas-rated thread sealant to the connector threads.
- Attach the flexible gas connector to the oven’s gas inlet.
- Connect the other end to the gas supply valve.
- Use two wrenches to tighten fittings, avoiding overtightening.
- Open the gas valve slowly and check for leaks with a soapy water solution. Bubbles mean a leak.
Electrical Hookup
With the gas safely connected, it’s time for electricity. Ensure the circuit breaker for the oven is off before you begin. Safety first, always!
Plug the oven into its dedicated 240-volt receptacle. If it’s a direct wire connection, follow your manual’s wiring diagram precisely. Mistakes here can cause serious issues.
Securing the Oven
Slide the oven into its cabinet opening. Most ovens come with anti-tip brackets. These are not optional; they prevent the oven from tipping over if weight is placed on an open door.
Install the anti-tip bracket according to your oven’s manual. It’s a small step that offers big peace of mind for your family’s safety (CPSC).
First Use and Calibration
Your oven is hooked up! Now for the fun part: making it ready to cook. Think of it as getting acquainted with your new kitchen companion.
Initial Burn-Off Process
New ovens often have manufacturing oils or coatings that burn off during the first use. This creates an odor and sometimes smoke. Don’t panic; it’s normal.
Open windows and turn on your range hood. Set the oven to 350-400°F (175-200°C) for about 30-60 minutes. This “burn-off” cleans the cavity and removes any funny smells before you cook.
Calibrating Your Oven Temperature
Is your oven heating accurately? Sometimes, new ovens need a temperature adjustment. A simple oven thermometer can help you check this.
Many ovens allow you to adjust the temperature settings directly. Consult your manual for specific steps. Here’s a quick reference:
| Issue | Solution |
|---|---|
| Oven runs too hot | Lower the temperature calibration by 5-10 degrees. |
| Oven runs too cold | Raise the temperature calibration by 5-10 degrees. |
| Fluctuating temps | Check for proper oven door seal; call service if persistent. |
Common Challenges and Solutions
Even with careful setup, sometimes questions pop up. It’s like learning to drive; unexpected bumps can happen. Don’t worry, we’ve got some solutions.
Gas Leaks: What to Do
If you smell gas, act immediately. Turn off the main gas supply to your house, open windows, and call your gas company and a professional technician. Do not use any electrical switches or devices, as sparks could ignite gas.
Checking for gas leaks with soapy water on connections is a crucial step during installation. Bubbles mean a leak. Address this before moving on. This is where professional help is invaluable.
Electrical Issues
If your electric oven isn’t turning on, first check the circuit breaker. Has it tripped? If it trips repeatedly, there might be a wiring issue or a problem with the oven itself. Do not try to keep resetting it. This needs an electrician to look at it. They can safely diagnose and fix the problem.
Uneven Cooking
Are your cookies burning on one side and raw on the other? Uneven cooking can stem from a few things. An uncalibrated oven temperature is a common culprit. Also, ensure your oven racks are level and there’s good air circulation.
Maintenance Tips for Longevity
Like any valuable appliance, a little care goes a long way. Regular maintenance keeps your dual fuel oven running efficiently and safely for years. Think of it as giving your oven a health checkup.
Regular Cleaning Routines
Wipe spills as they happen, especially on the cooktop. For the oven interior, avoid harsh chemicals. Many ovens have a self-cleaning feature, but always read the manual before using it. This can keep your oven looking new and prevent baked-on grime.
When to Call a Professional
Sometimes, issues are beyond a simple DIY fix. If you suspect a gas leak, have persistent electrical problems, or notice unusual noises, it’s time to call a qualified service technician. Don’t try to fix something you’re not comfortable with; safety comes first.
Conclusion
Setting up your dual fuel oven is a significant step toward unlocking a new level of culinary enjoyment. By prioritizing safety, following installation steps carefully, and performing initial checks, you can ensure your oven is ready for years of delicious meals. Remember, when in doubt, a professional’s expertise is always a wise investment for peace of mind. Happy cooking!
Do dual fuel ovens require special venting?
Yes, all cooking appliances, especially those with gas cooktops, require proper ventilation. Your kitchen should have a range hood that vents to the outside to remove smoke, steam, and gas byproducts effectively.
Can I convert a dual fuel oven to all-electric or all-gas?
No, a dual fuel oven is designed with separate gas and electrical components that cannot be converted. Its design is specific to use both fuel types simultaneously for different functions.
How long does it typically take to install a dual fuel oven?
If all necessary connections (gas and electrical) are already in place and up to code, a straightforward installation by a professional might take 1-3 hours. Complex installations needing new lines could take much longer.
What tools do I need to set up a dual fuel oven?
You’ll typically need an adjustable wrench, pipe wrench, screwdrivers, a level, measuring tape, and a gas leak detection solution (soapy water) for the gas connection. Always consult your oven’s manual for specific tool recommendations.
Is it normal for a new dual fuel oven to smell during the first few uses?
Yes, it is completely normal. The “new oven smell” comes from manufacturing oils and protective coatings burning off. This usually dissipates after the initial burn-off cycle and a few subsequent uses with good ventilation.