
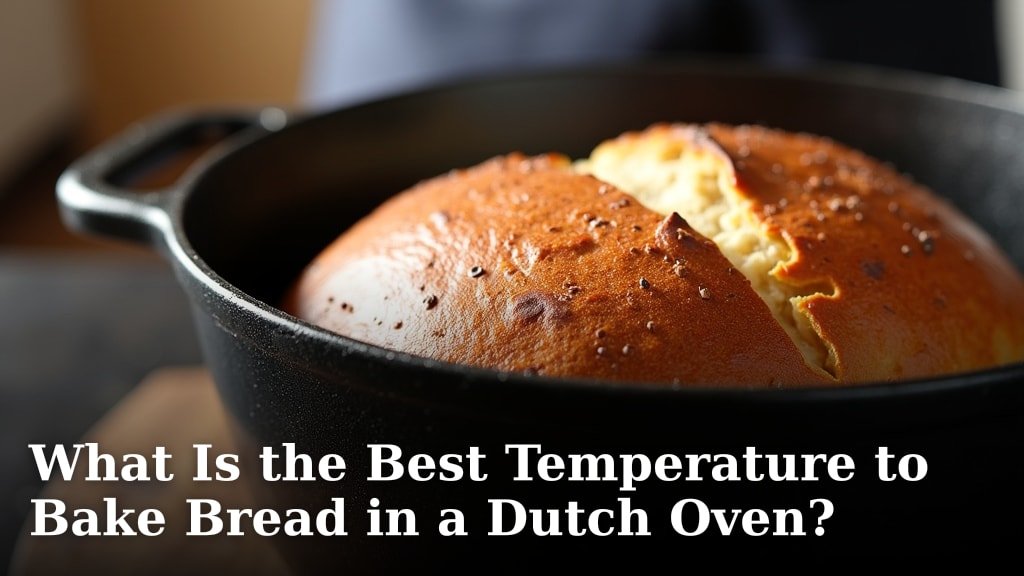
For most recipes, the best temperature to bake bread in a Dutch oven is usually 450-475°F (232-246°C). This high heat helps create a beautiful, crispy crust and a soft, airy interior. We found that this range works well for many types of bread.
Baking at a high temperature in a Dutch oven mimics a professional bakery oven. It traps steam around your dough, which is key for a good rise. This method is especially popular for no-knead and sourdough breads, giving them that signature texture you love.
TL;DR:
- Bake most Dutch oven bread at 450-475°F.
- High heat makes a crispy crust and soft crumb.
- The Dutch oven traps steam for a good rise.
- Great for no-knead and sourdough.
Ready to get baking? Let’s walk through why this temperature is ideal and how to get the best results every time you bake.
Achieving the Perfect Bake: Ideal Temperatures for Dutch Oven Bread
So, you’ve got your dough ready and your Dutch oven gleaming. Now, the big question: what temperature should your oven be? For most home bakers, we found the sweet spot for baking bread in a Dutch oven is between 450-475°F (232-246°C). This temperature range is your best friend for getting that amazing crust and tender crumb.
Why this specific range? It’s all about creating the right environment for your bread. Think of it like a tiny, super-hot sauna for your dough. The intense heat, combined with the enclosed space of the Dutch oven, does wonders for your loaf. It’s what gives homemade bread that professional bakery quality right in your own kitchen.
Understanding the Science of High Heat Baking
Baking bread isn’t just about mixing ingredients; it’s a bit of kitchen science. When you pop your dough into a blazing hot oven, several key things happen that make your bread sing. These processes are essential for both flavor and texture.
First, the high heat causes a rapid expansion of gases within your dough. This is known as “oven spring.” It’s that magical moment when your loaf puffs up beautifully, creating a light and airy interior. Without enough heat, your bread might turn out dense and flat, and nobody wants that!
Second, the intense heat quickly caramelizes the sugars on the outside of the dough. This creates that gorgeous, deep brown crust we all love. It also adds a layer of complex flavor that you just can’t get from lower-temperature baking.
The Role of Steam in Dutch Oven Baking
Beyond just the high temperature, the Dutch oven brings another secret weapon to the table: steam. When you bake with the lid on, the moisture from your dough gets trapped inside the pot. This creates a steamy environment that is incredibly beneficial for your bread.
Why is steam so important? We found that steam keeps the surface of your dough soft and pliable during the initial stages of baking. This allows the bread to expand fully without cracking prematurely. Think of it as a protective, moist shield. Once you remove the lid, the crust can then crisp up beautifully without becoming too hard or tough.
Preheating Your Dutch Oven: A Non-Negotiable Step
You wouldn’t jump into a cold shower, would you? Your bread feels the same way about a cold Dutch oven! Preheating your Dutch oven along with your oven is absolutely critical for success. We can’t stress this enough.
Placing your empty Dutch oven in a cold oven and then turning it on ensures that the pot gets just as hot as the air around it. This process can take anywhere from 30 minutes to an hour, depending on your oven and Dutch oven material. Be patient here; it pays off.
Why preheat? A screaming hot Dutch oven provides a powerful burst of heat to the bottom of your dough, which is crucial for maximizing oven spring. It also helps create that satisfying, super-crispy bottom crust. Many experts say that skipping this step is one of the most common mistakes home bakers make (The Kitchn).
Adjusting Temperature for Different Bread Types
While 450-475°F is a great starting point, you might find yourself tweaking the temperature slightly based on the type of bread you’re making. Not all doughs are created equal, and some appreciate a slightly different approach.
For example, some enriched breads, like challah or brioche, which contain butter, eggs, and sugar, might do better at the lower end of the range (425-450°F). This helps prevent the sugars from browning too quickly before the inside is fully cooked. Think of it as a gentle coaxing rather than a blast.
On the other hand, rustic, lean doughs like sourdough or no-knead bread often thrive at the higher end (475°F), or even slightly above, for maximum oven spring and a deeply caramelized crust. These doughs are a bit more robust and can handle the intense heat beautifully.
| Bread Type | Recommended Dutch Oven Temp (Covered) | Notes |
|---|---|---|
| No-Knead Bread | 475°F (246°C) | Maximizes oven spring and crust development. |
| Sourdough Bread | 450-475°F (232-246°C) | Excellent for chewy texture and tangy crust. |
| Artisan Loaf (basic) | 450°F (232°C) | Good all-around starting point for most recipes. |
| Enriched Doughs (e.g., Challah) | 425-450°F (218-232°C) | Prevents over-browning due to sugar/butter content. |
The Two-Stage Baking Method: Covered vs. Uncovered
Most Dutch oven bread recipes use a two-stage baking process, and understanding why is key to your success. This method is what gives you the best of both worlds: great oven spring and a fantastic crust.
First, you bake the bread with the lid on. This is where the magic of steam happens, allowing your loaf to rise without forming a hard crust too soon. We recommend keeping the lid on for about 20-30 minutes at your chosen high temperature.
Second, you remove the lid and continue baking. This allows the steam to escape, and the direct dry heat of the oven can then work its wonders, transforming the soft, pale crust into that deep, crispy, golden-brown perfection. This stage usually takes another 15-25 minutes, often at a slightly reduced temperature.
When to Lower the Temperature After Uncovering
After you remove the lid, some recipes recommend lowering the oven temperature by about 25-50°F (15-28°C). Is this necessary? We found it often depends on your oven and your desired crust color.
Lowering the temperature helps prevent the crust from getting too dark or even burning while the interior finishes baking. If your oven runs hot, or if your bread already looks quite dark after the covered stage, a slight temperature reduction is a good idea. This gives you more control and helps ensure an evenly baked loaf.
Troubleshooting Common Temperature Issues
Even with the best intentions, things can sometimes go awry. Don’t worry, we’ve all been there! Let’s look at some common issues related to oven temperature and how to fix them.
Is your crust burning before the inside is cooked? Your oven might be running too hot, or your loaf is too close to a heating element. Try reducing the temperature by 25°F or moving your Dutch oven to a lower rack. Also, ensure your preheating time isn’t excessive.
Is your bread pale and dense? You might not be baking hot enough, or your preheating wasn’t sufficient. Remember, a hot Dutch oven is crucial. Make sure your oven truly reaches the target temperature before you put the dough in. An oven thermometer can be a real lifesaver here.
Essential Checklist for Dutch Oven Bread Baking Success
To recap and help you achieve consistent, amazing results, here’s a quick checklist to keep in mind every time you bake in your Dutch oven:
- Preheat your oven and Dutch oven for at least 30-60 minutes at your target temperature (450-475°F).
- Carefully transfer your dough to the screaming hot Dutch oven.
- Bake covered for 20-30 minutes to capture steam and encourage oven spring.
- Remove the lid and continue baking for 15-25 minutes for crust development.
- Consider reducing the temperature slightly (25-50°F) after uncovering, if needed.
- Use an oven thermometer to ensure accurate oven temperature readings.
Following these steps will guide you towards a truly rewarding baking experience. You’ll be making delicious, crusty bread that will impress everyone (especially yourself!) in no time.
Conclusion
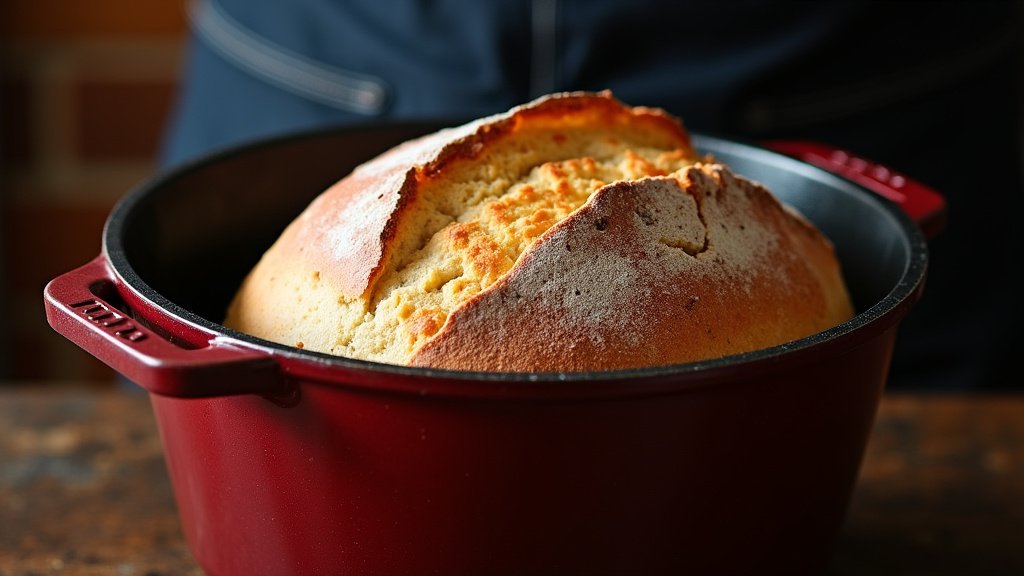
You’ve now got the tools to master Dutch oven bread baking. We’ve seen how precise temperature control, usually 450-475°F, combined with steam, creates that perfect crust and tender interior. Remember, preheating your Dutch oven is non-negotiable for success. Don’t be afraid to adjust slightly for different bread types, always focusing on that ideal balance.
We found that understanding the why behind each step makes all the difference. Now, go confidently create those beautiful, bakery-quality loaves right in your own kitchen!
Frequently Asked Questions
Should I remove the Dutch oven lid for the entire bake?
No, you should not. We found that baking with the lid on for the initial 20-30 minutes traps steam, helping your bread rise fully. Removing the lid afterward allows the crust to brown and crisp up beautifully.
What if my bread’s crust is too pale even after baking?
If your crust is too pale, we recommend checking your oven temperature with a reliable thermometer. You might not be baking hot enough. You can also try extending the uncovered baking time by a few minutes or increasing the temperature slightly during the uncovered stage.
Can I bake smaller loaves at the same temperature?
Generally, yes, you can use the same high temperature. However, smaller loaves might bake faster. We suggest monitoring them closely during the uncovered stage to prevent over-browning. You may need to reduce the total baking time.
Does the type of Dutch oven material affect baking temperature?
While cast iron is common, any oven-safe Dutch oven will work. We found that temperature guidelines remain consistent. The key is ensuring your Dutch oven is thoroughly preheated to the target temperature, regardless of its material.
My bread’s bottom crust is too thick or hard. What can I do?
This often happens if your Dutch oven gets too hot on the bottom. We recommend reducing the overall baking temperature by 25°F or placing a baking sheet on the rack below your Dutch oven to diffuse some of the direct heat. You can also shorten the preheating time slightly once the oven reaches temperature.
