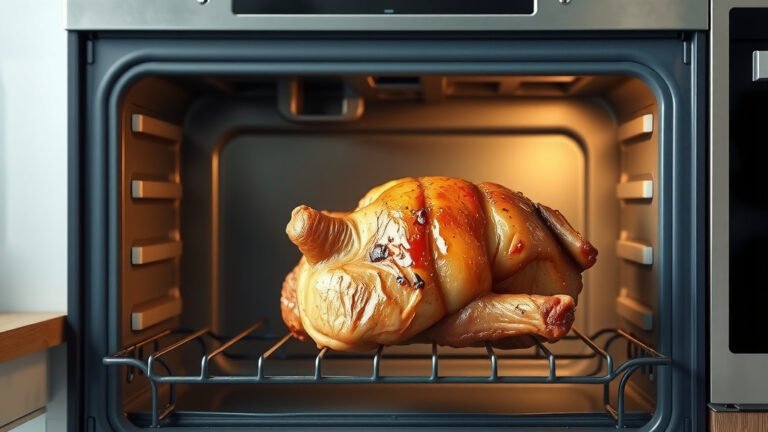
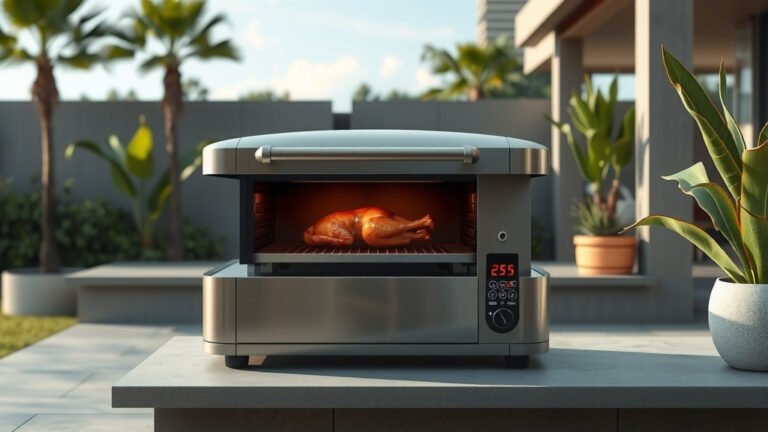
Using Delay Bake on your single wall oven lets you set your oven to start baking automatically at a later time, so your dish is ready exactly when you need it.
You typically activate it by preparing your food, setting the desired bake temperature and duration, and then selecting the “Delay Start” or “Delay Bake” option to program the future start time.
- The Delay Bake feature allows you to program your oven to start at a specific future time.
- It’s ideal for busy schedules, ensuring meals are ready without you needing to be present to start the oven.
- Always prioritize food safety, especially with perishable ingredients, to prevent spoilage.
- Different ovens have slightly different button layouts, so your oven’s manual is always your best quick guide.
- Think of it as your kitchen assistant, making your life a little smoother and your meals perfectly timed.
How To Use Delay Bake On Single Wall Oven?
To use Delay Bake on your single wall oven, you’ll generally set your desired cooking function, temperature, and time, then activate the delay feature to choose when the oven should begin. It’s like telling your oven, “Hey, start cooking this lasagna at 4 PM, please!”
What Exactly is Delay Bake?
Delay Bake is a handy oven function that allows you to set the oven to turn on and cook at a preset time in the future. Imagine you want dinner ready right when you walk in the door after work. This feature makes that possible without you needing to lift a finger at start time. It’s all about convenience and timing.
Why Would You Use Delay Bake?
Many people find Delay Bake incredibly useful for managing their busy lives. It saves you from waiting around for the oven to preheat or rushing home to start dinner. We found that it’s a popular choice for baking bread, casseroles, or roasts that benefit from a precise start. It’s also great for dishes that don’t need immediate refrigeration before baking (USDA).
Imagine This Scenario…
Picture this: It’s Saturday morning, and you’re hosting a brunch. You want to serve a warm, fresh quiche, but you also want to enjoy your coffee and chat with guests. With Delay Bake, you can prepare the quiche early, pop it in the cold oven, and set it to start baking an hour before guests arrive. No stress, just a perfectly timed meal. Pretty neat, right?
Your Step-by-Step Guide to Delay Baking
Getting started with Delay Bake is simpler than you might think. While button labels can vary slightly between oven models, the core process remains very similar. Let’s walk through it together.
Step 1: Prepare Your Food
First things first, get your dish ready! Assemble your casserole, mix your bread dough, or season your roast. Make sure it’s in an oven-safe baking dish. Place the prepared food directly into your single wall oven. Remember, the oven will be off until the delay time kicks in.
Step 2: Set the Bake Temperature
Next, select the desired cooking temperature. On most ovens, you’ll press “Bake” or “Temperature” and then use the number pad or up/down arrows to set the Fahrenheit or Celsius reading. This tells the oven how hot it needs to get.
Step 3: Enter the Bake Time
Now, set how long your food needs to cook. Press the “Timer” or “Cook Time” button, then enter the total baking duration (e.g., 45 minutes, 1 hour 30 minutes). This function tells the oven when to turn off. It’s important for preventing overcooking.
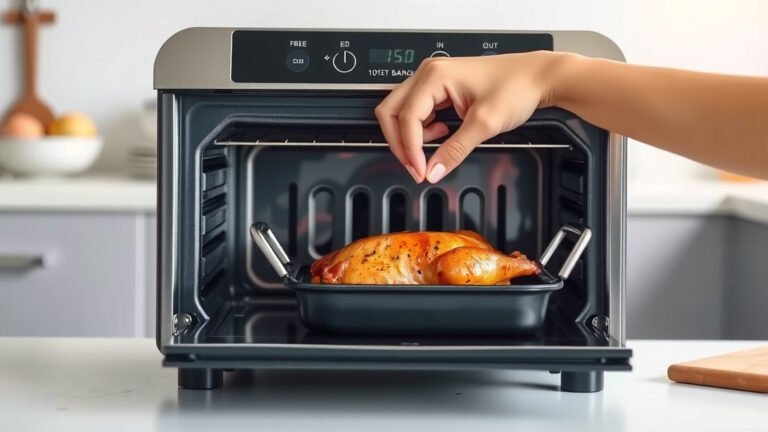
Step 4: Program Your Delay Start Time
This is where the magic happens! Look for a button labeled “Delay Start,” “Delay Time,” or simply “Delay.” Press this button. You’ll then use the number pad or arrows to set the specific time you want the oven to *begin* its baking cycle. For example, if it’s 9 AM and you want it to start at 4 PM, you’d set 4:00 PM. This lets you plan your meal schedule.
Step 5: Double-Check and Start!
Review all your settings: the bake temperature, the cook time, and the delay start time. Once everything looks correct, press “Start.” Your oven display might show a clock counting down to the start time, or a little indicator light might come on. Now, you can relax and let your oven do the work!
Tips for a Successful Delay Bake
To ensure your delay-baked meal is perfect every time, a few extra considerations can make all the difference. We found that attention to detail can prevent common kitchen mishaps. It truly helps to be mindful.
Food Safety First
Always think about food safety when using Delay Bake, especially with perishable items like meat, dairy, or eggs. Many experts say that keeping food at room temperature for too long can promote bacterial growth (FoodSafety.gov). If your recipe contains these ingredients, it’s safer to avoid lengthy delays.
What About Perishables?
If you have a recipe with ingredients that need refrigeration, try to keep the delay time shorter, ideally no more than 1-2 hours. For longer delays, stick to recipes with non-perishable components, like yeast breads, oatmeal bakes, or certain casseroles that don’t spoil quickly. This ensures your food remains delicious and safe.
Oven Preheating and Delay Bake
When you set a Delay Bake, the oven will automatically preheat to the set temperature *at* the delayed start time. You don’t need to add extra time for preheating in your cook time setting. The oven handles it all seamlessly, making your timing perfectly accurate. Some research suggests that most ovens take about 10-15 minutes to preheat fully.
Best Foods for Delay Baking
Not all foods are created equal for the Delay Bake function. Here’s a quick guide to help you choose wisely:
| Ideal for Delay Bake | Think Twice (or Shorten Delay) |
|---|---|
| Baked goods (bread, muffins) | Raw meat or poultry |
| Hearty casseroles (without raw meat) | Dairy-heavy dishes |
| Root vegetable roasts | Eggs and egg-based dishes |
| Dishes that don’t need refrigeration | Foods with delicate textures |
Common Hiccups and How to Avoid Them
Even the most seasoned home cooks can run into small issues. But with a little foresight, you can sail through your delay baking adventures.
Forgetting to Press “Start”
This is perhaps the most common mistake! You’ve meticulously set all the times and temperatures, but you forget that final “Start” button press. Then, dinner is not ready! Always double-check that your oven display shows a countdown or a “Delay” indicator. A quick look can save your mealtime.
Power Outages and Your Settings
A brief power flicker can sometimes reset your oven’s clock and programmed settings. If you experience a power outage, even a short one, it’s a good idea to check your oven to ensure your Delay Bake settings are still intact. Most modern ovens have a memory, but it’s better to be safe than sorry.
Checklist for Delay Bake Success
Before you walk away, give this quick checklist a mental run-through:
- Is the food safe for the delay time?
- Is the bake temperature set correctly?
- Is the cook time programmed?
- Did I set the exact delay start time?
- Did I remember to press “Start”?
- Is the oven door fully closed?
Conclusion
Using the Delay Bake feature on your single wall oven is a fantastic way to streamline your cooking and make your kitchen work smarter for you. By understanding the steps, prioritizing food safety, and knowing what foods work best, you can enjoy perfectly timed, warm meals without the last-minute rush. It’s a simple function that offers a lot of freedom and convenience. So go ahead, give it a try, and make your oven your best kitchen helper!
Can I use aluminum foil with delay bake?
Yes, you can certainly use aluminum foil with delay bake, just as you would with regular baking. Make sure the foil is oven-safe for the temperatures you’re using. It often helps keep food moist or prevents over-browning.
How long can I delay a bake cycle?
The maximum delay time varies by oven model, but most single wall ovens allow you to delay a cycle for up to 12 or 24 hours. Always check your specific oven’s manual for the exact limit. Remember to consider food safety, especially for perishable items, when setting longer delays.
Does delay bake work for convection ovens too?
Absolutely! If your single wall oven has a convection setting and a delay bake feature, you can typically combine them. You would first select the convection bake function, set the temperature and time, and then program the delay start. The convection fan will then kick in once the delayed cycle begins.
What if my oven doesn’t have a delay bake feature?
If your oven lacks a specific delay bake feature, you can achieve a similar effect by preparing your dish ahead of time and refrigerating it. Then, when you’re ready to start cooking, simply take it out, let it sit for a short while if needed, and manually start your oven. It requires more manual intervention but gets the job done.
Is it safe to leave food in the oven for hours before baking?
It depends entirely on the food. Non-perishable items like bread dough (especially slow-rise recipes) or certain dry casseroles can often sit for hours. However, raw meats, dairy, or egg-based dishes should not be left at room temperature for more than 1-2 hours, as this can be a food safety risk. Always consult food safety guidelines for perishable ingredients (CDC).