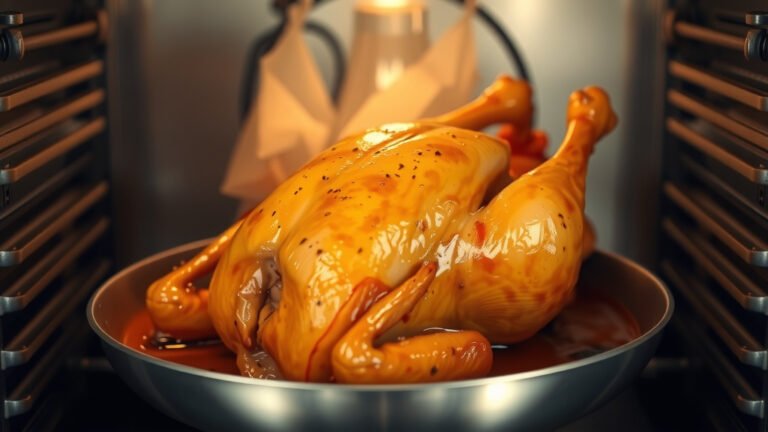
To baste meat while using a rotisserie oven, gently brush or pour your basting liquid onto the rotating meat every 15-20 minutes during the last half of cooking.
Position a drip pan below the meat to catch any excess liquid and pan drippings, which you can also use for basting.
TL;DR: Here’s the quick rundown for perfect rotisserie basting:
- Pick a flavorful basting liquid.
- Use the right tools, like a silicone brush or turkey baster.
- Baste every 15-20 minutes, starting halfway through cooking.
- Avoid opening the oven door too often to keep heat stable.
- Collect drippings in a pan to enhance your basting liquid.
How To Baste Meat While Using Rotisserie Oven?
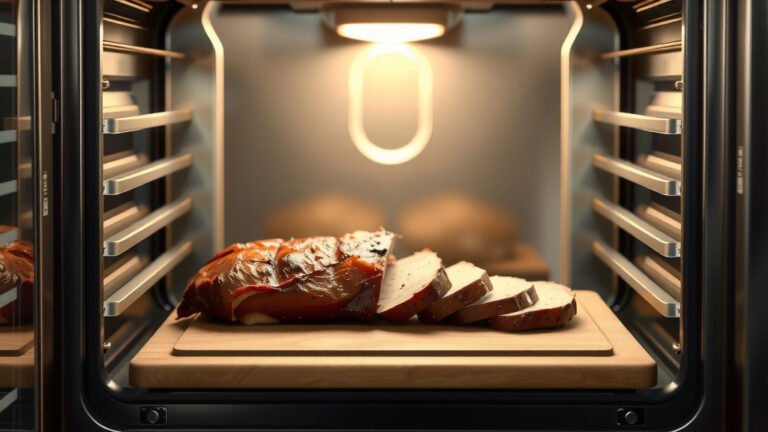
Basting meat on a rotisserie oven helps keep it moist and adds a layer of flavor. You can achieve this by using a heat-safe brush or a turkey baster to apply liquid to the spinning meat.
Why Basting Matters for Rotisserie Perfection
Picture this: a succulent roast, golden brown, with every bite bursting with flavor. That’s the dream, right? Basting plays a big role in making that dream a reality, especially with rotisserie cooking.
When meat spins on a rotisserie, the external heat can dry out the surface. Basting introduces moisture back onto the exterior. This helps keep the meat from forming a tough crust.
More Than Just Moisture
Basting does more than just add moisture. It creates an incredible flavor crust. The sugars and fats in your basting liquid caramelize. This builds layers of rich taste with each application (Research suggests this caramelization process is key).
Think of it as painting a masterpiece, stroke by delicious stroke. It’s a simple step that yields big results.
The Rotisserie Basting Challenge
Basting a roast in a standard oven is one thing, but a rotisserie presents unique hurdles. The meat is constantly spinning. This means you cannot just leave it still while you baste.
You need to be quick and efficient. Too much fumbling with the oven door lets heat escape. This can lengthen your cooking time. Also, you want to avoid splashing hot liquid all over your oven.
Choosing Your Basting Liquid Wisely
The secret to incredible flavor often lies in your basting liquid. It’s not just about any liquid; it’s about the right liquid. Your choice can make a huge difference in the final taste.
We found that simple liquids often work best. You want something with fats, acids, and aromatics. These components build complex flavors.
Flavor Powerhouses
What should you use? Many experts say melted butter is a classic choice. Others prefer olive oil blends. We found some popular options really stand out.
Here’s a quick look at some great basting liquids:
| Basting Liquid | Key Benefit | Best For |
|---|---|---|
| Melted Butter | Rich, classic flavor; promotes browning. | Chicken, Turkey, Pork |
| Olive Oil & Herb Blend | Mediterranean flavor, good crisp. | Lamb, Vegetables, Chicken |
| Chicken/Beef Broth | Adds moisture without heavy fat. | Any lean meat |
| Pan Drippings | Intensifies meat’s natural flavor. | Any meat cooking in rotisserie |
Essential Tools for Easy Basting
Having the right tools makes basting a breeze. Trying to use a dinner spoon for this task? You are just inviting a mess. A few simple items will help you baste effectively and safely.
Think about what will reach the meat easily. You want a tool that can handle high heat. And it should not be too clumsy to wield in a tight space.
Your Basting Arsenal
Here are the tools you will want to have ready:
- Heat-Safe Silicone Basting Brush: These brushes are flexible and resist high temperatures. They spread liquid evenly.
- Turkey Baster: Great for sucking up drippings. It allows you to squirt liquid precisely onto the meat.
- Drip Pan: Essential for catching juices and drippings. You can reuse these liquids for extra flavor.
- Oven Mitts: Protect your hands from the heat. Safety first, always.
Step-by-Step Guide: Basting Your Rotisserie Meat
Ready to get started? Basting on a rotisserie is less daunting than it sounds. Just follow these steps, and you will be basting like a pro in no time.
Remember, patience and a gentle touch are your best friends here. Don’t rush the process, and enjoy the aroma!
Here’s a simple checklist:
- Prepare your basting liquid.
- Position a drip pan under the meat.
- Start basting halfway through cooking.
- Open oven door briefly, baste quickly.
- Close the door to maintain heat.
- Repeat basting every 15-20 minutes.
The Right Timing is Everything
When should you start basting? This is a question many people ask. Basting too early might wash off seasonings. Basting too late might not have enough impact.
We found that timing truly matters. Most experts agree on a specific window. This window maximizes flavor and moisture retention without negative side effects.
When to Start and Stop
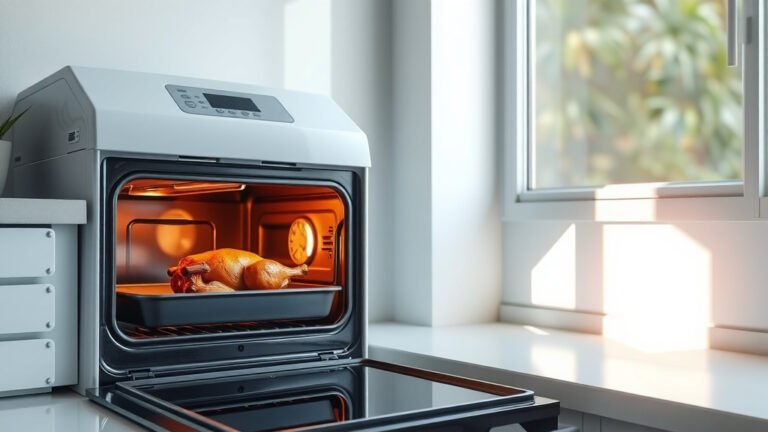
Begin basting roughly halfway through your total cooking time. For instance, if a chicken takes 2 hours, start basting after 1 hour. This allows the initial seasoning to set.
Continue basting every 15-20 minutes. Stop about 10-15 minutes before the meat finishes cooking. This allows the crust to firm up beautifully.
Common Basting Blunders to Avoid
Even seasoned cooks can make small mistakes. Avoiding these common pitfalls will help you achieve the best results. A little awareness goes a long way.
Have you ever had dry rotisserie meat? Sometimes, the problem is not the oven. It might be how you are basting it.
Too Much or Too Little?
One common mistake is opening the oven door too frequently. Every time you open it, precious heat escapes. This can extend cooking times and potentially dry out your meat.
Another error is applying too much basting liquid at once. This can cool down the meat’s surface. It can also make the skin soggy instead of crispy. A light, even coating is ideal.
Conversely, basting too little also misses the point. You need consistent application. This builds those delicious layers we talked about earlier.
Advanced Tips for Superior Rotisserie Basting
Once you have the basics down, you can experiment. There are ways to elevate your basting game. Small tweaks can lead to amazing flavor differences.
Are you ready to take your rotisserie creations to the next level? These tips will help you stand out.
Flavor Infusion Techniques
Consider infusing your basting liquid. You can simmer herbs like rosemary or thyme in your butter or broth. This adds a deeper layer of flavor. It is like a secret weapon for your taste buds.
Many experts suggest adding a splash of wine or citrus juice. Just be mindful of sugar content if you are using juices. Sugars can burn if applied too early.
Another great tip is to use the pan drippings from your rotisserie. Collect them in the drip pan. Then, mix them into your basting liquid. This amplifies the meat’s natural taste (NIH research on flavor compounds supports this).
Conclusion
Basting meat on a rotisserie oven is a simple technique that delivers big rewards. It keeps your roasts moist, enhances flavor, and creates a beautiful, golden crust. By choosing the right liquid, using suitable tools, and timing your applications, you can turn a good meal into a great one.
Do not be afraid to experiment with different flavor combinations. Your rotisserie journey is all about delicious discovery. Happy cooking!
What kind of basting brush is best for a rotisserie?
A heat-safe silicone basting brush is generally the best choice. It can withstand high oven temperatures, is easy to clean, and distributes liquid evenly without leaving bristles behind.
Can I baste with just the pan drippings?
Yes, absolutely! Pan drippings are an excellent basting liquid. They are rich in the meat’s natural flavors, making them perfect for reinforcing and intensifying taste. Just ensure you have enough liquid.
How do I prevent the basting liquid from making the skin soggy?
To avoid soggy skin, apply basting liquid in thin, even coats rather than pouring on large amounts. Also, stop basting about 10-15 minutes before the end of cooking. This allows the skin to crisp up nicely.
Is it okay to add sugar to my basting liquid?
You can add a small amount of sugar or honey for caramelization and flavor. However, use caution. Sugars can burn quickly at high temperatures. Apply them towards the latter part of the cooking process to prevent charring.
What if my rotisserie oven does not have a drip pan?
If your rotisserie oven lacks a built-in drip pan, you can place an aluminum foil pan directly underneath the meat on a lower rack. This will catch drippings and make clean-up easier. It also allows you to collect those valuable juices.