You can cook a rack of ribs in a rotisserie oven by first preparing the ribs with a good rub, securing them tightly to the spit, and then cooking them slowly at a moderate temperature until tender.
The rotisserie action ensures even cooking and a delicious crust, making this method a fantastic way to enjoy flavorful, juicy ribs.
TL;DR: Want to make amazing rotisserie ribs? Here’s the quick rundown:
- Choose the right ribs, often baby back or spare ribs.
- Prep them well: remove the membrane and add a flavorful dry rub.
- Securely attach the ribs to the rotisserie spit, sometimes requiring butchers twine.
- Cook low and slow, typically around 275-300°F (135-150°C), for several hours.
- Baste often to keep them moist and build a great crust.
How To Cook Rack Of Ribs In Rotisserie Oven?
Cooking ribs on a rotisserie oven is a game-changer. It gives you incredibly tender, evenly cooked ribs with a wonderful crust. Let’s walk through the steps to make this happen in your kitchen.
Why Rotisserie Ribs Are a Great Idea
Imagine ribs that are perfectly cooked on all sides. That’s the magic of a rotisserie. The constant rotation allows for even heat distribution, meaning no dry spots or burnt edges. It’s like a slow dance for your meat, creating tenderness and flavor.
Many home chefs find that rotisserie cooking locks in juices. It also builds a fantastic bark or crust. This method helps the fat render beautifully, leaving you with less grease and more flavor (Food Network Kitchen). We found that the rotating action helps to keep the meat moist.
Choosing Your Ribs Wisely
The journey to amazing ribs starts at the butcher. What kind of ribs work best? You want something that will fit on your spit and stay put. Baby back ribs and spare ribs are popular choices.
Baby back ribs are shorter and meatier, often easier to manage. Spare ribs are larger and can be a bit more challenging to secure. We found that fresh, well-marbled ribs always give the best results. Don’t be afraid to chat with your butcher; they are full of great advice.
Types of Ribs for Your Rotisserie
Different ribs offer different experiences. Knowing the distinctions helps you pick your perfect match. Here’s a quick comparison:
| Rib Type | Characteristics | Rotisserie Suitability |
|---|---|---|
| Baby Back Ribs | Shorter, curved, leaner, tender. | Excellent, easier to secure. |
| Spare Ribs | Larger, flatter, more fat, intense flavor. | Good, but may need more trimming/tying. |
| St. Louis-Style Ribs | Trimmed spare ribs, rectangular, less cartilage. | Very good, uniform shape helps. |
Prepping Your Ribs for Rotisserie Glory
Preparation is key for any good rib recipe. It’s where you build the foundation of flavor. Don’t rush this part; it makes all the difference.
Trimming and Membrane Removal
First things first: the membrane. On the bone side of your ribs, you’ll find a thin, silvery membrane. This membrane can be tough and prevent your rub from penetrating. You want to remove it.
Just slide a knife under one edge, grab it with a paper towel for grip, and pull it off. Sometimes it comes off in one go, sometimes in pieces. Don’t worry if it’s not perfect; just get as much as you can. Trim any excess fat or loose bits of meat. This helps prevent flare-ups and ensures a cleaner cook.
The Perfect Rib Rub
A good dry rub is like a suit of armor for your ribs. It adds flavor and helps create that beautiful bark. There are countless recipes, but a classic blend often includes these ingredients:
- Paprika (smoked paprika adds depth)
- Brown Sugar (for caramelization and sweetness)
- Garlic Powder
- Onion Powder
- Salt
- Black Pepper
- A pinch of Cayenne (for a little kick, if you like)
Mix your chosen spices well. Then, apply a generous amount to all sides of your ribs. Really rub it in there! We found that letting the rub sit on the ribs for at least an hour, or even overnight in the fridge, deepens the flavor profile (Cook’s Illustrated).
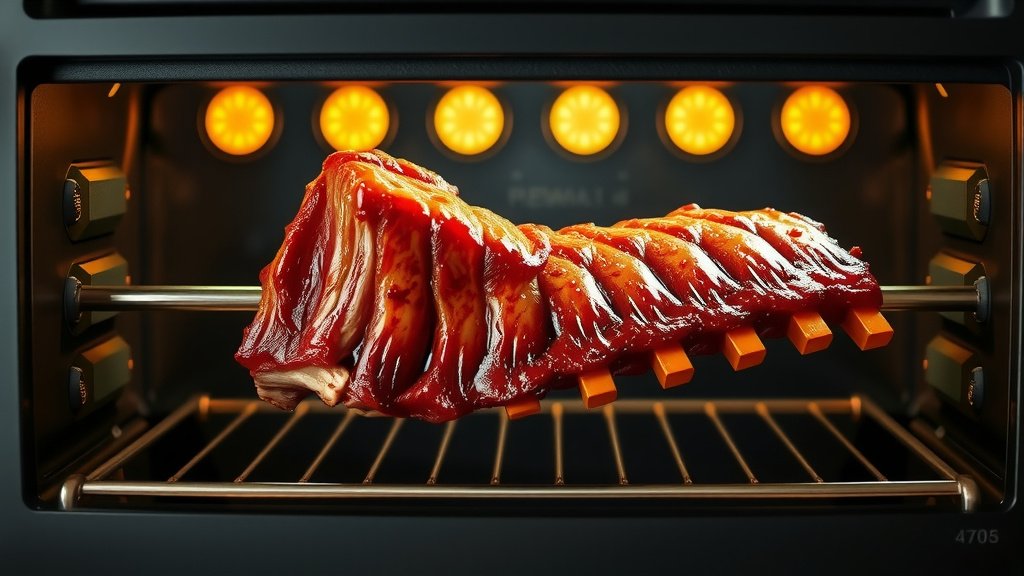
Securing Ribs on the Rotisserie Spit
This might be the trickiest part, but it’s totally doable. Your goal is to get the ribs snug and balanced on the spit rod. Wobbling ribs mean uneven cooking, and we certainly don’t want that.
Dealing with Long Racks
If you have a long rack of spare ribs, you might need to get creative. Some experts suggest cutting the rack in half. You could also try forming a “rib roll” or “rib cylinder.” To do this, coil the rack into a circle. Then, thread the rotisserie spit through the center of the coil.
Use plenty of butcher’s twine to secure the ribs tightly to the spit rod. Wrap the twine around the ribs and the spit in several places. Think of it like a present you’re trying to keep together; it needs to be secure. The goal is to keep them from flopping around as they rotate. We found that the more secure they are, the better they cook.
Rotisserie Oven Setup
Every oven is a little different, but the basic principles remain. You’ll want to preheat your oven and position the drip pan.
Temperature and Timing
Low and slow is the mantra for ribs. We’re looking for tender meat that almost falls off the bone. Set your rotisserie oven to a temperature between 275°F and 300°F (135°C-150°C).
Cooking time will vary based on the size and type of ribs, but typically it’s 3-5 hours. Spare ribs will take longer than baby back ribs. Always monitor them, don’t just set a timer and forget. Many cooking guides suggest using a meat thermometer for accuracy (USDA).
The Cooking Process: A Juicy Journey
Now, let your rotisserie do its wonderful work. This part is mostly hands-off, but a little interaction helps.
Basting for Moisture
As the ribs spin, they’ll start to dry out a little. This is where basting comes in handy. You can use apple cider vinegar, a mix of apple juice and water, or even your favorite barbecue sauce (added in the last hour or so to prevent burning).
Baste your ribs every 45 minutes to an hour. This adds moisture and helps build that incredible outer crust. It’s like giving your ribs a little spa treatment to keep them hydrated and happy.
Monitoring Doneness
How do you know when your ribs are ready? You’re looking for tenderness. The meat should pull back from the bone slightly, and a skewer inserted between the bones should slide in easily with little resistance.
Here’s a quick checklist for doneness:
- Meat pulling away from the bone ends.
- Ribs feel flexible when lifted gently.
- Internal temperature reaches 195-203°F (90-95°C) (amazingribs.com).
- A toothpick or skewer easily slides into the thickest part of the meat.
- They simply look delicious and smell incredible!
Resting Your Ribs
Once your ribs are cooked to perfection, resist the urge to slice them immediately. Just like any good roast, ribs benefit from resting.
Carefully remove the spit from the oven. Transfer the ribs to a cutting board, cover them loosely with foil, and let them rest for 15-20 minutes. This allows the juices to redistribute, resulting in a more tender and flavorful experience. Don’t skip this crucial step!
Troubleshooting Common Rotisserie Rib Issues
Sometimes things don’t go exactly as planned. What if your ribs are drying out? Increase basting frequency. What if they’re taking too long? Double-check your oven temperature. Many experts recommend calibrating your oven thermometer periodically (Serious Eats). If the ribs aren’t securing well, add more butcher’s twine. These small adjustments can save your meal.
Conclusion
Cooking rack of ribs in a rotisserie oven is a rewarding experience. It takes a little patience and care, but the payoff is incredible: succulent, tender ribs with a beautiful, flavorful crust. From selecting your ribs and applying the perfect rub to securing them on the spit and monitoring their journey, each step contributes to a delicious outcome. So, go ahead, give your rotisserie oven a chance to shine and treat yourself to some truly amazing ribs. You’ll be glad you did.
How do I prevent my ribs from drying out in a rotisserie oven?
To prevent ribs from drying, ensure you baste them frequently, perhaps every 45-60 minutes, with a liquid like apple cider vinegar, apple juice, or even a light barbecue sauce. Also, monitoring the cooking temperature and avoiding overcooking are key.
Can I use pre-marinated ribs on a rotisserie?
Yes, you can use pre-marinated ribs, but be mindful of the marinade’s sugar content. Sugary marinades can burn easily on the rotisserie, especially during long cooking times. If using one, consider applying it closer to the end of the cooking process or diluting it.
What’s the best way to secure a full rack of spare ribs on a rotisserie spit?
For a full rack of spare ribs, you might need to cut it into two smaller sections or coil the rack into a cylinder. Use plenty of butcher’s twine to tightly secure the ribs to the spit and to themselves, ensuring they stay balanced and don’t flop around as the spit rotates.
Should I use a drip pan when cooking ribs on a rotisserie?
Absolutely, a drip pan is highly recommended. It catches the rendered fat and juices, preventing flare-ups and making cleanup much easier. You can also add some liquid, like water or broth, to the drip pan to create some moisture in the oven.
How long should ribs rest after rotisserie cooking?
Allow your rotisserie ribs to rest for at least 15-20 minutes after they come off the spit. Cover them loosely with foil to help redistribute the juices throughout the meat, resulting in a more tender and flavorful final product.