To clean a single wall oven effectively, first ensure it’s completely cooled down, then remove racks and visible debris, and finally choose a cleaning method like a baking soda paste or a commercial cleaner for its interior.
A thorough cleaning involves wiping down the door, scrubbing the glass, and tackling tough grease spots inside your single wall oven, often requiring a few hours depending on its condition and how long it’s been since its last deep clean.
Here’s a quick overview of how to clean your single wall oven:
- Cool It Down: Always start with a cold oven to ensure safety.
- Remove Bits: Take out racks and sweep loose crumbs from the bottom.
- Choose Your Method: Decide between natural cleaners (baking soda) or commercial sprays.
- Tackle Tough Spots: Let cleaners sit on baked-on grime for best results.
- Wipe and Shine: Don’t forget the door, glass, and exterior for a complete clean.
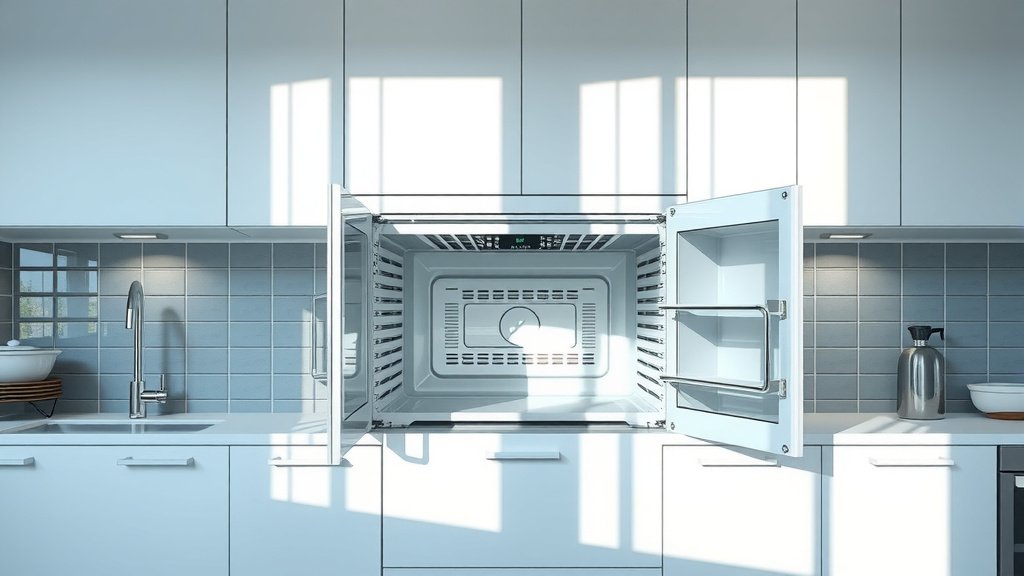
How To Clean A Single Wall Oven?
Cleaning a single wall oven involves a few key steps to restore its sparkle and ensure it functions well. You’ll want to tackle visible messes first, then choose a cleaning method, and finally wipe everything down for a spotless finish.
Why Bother Cleaning Your Oven?
You might wonder if cleaning your oven is really that important, beyond just appearances. Well, a dirty oven can actually be a safety hazard. Built-up grease can cause smoke, trigger your smoke alarm, or even lead to small fires.
Beyond safety, a clean oven performs better. Food bakes more evenly without burnt debris on the bottom affecting temperatures. Plus, your kitchen just smells better when there isn’t old, burnt food lingering.
Safety First: Before You Start
Before you even think about cleaning, make sure your single wall oven is completely cool. Many experts say that working with a hot oven is unsafe and can cause burns (Mayo Clinic). Always ensure it’s unplugged if possible, or at least turned off at the breaker for electric models. This step protects both you and your appliance.
Gather Your Supplies
Preparation is key for any cleaning project. Having all your tools ready saves time and makes the process smoother. What do you need for this mission?
- Rubber gloves (to protect your hands)
- Baking soda or commercial oven cleaner
- White vinegar (optional, for rinsing)
- Spray bottle (if using vinegar)
- Warm water
- Several clean cloths or sponges
- Scrub brush or non-abrasive scrubber
- Plastic scraper (for stubborn spots)
- Small vacuum or dustpan and brush
The Initial Cleanup: Getting Ready
First things first, open your oven door and take a good look inside. Are there loose crumbs, burnt food bits, or anything that can be easily picked up? We found that starting with a dry removal of debris makes the deeper clean much easier.
Remove all oven racks, baking sheets, and any other items you store in there. These will need cleaning separately, which we will cover shortly. Use a small vacuum or a brush and dustpan to sweep out all the loose gunk from the bottom of the oven.
Natural Cleaning Methods: Baking Soda Power
Many homeowners prefer a natural approach, and for good reason! It’s less harsh on your senses and often just as effective. Baking soda is a fantastic, non-toxic cleaner.
To use baking soda, mix about half a cup with a few tablespoons of water to form a thick paste. You want it spreadable, like a frosting. Wear your gloves, then spread this paste all over the interior surfaces of your oven, avoiding heating elements or the fan if your model has one.
Let the baking soda paste sit overnight, or for at least 12 hours. This long soak gives it time to break down the grease and baked-on food. It’s like magic, just a slow-motion kind of magic!
Commercial Oven Cleaners: When You Need More Power
Sometimes, natural methods just don’t cut it, especially if your oven hasn’t seen a good clean in years. That’s when commercial oven cleaners step in. We found that these products are very effective for heavy-duty grime (Consumer Reports).
Always read the product instructions carefully. These cleaners often contain strong chemicals, so good ventilation is a must. Open windows and consider using a fan. Spray the cleaner evenly inside, following the recommended waiting time, which can range from 20 minutes to several hours.
Cleaning Oven Racks and Accessories
While your chosen cleaner works its magic inside the oven, turn your attention to the racks. We recommend soaking them in a bathtub or large sink filled with hot water and a generous squirt of dish soap. Let them soak for an hour or two, or even overnight.
After soaking, use a scrub brush or a non-abrasive pad to clean off any remaining gunk. For really tough spots, a bit of the baking soda paste or commercial cleaner can be applied directly. Rinse them thoroughly and let them air dry completely before putting them back.
Tackling the Oven Interior: The Big Wipe Down
Once the waiting period for your cleaner is over, it’s time for the elbow grease. Grab a damp cloth and start wiping away the paste or cleaner, along with all the loosened grime. You might be surprised at how much dirt comes off!
For baked-on spots that didn’t dissolve, use a plastic scraper or a non-abrasive scrubber. Be gentle to avoid scratching the oven’s surface. You might need to rinse your cloth frequently, using fresh, warm water, to avoid spreading dirt around.
If you used baking soda, a light spray of white vinegar can help neutralize any remaining paste and create a satisfying fizz. Just wipe it clean afterwards. The goal is to remove all residue, leaving your oven interior sparkling.
Don’t Forget the Door and Glass!
Many people focus on the inside and forget the oven door and glass. But a dirty door ruins the whole effect! For the glass, you can use a bit of your baking soda paste or a glass cleaner designed for ovens. Apply it, let it sit for a few minutes, then scrub and wipe clean.
The exterior of your single wall oven, especially the control panel and handle, also needs attention. A soft cloth with mild dish soap and water usually does the trick. Be careful not to let liquids drip into the control panel components.
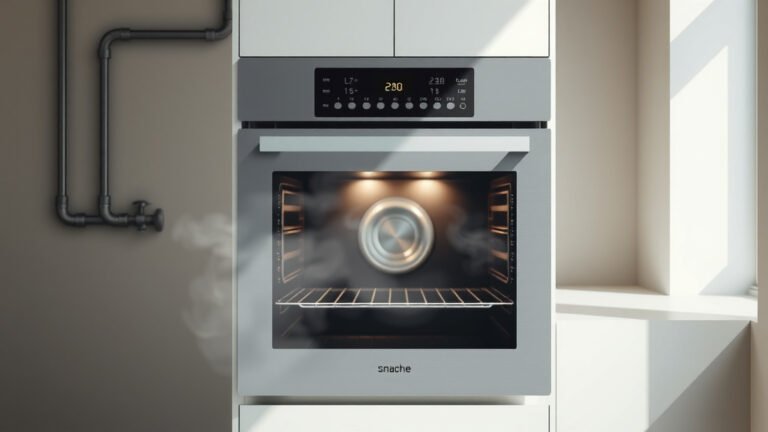
Self-Cleaning Cycle: To Use or Not to Use?
Many modern single wall ovens have a self-cleaning feature. This cycle uses very high temperatures to burn off food residue, turning it into ash. It sounds easy, right?
While convenient, the self-cleaning cycle can generate a lot of smoke and odors, so ventilation is critical. It can also be tough on your oven’s components, sometimes shortening their lifespan. Research suggests that excessive use may strain oven parts (Consumer Reports).
If you choose to use it, remove all racks first (most aren’t self-clean safe). Also, wipe out any large food debris to reduce smoke. Always follow your oven’s manual for proper self-cleaning instructions.
Natural vs. Commercial Cleaners
| Feature | Natural (Baking Soda & Vinegar) | Commercial Oven Cleaner |
|---|---|---|
| Effectiveness | Good for regular to moderate grime | Excellent for heavy, baked-on grease |
| Fumes/Odors | Minimal to none | Strong, requires good ventilation |
| Cost | Very low, uses common pantry items | Moderate, dedicated cleaning product |
| Safety | Non-toxic, safe for pets/children | Harsh chemicals, requires gloves/caution |
| Time Involved | Longer soak time (overnight often) | Faster acting (minutes to hours) |
Maintenance Tips for a Sparkling Oven
Once your single wall oven is sparkling clean, you probably want to keep it that way for as long as possible. Many experts recommend a few simple habits to maintain cleanliness.
Wipe up spills as soon as they cool down. Don’t let them bake on for weeks. You can also place an oven liner on the bottom of your oven to catch drips. These are usually silicone or aluminum foil and can be easily removed and cleaned.
A quick wipe-down after each use, or at least once a week, prevents major build-up. It’s like brushing your teeth; a little effort often saves you from a big, unpleasant job later.
Your Oven Cleaning Checklist: Quick Reference
Feeling ready to tackle that oven? Here’s a brief checklist to guide you:
- Cool Down: Is your oven completely cold to the touch?
- Empty Out: Are all racks and loose debris removed?
- Gloves On: Are your hands protected from cleaners?
- Apply Cleaner: Did you spread your chosen cleaner evenly?
- Wait Time: Have you given it enough time to work its magic?
- Wipe Clean: Is all residue and grime completely removed?
- Racks Cleaned: Are your oven racks sparkling and dry?
- Door & Glass: Is the door and interior glass spotless?
- Final Shine: Did you wipe down the exterior for a complete look?
Conclusion
Cleaning a single wall oven might seem like a daunting task, but with the right approach, it’s totally manageable. Whether you choose the gentle power of baking soda or the muscle of a commercial cleaner, consistency is your best friend. A little regular care can save you from big, greasy headaches down the road. You’ll not only enjoy a cleaner kitchen but also a more efficient and safer cooking experience. So go ahead, reclaim that oven shine!
What is the best way to clean a very dirty single wall oven?
For a very dirty single wall oven, many experts recommend using a commercial heavy-duty oven cleaner that contains strong degreasers. Apply it thoroughly, allow it to sit for the maximum recommended time (often several hours), and ensure good ventilation. Alternatively, a thick baking soda paste left overnight can also be very effective for heavy grime, requiring patience and thorough scrubbing.
How often should I clean my single wall oven?
The frequency depends on your cooking habits, but we found that a deep clean is usually needed every 3-6 months for average use. For light use or frequent small spills, wiping up immediately and doing a lighter clean monthly can prevent major build-up. If you cook often or have a large family, consider cleaning every 1-2 months.
Can I use steel wool to clean my oven?
No, you should avoid using steel wool or highly abrasive scrubbers on the interior of your single wall oven. Many oven surfaces, especially porcelain enamel, can be easily scratched, which not only looks bad but can also create rough spots where food and grease can stick even more easily in the future. Opt for non-abrasive pads, sponges, or plastic scrapers instead.
What should I do if my oven smells after cleaning?
If your oven still smells after cleaning, it’s often due to leftover cleaner residue or lingering burnt food particles. Try wiping it down again with a cloth dampened with plain water and a splash of white vinegar. Then, turn your oven on to a low temperature (around 250°F or 120°C) for 15-30 minutes with the kitchen well-ventilated to bake off any remaining odors. Place a bowl of lemon water or activated charcoal inside while it cools to absorb smells.
Is it safe to bake immediately after cleaning my oven?
It is generally safe to bake after thoroughly rinsing and drying your oven interior. However, it’s a good practice to run your oven empty at a moderate temperature (around 350°F or 175°C) for 15-20 minutes after a deep clean. This helps burn off any invisible cleaner residues and dissipates any lingering chemical smells before you put food in, ensuring your dishes don’t pick up unwanted flavors.