
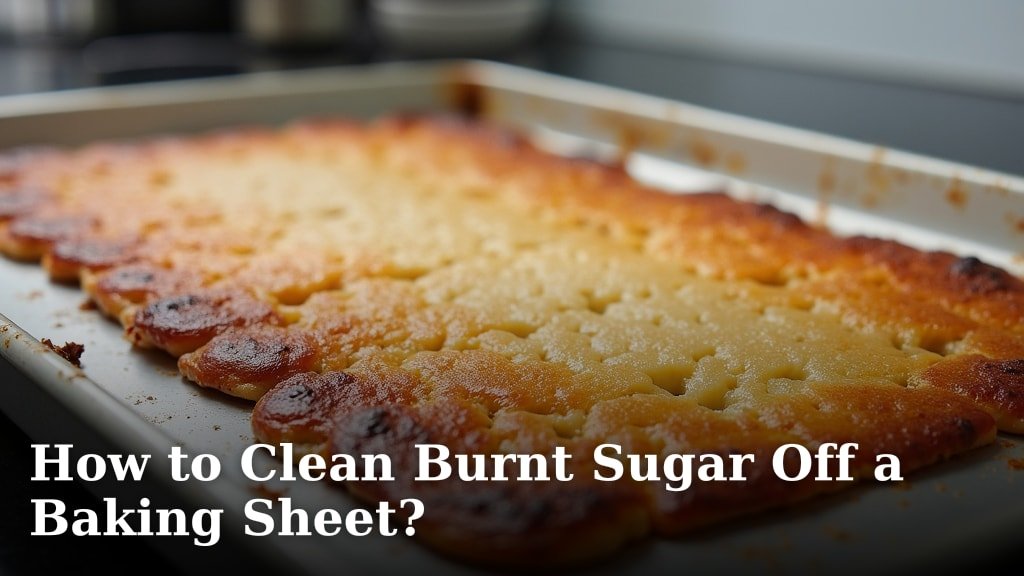
The easiest way to clean burnt sugar off a baking sheet is to soak it in hot, soapy water. This softens the hardened sugar, making it much easier to scrub away. You can also try a baking soda paste for extra scrubbing power on tough spots. Don’t despair; this common kitchen mess is usually quite manageable!
Burnt sugar can feel like a baking sheet’s worst nightmare. It sticks like glue and looks impossible to remove. Fortunately, a little patience and the right method can bring your baking sheet back to its former glory. We’ve found that these simple steps work wonders, even for the most stubborn burnt-on messes. It’s all about using heat and gentle abrasion.
- Soak in hot, soapy water first.
- Use baking soda paste for tough spots.
- Avoid harsh scrubbing that can scratch.
- Patience is key with burnt sugar.
Below, we’ll walk you through exactly how to tackle that burnt sugar, step by step, so you can get back to baking your favorite treats.
Tackling Burnt Sugar on Your Baking Sheets
Burnt sugar can feel like a baking sheet’s worst nightmare. It sticks like glue and looks impossible to remove. Fortunately, a little patience and the right method can bring your baking sheet back to its former glory. We’ve found that these simple steps work wonders, even for the most stubborn burnt-on messes. It’s all about using heat and gentle abrasion.
The First Line of Defense: Hot Soapy Water Soak
When you first notice that stubborn burnt sugar clinging to your baking sheet, don’t panic. The easiest and often most effective first step is a good, old-fashioned soak. This method uses heat and moisture to break down the hardened sugar. We’ve found this is the best starting point for most burnt-on food messes.
Gathering Your Supplies for the Soak
You probably have everything you need right in your kitchen. For this initial soak, you’ll want:
- Your burnt baking sheet
- A sink or a large basin
- Dish soap (your regular kind works great)
- Very hot water
The Soaking Process Step-by-Step
It’s a straightforward process. First, locate a sink or a basin large enough to hold your baking sheet completely submerged. If your sink isn’t big enough, a large plastic storage bin or even your bathtub can work in a pinch. Be sure to rinse out any soap residue from the tub first.
Next, add a generous squirt of your favorite dish soap directly into the empty sink or basin. Then, carefully fill it with the hottest water you can safely handle. The hotter the water, the more effective it will be at loosening that stubborn sugar. Some sources suggest using boiling water for maximum effect, but be extremely cautious if you choose this route (Mayo Clinic).
Submerge your burnt baking sheet in the hot, soapy water. Make sure it’s fully covered. Now comes the hardest part: waiting. You’ll want to let it soak for at least 30 minutes to an hour. For really tough, old burnt-on sugar, you might need to let it soak even longer, perhaps even overnight.
During the soak, you might notice some of the sugar starting to lift off on its own. This is a good sign! It means the hot water and soap are doing their job, softening the caramelized mess. If you see floating bits, you can skim them off with a spoon or paper towel.
When Soaking Isn’t Enough: The Baking Soda Scrub
After your soak, you might find that most of the burnt sugar has softened and can be wiped away easily. Great! But sometimes, even with a good soak, a sticky residue or dark scorch marks remain. This is where a little gentle abrasion comes in handy. Baking soda is your best friend here.
Why Baking Soda Works So Well
Baking soda, or sodium bicarbonate, is a mild abrasive. This means it can help scrub away stuck-on bits without scratching your baking sheet. Many cleaning experts recommend it as a go-to for tackling tough kitchen messes. It’s also a natural deodorizer, so it can help with any lingering burnt smells.
Creating Your Baking Soda Paste
Making a baking soda paste is incredibly simple. You just need two things: baking soda and a little bit of water.
In a small bowl, combine about a half cup of baking soda with just enough water to form a thick paste. Think of the consistency of toothpaste or thick frosting. You don’t want it too runny, or it won’t stick to the baking sheet effectively.
If you still have some residual hot water from your soak, you can use that to mix the paste. This can help keep the warmth going, which aids in loosening the sugar. Some people even use a bit of dish soap mixed into the paste for extra cleaning power.
Applying the Paste and Scrubbing Gently
Once you have your paste, spread it generously over the areas of the baking sheet with burnt sugar. Let the paste sit there for another 15-30 minutes. This gives the baking soda a chance to work its magic on the remaining sticky spots.
After the paste has had time to sit, grab a non-abrasive scrubbing tool. A soft sponge, a nylon brush, or even a plastic scraper are good options. Avoid steel wool or harsh scouring pads, as these can scratch the surface of your baking sheet. We learned this the hard way once!
Gently scrub the burnt sugar areas. You should feel the burnt sugar start to break down and lift away. If you encounter a particularly stubborn spot, try applying a little more paste and letting it sit a bit longer. Rinse your scrubbing tool frequently as you work.
Remember, patience is key. You’re not trying to power through this. You’re coaxing the burnt sugar off with a gentle touch. Most sources on kitchen cleaning suggest a gentle approach to avoid damaging cookware (Consumer Reports).
Dealing with Stubborn Scorch Marks
Sometimes, even after you’ve scrubbed away the physical burnt sugar, you’re left with dark, ugly scorch marks. These are often the caramelized sugars that have bonded deeply with the metal. Don’t worry, there are still ways to tackle these.
The Vinegar and Baking Soda Combo
A common and effective cleaning duo for tough stains is vinegar and baking soda. You’ve already made a baking soda paste, so you’re halfway there. White vinegar is preferred for its cleaning properties.
If you didn’t use all your baking soda paste, apply more to the scorch marks. Then, carefully pour or spray a little white vinegar over the paste. You’ll notice a fizzing reaction. This is the vinegar and baking soda creating a powerful cleaning foam. Let this mixture sit for about 30 minutes to an hour.
After the fizzing subsides, use your non-abrasive scrubber to gently work on the scorch marks. The combined action of the baking soda and vinegar can help lift even deep-set discoloration. Rinse thoroughly afterwards.
A Note on Aluminum Baking Sheets
If you have aluminum baking sheets, be a little extra cautious with acidic cleaners like vinegar, especially for prolonged periods. While generally safe in moderation, extended exposure could potentially cause some slight discoloration on aluminum surfaces. Most experts recommend rinsing thoroughly and promptly after using vinegar.
Final Rinse and Drying
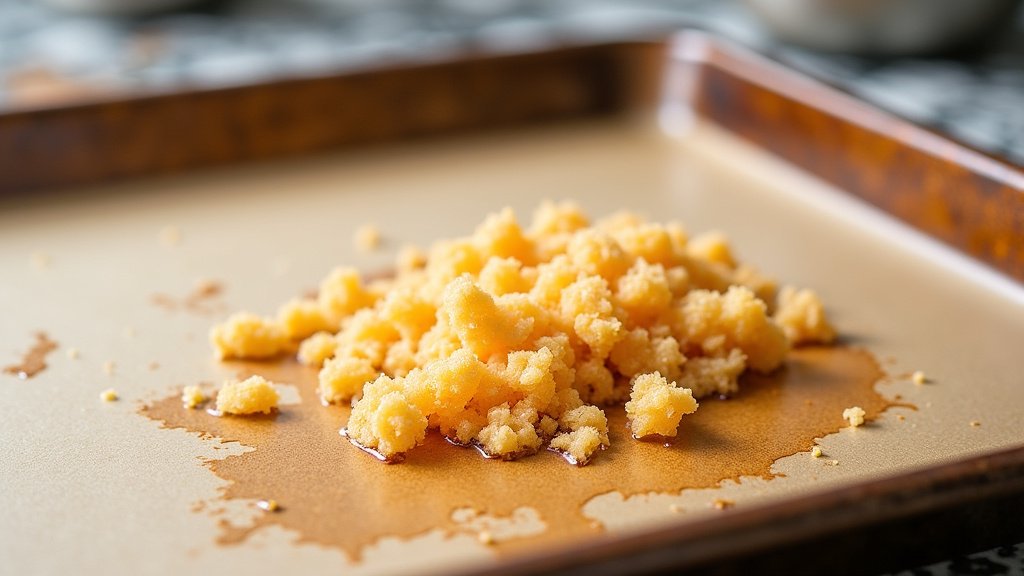
Once you’ve scrubbed away all the burnt sugar and scorch marks, it’s time for the final steps. Give your baking sheet a thorough rinse under hot running water. Make sure all soap, baking soda residue, and any remaining sugar particles are completely washed away. You don’t want any soapy taste lingering for your next baking adventure!
After rinsing, dry your baking sheet immediately and completely with a clean dish towel. Allowing it to air dry can sometimes lead to water spots, especially if you have hard water. Getting it dry right away also helps prevent any rust from forming, particularly on older or carbon steel pans.
Preventing Future Burnt Sugar Catastrophes
We all make mistakes in the kitchen, and burnt sugar happens! But a few simple habits can help prevent it from becoming a regular issue. Think of these as your “ounce of prevention” tips.
- Watch your baking times: Keep an eye on your treats as they get closer to being done. Ovens can vary, and a few minutes too long can turn sugary goodness into a burnt mess.
- Use parchment paper or silicone mats: These are fantastic barriers that catch drips and prevent sugar from directly contacting your baking sheet. They make cleanup a breeze!
- Clean spills promptly: If you notice a small sugary spill on your baking sheet before it bakes, wipe it up! It’s much easier to deal with a fresh spill than a baked-on one.
- Proper storage: Ensure your baking sheets are completely clean and dry before stacking them. This prevents any lingering residue from hardening further.
By following these steps and tips, you’ll be able to conquer even the most daunting burnt sugar situations and keep your baking sheets in pristine condition for all your future delicious creations.
Conclusion
You’ve now learned how to banish burnt sugar from your baking sheets. Remember, the key is a good hot, soapy soak to start. For stubborn spots, a gentle baking soda paste will be your next best tool. And don’t forget that a little patience and avoiding harsh scrubbers will keep your sheets looking great.
Don’t let burnt sugar discourage you from baking! Keep these simple methods in mind, and you’ll be ready for any sticky situation. Now, go ahead and plan your next delicious baking project with confidence!
Frequently Asked Questions
Can I use oven cleaner on burnt sugar?
We strongly advise against using oven cleaner on baking sheets. Oven cleaners are often very harsh and can damage the non-stick coating or even the metal of your baking sheet. Sticking to the methods discussed, like soaking and baking soda, is much safer and more effective for burnt sugar.
How long should I soak a baking sheet with burnt sugar?
For most burnt sugar situations, a soak of 30 minutes to an hour should be sufficient. If you’re dealing with a really old or deeply burnt-on mess, you might need to let it soak for several hours or even overnight. Check it periodically to see if the sugar is softening.
Will baking soda scratch my baking sheet?
When used correctly, baking soda is a mild abrasive and generally won’t scratch your baking sheets. The trick is to make a paste with water and use a soft sponge or nylon brush for scrubbing. Always avoid steel wool or abrasive scouring pads.
What if there are still dark scorch marks after cleaning?
Dark scorch marks can sometimes remain after the burnt sugar is removed. For these, try the combination of baking soda paste and white vinegar. Let the fizzy mixture sit on the scorch marks for about 30 minutes to an hour before gently scrubbing. Rinse thoroughly afterwards.
Are there any baking sheets that are harder to clean burnt sugar off of?
Generally, non-stick baking sheets can be more sensitive to abrasive cleaning methods. If your sheet has a coating, be extra careful to use only soft sponges and avoid anything that could scratch or chip the surface. Well-seasoned cast iron or sturdy stainless steel are typically more forgiving.
