Cooking chicken in an infrared oven offers a quick and effective way to achieve a crispy skin and juicy interior, thanks to its direct radiant heat.
To cook chicken in an infrared oven, preheat to a high temperature, around 400-425°F (200-220°C), season your chicken well, and cook for less time than a conventional oven, checking internal temperature for safety.
Here’s a quick overview of what you will gain from this guide:
- Discover why infrared ovens cook chicken so efficiently and deliciously.
- Learn the essential steps for preparing your chicken for infrared cooking.
- Get specific temperature and timing recommendations for different cuts.
- Understand how to ensure your chicken is perfectly cooked and safe to eat.
- Gain valuable tips for achieving that desirable crispy skin and tender meat.
How To Cook Chicken In An Infrared Oven?
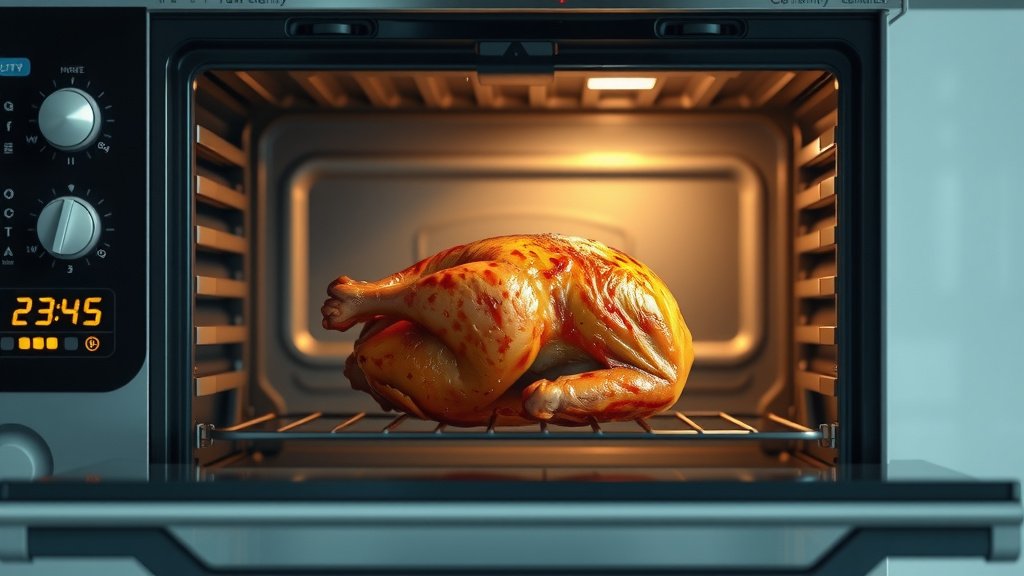
Cooking chicken in an infrared oven means using radiant heat to penetrate the food directly, creating a wonderfully crispy exterior and a succulent, moist interior. You’ll find this method much faster than traditional baking, saving you precious time in the kitchen.
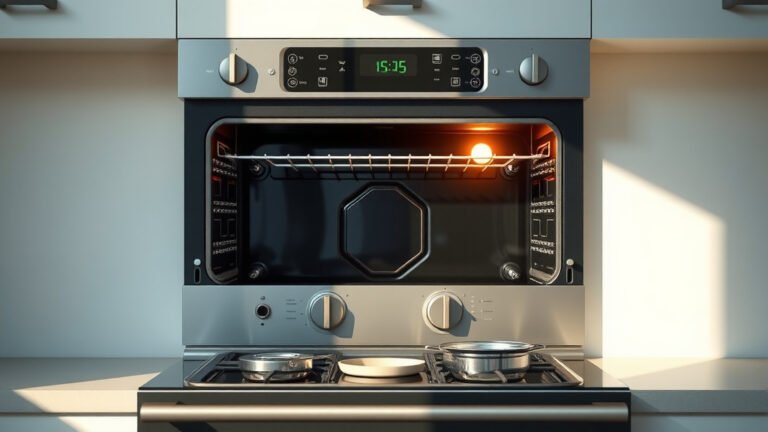
Understanding Your Infrared Oven
An infrared oven works by emitting electromagnetic waves that directly heat the food. Think of it like a really intense sunbeam focused on your chicken. This method avoids heating the air inside the oven, leading to a more efficient cooking process.
Many experts say this direct heat cooks food from the outside-in, searing the surface quickly (Cleveland Clinic). This helps to lock in juices, making your chicken less likely to dry out.
Why Choose Infrared for Chicken?
You might wonder, what makes infrared special for chicken? We found that it excels at creating a beautiful, crispy skin that’s hard to achieve in a conventional oven. Plus, it significantly cuts down cooking time, a real win for busy evenings.
The intense, even heat also means less chance of unevenly cooked spots. This gives you consistent results every time, from drumsticks to a whole roast chicken.
Essential Preparation Steps for Perfect Chicken
Before your chicken meets the infrared heat, a little prep goes a long way. This includes ensuring your chicken is ready to absorb all those wonderful flavors and cook evenly.
Choosing Your Chicken Cut
Almost any chicken cut cooks well in an infrared oven. Whether you prefer bone-in, boneless, breasts, thighs, or a whole bird, the principles remain similar. Just be mindful that thicker cuts need more time.
Brining or Marinating Your Chicken
For an extra layer of flavor and moisture, consider brining or marinating. A simple salt brine can work wonders, especially for chicken breasts (USDA). We found that a good marinade also helps to tenderize the meat and adds depth to the taste.
Seasoning for Maximum Flavor
Don’t be shy with your seasonings! Pat your chicken dry first for better adhesion. Apply your favorite herbs, spices, salt, and pepper generously. A little oil helps the spices stick and promotes a crispier skin.
Setting the Right Temperature and Time
This is where precision helps. Infrared ovens cook faster, so typical conventional oven times won’t quite match up. You need to adjust your expectations and keep a close eye on your bird.
Preheating Your Infrared Oven
Always preheat your infrared oven thoroughly. We found that preheating to 400-425°F (200-220°C) works well for most chicken cuts. This ensures the oven is ready to deliver that intense, direct heat from the moment your chicken goes in.
General Cooking Time Guidelines
Remember, these are estimates, and oven models can vary. Always use a meat thermometer to confirm doneness. Many experts recommend cooking chicken to an internal temperature of 165°F (74°C) (FDA).
| Chicken Cut | Recommended Temperature | Approximate Cooking Time |
|---|---|---|
| Boneless Chicken Breast | 400-425°F (200-220°C) | 15-25 minutes |
| Bone-in Chicken Thighs | 400-425°F (200-220°C) | 25-35 minutes |
| Chicken Drumsticks | 400-425°F (200-220°C) | 20-30 minutes |
| Whole Roast Chicken (3-4 lbs) | 375-400°F (190-200°C) | 60-90 minutes |
Tips for Even Cooking and Crispy Skin
Achieving that perfect balance of crispy skin and juicy meat is truly the goal. Here are a few secrets to help you get there consistently.
Using a Roasting Rack
Placing your chicken on a roasting rack ensures air circulates all around it. This prevents the bottom from getting soggy and helps the skin crisp up evenly. We found this step makes a huge difference.
Flipping Halfway (for smaller cuts)
For smaller cuts like breasts or thighs, flipping them halfway through cooking can help with even browning. This isn’t always needed for a whole chicken, but for flatter pieces, it helps both sides get crispy.
Basting for Moisture
While infrared cooking locks in juices, a little basting with pan drippings or butter can enhance flavor and help with browning. Just don’t open the oven too often, or you’ll lose heat rapidly.
Checking for Doneness Safely
Food safety is paramount. Always, always verify your chicken is cooked through before serving. A reliable meat thermometer is your best friend here.
Using a Meat Thermometer
Insert your meat thermometer into the thickest part of the chicken, avoiding bones. The temperature should read 165°F (74°C). For whole chickens, check the breast, thigh, and wing joint (USDA).
Resting Your Cooked Chicken
Once your chicken reaches the safe internal temperature, remove it from the oven. Let it rest for 5-10 minutes, tented loosely with foil. This resting period allows the juices to redistribute, leading to more tender and flavorful meat.
Common Infrared Chicken Questions & Solutions
Sometimes things don’t go exactly as planned. Don’t worry, we’ve got some answers for those little bumps in the road.
Why is my chicken drying out?
Infrared ovens cook fast, so overcooking is a risk. You might be cooking at too high a temperature for too long. Try lowering the temperature slightly or reducing the cooking time. Remember that meat thermometer!
My skin isn’t crispy enough!
Did you pat the chicken dry before seasoning? Moisture is the enemy of crispiness. Also, ensure you’re using a roasting rack for proper air circulation. Sometimes a quick blast at a higher temperature for the last few minutes helps.
Your Quick Checklist for Infrared Chicken Success:
- Choose your favorite chicken cut.
- Brine or marinate for extra flavor and moisture.
- Season generously and pat dry.
- Preheat your infrared oven to 400-425°F.
- Use a roasting rack for even cooking and crispiness.
- Monitor internal temperature with a meat thermometer (165°F).
- Rest the chicken for 5-10 minutes after cooking.
Conclusion
Cooking chicken in an infrared oven is a fantastic way to enjoy delicious, perfectly cooked meals with less waiting time. By understanding the direct heat and adjusting your techniques, you can achieve that sought-after crispy skin and juicy interior every single time. With a little practice, your infrared oven will become your secret weapon for amazing chicken dinners. Enjoy your culinary adventures!
Can I use aluminum foil in an infrared oven?
Using aluminum foil in an infrared oven is generally safe, but use it sparingly. It blocks the direct infrared heat, which can reduce crispiness and extend cooking times for the covered parts. It’s best for covering dishes to prevent excessive browning rather than wrapping the chicken itself.
Do infrared ovens cook faster than convection ovens?
Yes, infrared ovens typically cook faster than convection ovens. While convection ovens use circulating hot air, infrared ovens use radiant heat that directly penetrates the food, leading to quicker cooking times and often a more pronounced searing effect on the surface.
How do I clean my infrared oven after cooking chicken?
After cooking chicken, allow your infrared oven to cool down completely. Wipe down the interior surfaces with a damp cloth and mild soap. For stubborn grease or baked-on spills, you can use a non-abrasive oven cleaner designed for your oven type. Always check your oven’s manual for specific cleaning instructions.
Is it safe to cook frozen chicken in an infrared oven?
It’s generally not recommended to cook large pieces of frozen chicken in any oven, including infrared, due to food safety concerns and uneven cooking. Thawing chicken completely before cooking ensures it cooks evenly and reaches a safe internal temperature throughout. If you must, smaller, thinner cuts might be acceptable, but check the temperature very carefully (USDA).
Can I use glass bakeware in an infrared oven?
Most glass bakeware is suitable for use in an infrared oven, as long as it’s oven-safe. However, sudden temperature changes can cause glass to shatter. Always place glass bakeware into a preheated oven, and avoid moving it directly from a cold surface to a hot oven or vice versa. Metal pans often conduct heat more effectively for crispier results in infrared ovens.