
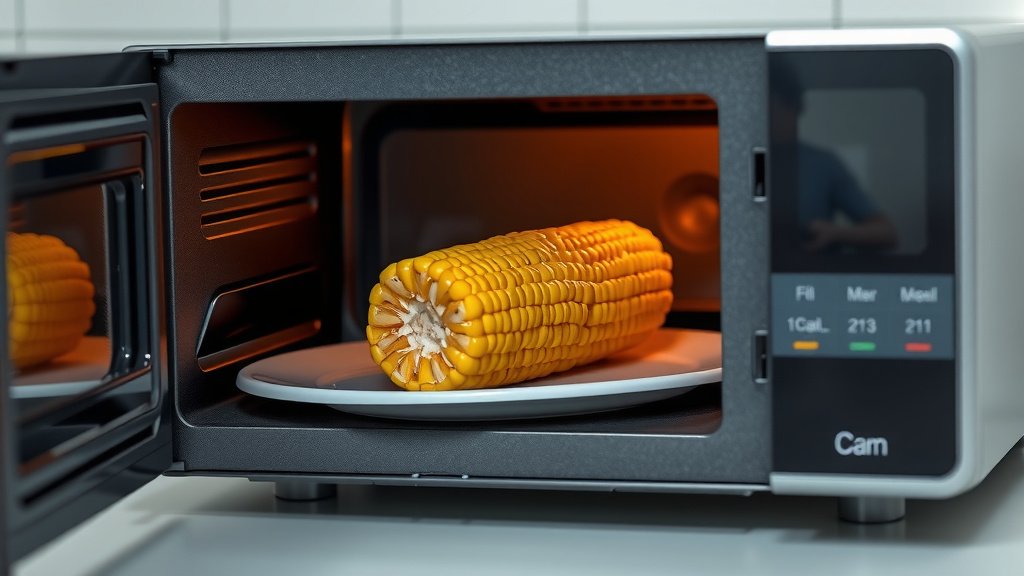
To cook corn on the cob in a microwave oven, simply place one to four unhusked ears directly into the microwave and cook for 3-5 minutes per ear, rotating halfway.
This method quickly steams the corn within its own husk, creating perfectly tender kernels that are easy to shuck.
- Cooking corn on the cob in a microwave is incredibly fast, taking just minutes per ear.
- You can cook it with or without the husk, though husking afterward is often easier.
- The steam generated inside the microwave helps tenderize the kernels beautifully.
- Always allow a brief resting period after cooking for the best results.
- Enjoy your perfectly cooked corn with your favorite toppings like butter and salt.
How To Cook Corn On Cob In Microwave Oven?
Cooking corn on the cob in your microwave oven is a speedy and simple way to get tender, delicious results. It uses steam to cook the kernels right inside their natural wrapper.
Why Choose the Microwave for Corn?
Microwaving corn is a real time-saver. Imagine fresh corn ready in minutes, without a big pot of boiling water. It’s a convenient option for busy weeknights or when you just need one or two ears.
Many busy home cooks love this quick method for its sheer efficiency. It keeps your kitchen cool, too, especially during warm weather.
Selecting the Best Corn
Look for corn with bright green husks that are still tightly wrapped around the cob. The silk should be slightly sticky and yellowish. You want kernels that feel plump and firm through the husk (USDA).
Avoid any ears with dry husks or visible blemishes. Fresh corn tastes best, so try to buy it close to when you plan to cook it.
Preparation: To Husk or Not To Husk?
You have two main choices when preparing your corn for the microwave. You can cook it with the husk on, or you can remove the husk before cooking.
Many experts suggest cooking with the husk on. This method helps the corn steam in its own juices, keeping it moist and sweet.
Cooking Corn with Husks On
Leave the husks completely intact. This natural wrapping acts like a steamer bag. The husk will also help protect the kernels from drying out during cooking.
When done, the husks and silk often peel away very easily, leaving behind a clean and ready-to-eat cob.
Cooking Corn Husked
If you prefer, you can remove the husks and silk entirely before microwaving. Then, wrap each ear tightly in a damp paper towel. This step adds moisture back in.
The damp paper towel ensures the corn steams properly. It prevents the corn from becoming rubbery or dry, which sometimes happens with unprotected kernels in the microwave.
The Microwaving Process: Step-by-Step
Ready to get cooking? The actual microwaving part is quite straightforward. You’ll be enjoying your corn in no time.
- Place 1-4 ears of corn in the microwave. Arrange them in a circle if cooking multiple ears, to help with even cooking.
- Cook on high power.
- Rotate halfway through the cooking time. This ensures all sides get proper exposure to the microwave energy.
| Number of Ears | Cooking Time (with husks) | Cooking Time (husked, wrapped in damp paper towel) |
|---|---|---|
| 1 Ear | 3-4 minutes | 2-3 minutes |
| 2 Ears | 6-7 minutes | 4-5 minutes |
| 3 Ears | 9-10 minutes | 6-7 minutes |
| 4 Ears | 12-14 minutes | 8-10 minutes |
Cooking times can vary slightly depending on your microwave’s wattage. Most home microwaves are between 800 and 1200 watts, so adjust as needed.
Checking for Doneness
How do you know your corn is perfectly cooked? The best way is a simple poke test. The kernels should feel tender but still have a slight bite.
If cooking with husks on, carefully peel back a small section to check. If it feels too firm, pop it back in for another minute or two.
Resting is Important
After microwaving, let the corn rest for a couple of minutes. This allows the internal heat to distribute evenly. It also makes handling safer.
Use oven mitts or tongs to remove the hot corn from the microwave. The steam inside can be quite hot, so be careful when shucking.
Serving Your Delicious Corn
Now for the fun part! Once the corn is cool enough to handle, remove the husks and silk if you cooked them on. Then, get creative with your toppings.
A simple pat of butter and a sprinkle of salt is classic. You can also try chili powder, lime juice, or grated cheese for a mexican street corn flair.
Troubleshooting Common Issues
Sometimes things don’t go perfectly. If your corn comes out dry, it might be overcooked or didn’t have enough moisture. Next time, try wrapping it in a damp paper towel.
If it’s unevenly cooked, try arranging the ears in a circle and rotating them more frequently. Adjusting cooking time also makes a difference.
Health Benefits of Corn on the Cob
Corn is more than just a tasty side dish. It offers dietary fiber, which helps digestion. It also provides vitamins like C and B, and minerals like magnesium (NIH).
Sweet corn contains antioxidants, which are good for your body. It’s a wholesome and natural food to include in your diet.
Microwave Safety Tips
Always use microwave-safe dishes or directly place corn on the turntable. Do not use metal in the microwave. Keep the inside of your microwave clean for optimal performance.
Make sure not to overfill the microwave with too many ears, as this can affect cooking. Follow your microwave’s guidelines for best practices.
Checklist for Perfect Microwave Corn
- Choose fresh, firm ears of corn.
- Decide to cook with husks on or off.
- If husked, wrap in a damp paper towel.
- Arrange corn properly in the microwave.
- Cook according to suggested times.
- Allow corn to rest briefly after cooking.
- Season and enjoy your tender corn!
Conclusion
Microwaving corn on the cob is a fantastic method for achieving tender, flavorful results with minimal effort. It’s fast, convenient, and preserves that sweet corn taste we all love. You can easily adapt the process whether you prefer to cook with husks on or off. With just a few minutes in your microwave, you can enjoy perfectly cooked corn, ready for your favorite toppings. It truly makes enjoying fresh corn simpler than ever.
How long does it take to microwave one ear of corn?
One ear of corn typically takes about 3-4 minutes to cook in a microwave when left in its husk. If husked and wrapped in a damp paper towel, it might be ready in 2-3 minutes.
Do I need to add water when microwaving corn on the cob?
No, you do not need to add extra water if you cook corn with the husk on. The corn steams in its own natural moisture. If husked, wrapping it in a damp paper towel provides enough moisture.
Can I microwave frozen corn on the cob?
Yes, you can microwave frozen corn on the cob. Add a few extra minutes to the cooking time, perhaps 5-7 minutes for one ear, still rotating halfway. Wrapping it in a damp paper towel is highly recommended.
How do I prevent microwave corn from drying out?
To prevent corn from drying out, cook it with the husk on, or wrap husked corn tightly in a damp paper towel. Also, avoid overcooking, as this can make the kernels tough. A short rest period helps retain moisture.
What’s the trick to easily shucking corn after microwaving?
When cooking corn with the husk on, after microwaving, trim about an inch off the stem end of the cob. Then, grasp the tassel end and gently squeeze; the cooked cob often slides right out of the husk and silk easily.
