You can cook lobster tail in a toaster oven by baking it at 375°F (190°C) for about 8-15 minutes, depending on the tail’s size, after a quick butterflying and seasoning.
This method yields tender, perfectly cooked lobster with minimal fuss, making it a surprisingly effective way to enjoy a gourmet meal without heating your whole kitchen.
- Thaw your frozen lobster tails completely in the refrigerator or a cold water bath.
- Use sharp kitchen shears to cut along the top of the shell, then gently pull the meat up and over the shell.
- Brush the lobster meat with melted butter and your favorite seasonings like garlic powder, paprika, or a squeeze of lemon.
- Preheat your toaster oven to 375°F (190°C).
- Bake the prepared lobster tails directly on a small baking sheet for 8-15 minutes until the meat is opaque and firm.
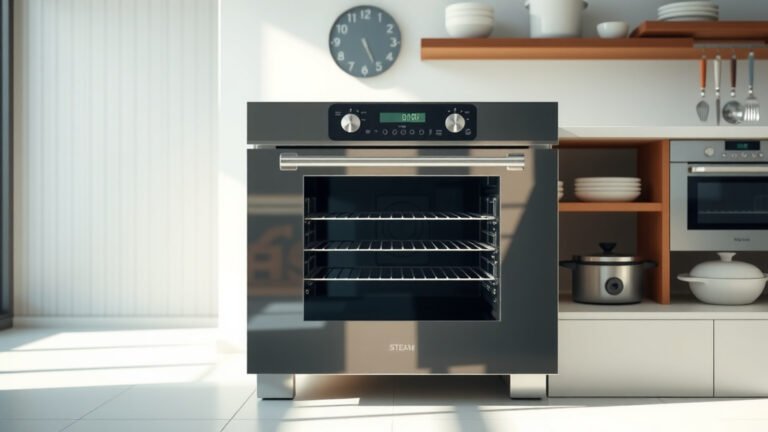
How To Cook Lobster Tail In Toaster Oven?
Cooking lobster tail in a toaster oven involves a simple process of thawing, butterflying, seasoning, and baking, delivering a perfectly tender and flavorful result. This method is surprisingly effective and makes a gourmet meal accessible even in smaller kitchens.
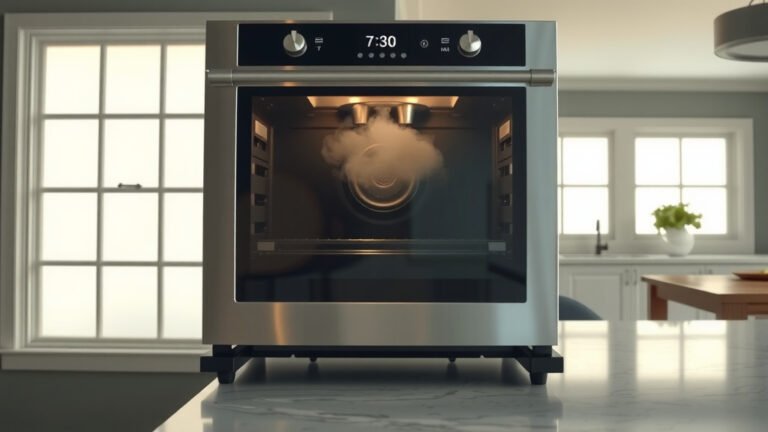
Why a Toaster Oven for Lobster?
Have you ever thought about making a fancy meal but dreaded firing up the big oven? A toaster oven is a fantastic, often overlooked tool for cooking lobster tails. It heats up quickly, uses less energy than a full-sized oven, and provides excellent control over the cooking process for smaller portions.
Many experts say using a toaster oven is ideal when you’re making just one or two lobster tails (Food Network). It saves time and keeps your kitchen cool, especially on warm days. Plus, the compact size often helps create a more even cooking environment for delicate seafood.
Choosing Your Lobster Tails
Starting with good quality lobster tails is half the battle, don’t you think? You’ll typically find them frozen at your local grocery store. Look for tails that are firm and have no discoloration. Sizes can vary quite a bit, from 4 ounces up to 12 ounces or more.
We found that smaller to medium-sized tails, around 4-6 ounces, work best in a toaster oven. They cook more evenly and fit comfortably without crowding. If you choose larger tails, just know they will need a little more cooking time.
Thawing Your Lobster Tails Properly
This step is absolutely critical, as cooking frozen lobster can lead to rubbery results. The best way to thaw lobster tails is slowly in the refrigerator overnight. Just place them in a bowl to catch any drips.
If you’re in a hurry, you can use the cold water method. Seal the tails in a plastic bag and submerge them in a bowl of cold water. Change the water every 20-30 minutes until they are fully thawed, which usually takes about 30-60 minutes (FDA guidelines).
Gathering Your Gear: What You’ll Need
Before you get cooking, let’s make sure you have everything ready. It’s like preparing for a mini-culinary adventure, right? Having your tools at hand makes the process smooth and enjoyable.
Kitchen Essentials Checklist
- Sharp kitchen shears or a good knife
- Small baking dish or toaster oven-safe sheet
- Pastry brush
- Small bowl for melted butter
- Meat thermometer (optional, but very helpful)
- Lemon wedges for serving
Preparing Lobster Tails for Cooking
Now for the fun part: getting those tails ready! The goal is to expose the meat to direct heat for even cooking and a beautiful presentation. Many chefs call this the “butterfly” cut, and it’s quite simple.
The Butterfly Cut
First, place the thawed lobster tail on a cutting board. Using kitchen shears, carefully cut lengthwise along the top of the shell, from the wide end down to the fan-like tail. Be careful not to cut through the bottom shell.
Once cut, gently open the shell. Then, use your fingers to carefully lift the raw lobster meat through the opening you just made, resting it on top of the shell. It should look like the meat is “sitting” on the shell. Make a small, shallow cut down the center of the lobster meat if you want it to open up more.
Seasoning for Success
With the meat exposed, it’s time for flavor! Melt about two tablespoons of unsalted butter. You can add minced garlic, a pinch of paprika, a dash of Old Bay seasoning, or a squeeze of fresh lemon juice to your butter. We found that a simple garlic butter mixture is often the most popular choice.
Use a pastry brush to generously coat the exposed lobster meat with your seasoned butter. A little salt and pepper won’t hurt either! Remember, the goal is to enhance the lobster’s natural sweetness, not overpower it.
The Best Temperature for Toaster Oven Lobster
Getting the temperature right is key for tender, not rubbery, lobster. Research often points to a medium-high heat as ideal for baking lobster tails (Culinary Institute of America). We found that 375°F (190°C) works beautifully in most toaster ovens.
This temperature allows the lobster to cook through without drying out too quickly. It’s a good balance for achieving that perfectly opaque, firm texture we all love in a cooked lobster tail.
Step-by-Step Toaster Oven Cooking Guide
Okay, you’ve prepped your lobster, and your toaster oven is ready. Let’s get these delicious tails cooked! Follow these steps for a perfect result every time.
Preheat Your Toaster Oven
Always preheat your toaster oven to 375°F (190°C). This ensures the oven is at a consistent temperature when the lobster goes in, which is vital for even cooking. Give it at least 5-10 minutes to reach temperature.
Butter and Season Again
Place your prepared lobster tails, meat side up, on a small toaster oven-safe baking sheet. Give them another light brush with your melted seasoned butter right before they go into the oven. This adds another layer of flavor and helps keep the meat moist.
Bake Until Perfect
Carefully place the baking sheet with the lobster tails into the preheated toaster oven. Bake for about 8-15 minutes. The cooking time will vary depending on the size of your tails and the specific toaster oven you own. Keep a close eye on them!
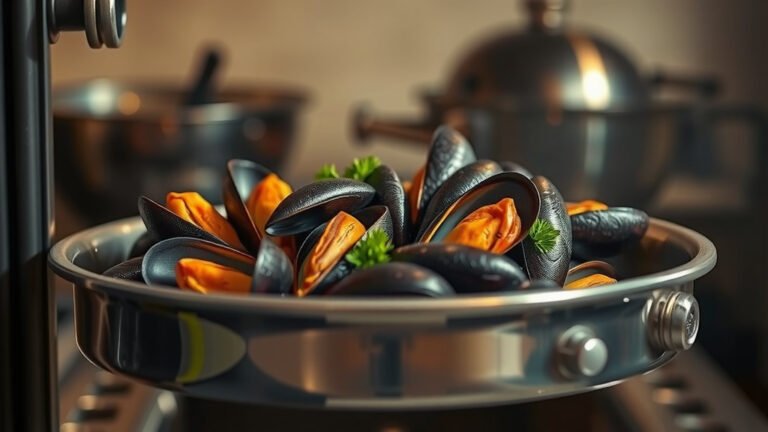
How to Tell It’s Done
The lobster is done when the meat turns opaque white and feels firm to the touch. It should not be translucent or gelatinous. The shell will also turn a vibrant red. If you want to be super precise, use a meat thermometer; the internal temperature should reach 140-145°F (60-63°C) (USDA).
Lobster Tail Cooking Times (By Size)
Here’s a quick guide to help you estimate cooking times. Remember, these are estimates, and your toaster oven might be a little different. Always check for doneness.
| Lobster Tail Size | Estimated Cooking Time at 375°F (190°C) |
|---|---|
| 4-5 oz (small) | 8-10 minutes |
| 6-7 oz (medium) | 10-12 minutes |
| 8-10 oz (large) | 12-15 minutes |
| 10+ oz (jumbo) | 15-18 minutes |
Flavor Boosters and Toppings
While garlic butter is a classic, don’t be afraid to experiment! A squeeze of fresh lemon juice over the cooked lobster brightens the flavor considerably. You could also sprinkle with fresh parsley or chives for a touch of freshness.
Some people enjoy a light dusting of parmesan cheese for a savory twist. Or, how about a sprinkle of red pepper flakes if you like a little heat? The possibilities are quite tasty!
Common Mistakes to Avoid
We all make mistakes, but with lobster, a few simple tips can save your meal. The biggest pitfall is overcooking. Overcooked lobster becomes tough and chewy, losing its delicate texture. Always err on the side of slightly undercooked, as it will continue to cook a little after being removed from the oven.
Another common mistake is not thawing completely. As we discussed, frozen spots can lead to uneven cooking. Also, don’t forget to season! Plain lobster is good, but seasoned lobster is great.
Serving Your Delicious Lobster
Once your lobster tails are perfectly cooked, transfer them to a plate. A wedge of lemon on the side is a must. What about accompaniments? A simple side salad, some steamed asparagus, or a classic rice pilaf pairs wonderfully.
Sometimes, a baked potato with extra butter is the perfect cozy pairing. Whatever you choose, take a moment to admire your culinary creation before diving in!
Conclusion
Cooking lobster tails in a toaster oven is a surprisingly straightforward and rewarding experience. You don’t need a fancy kitchen or a special occasion to enjoy this delicacy. With careful thawing, precise preparation, and mindful baking, you can achieve perfectly tender, flavorful lobster tails every time.
So, the next time you’re craving a luxurious meal, remember your trusty toaster oven. It’s a fantastic tool for bringing gourmet flavors right to your table, proving that big taste can come from small appliances. Enjoy your delicious homemade lobster!
How do I thaw frozen lobster tails quickly and safely?
The fastest safe method is to place sealed frozen lobster tails into a bowl of cold water, changing the water every 20-30 minutes until thawed. Avoid warm or hot water, as it can start to cook the lobster and affect its texture.
Can I cook a whole lobster in a toaster oven?
Generally, no. Toaster ovens are usually too small to accommodate a whole lobster. They are best suited for individual lobster tails or small portions that can fit without touching the heating elements.
What if my lobster tail is rubbery after cooking?
Rubbery lobster is almost always a sign of overcooking. Lobster meat cooks quickly. To avoid this, watch your tails closely, remove them as soon as they turn opaque white, and consider using a meat thermometer to ensure they don’t exceed 145°F (63°C).
Is it better to boil or bake lobster tails in a toaster oven?
Baking lobster tails in a toaster oven is often preferred over boiling for a richer flavor and better texture. Baking allows the lobster to absorb the butter and seasonings, creating a more tender and aromatic result compared to boiling, which can sometimes dilute the flavor.
What are some good seasonings for toaster oven lobster tails?
Beyond the classic melted butter and garlic, consider a pinch of paprika for color, a dash of Old Bay seasoning for a zesty kick, or fresh herbs like parsley or chives. Lemon zest can also add a bright, fresh note to the finished dish.