
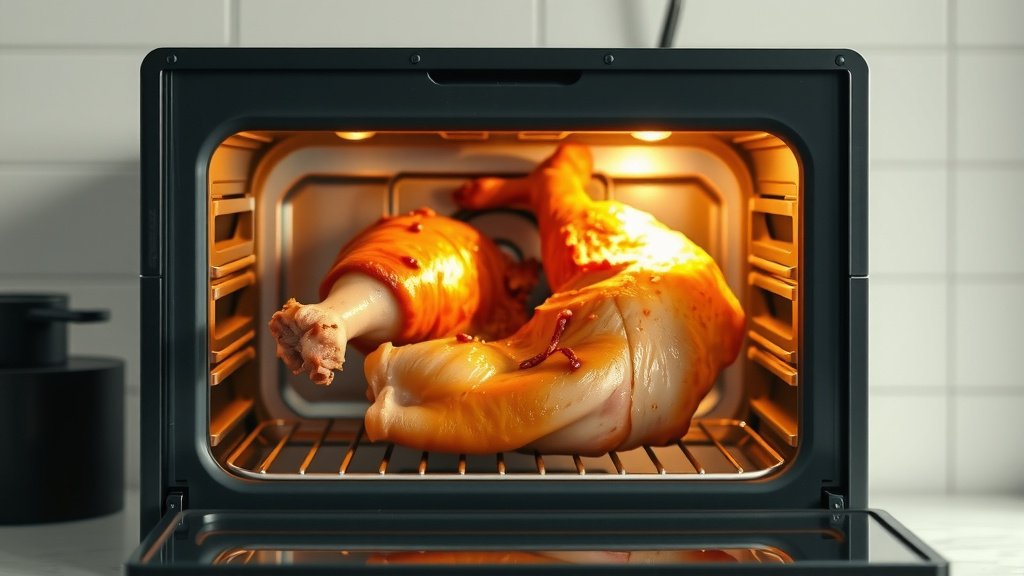
To get crispy crackling in an electric oven, start with dry skin, score it well, and use high heat initially to render fat before reducing it for a longer crisp.
Ensuring the pork skin is completely dry is perhaps the most important step for achieving that perfect crackle in your electric oven.
Too long to read? Here’s the quick scoop on getting that irresistible crackling:
- Dry the pork skin thoroughly, perhaps overnight in the fridge.
- Score the skin deeply, cutting into the fat but not the meat.
- Apply generous salt and oil to the skin for flavor and crisping.
- Start with a very high oven temperature (around 220-240°C or 425-475°F) for 20-30 minutes.
- Reduce the heat to a moderate temperature (160-180°C or 325-350°F) to finish cooking and crisping.
- Don’t overcrowd your oven; good air circulation is key for even crisping.
How To Get Crispy Crackling In Electric Oven?
Getting that perfect, shatteringly crisp crackling from your electric oven is totally achievable with the right technique and a little patience. You can transform a simple piece of pork into a crackling masterpiece right in your own kitchen.
Why Crispy Crackling Is So Tricky
Have you ever wondered why crackling can be so elusive? It often boils down to moisture. An electric oven’s dry heat is actually a big advantage, but you still need to prepare the skin correctly. Without removing enough moisture, the skin will simply cook and harden, not puff and crisp. Many experts say that moisture is the enemy of good crackling.
The Foundation: Choosing Your Pork
Your journey to perfect crackling begins at the butcher shop. Not all cuts are created equal for this goal. You want a cut with a good, thick layer of skin and fat. Think about pork belly, shoulder, or even a leg joint. The goal is to have ample skin and fat to work with.
Skin Thickness Matters
We found that thicker skin generally yields better crackling. It has more potential to puff up and become airy. Don’t shy away from a cut with a generous skin layer; that’s where the magic truly happens for the best crunch.
Preparation Is Key: The Essential Steps
This is where you’ll spend most of your effort, and it truly makes all the difference. Think of it as laying the groundwork for a fantastic result. These steps are what separate good crackling from simply roasted skin that doesn’t quite pop.
Drying the Skin: Your Secret Weapon
This is arguably the most critical step. Moisture on the skin prevents crisping. We found that patting the skin dry with paper towels is a good start. Then, for even better results, leave the pork uncovered in the fridge for several hours, or even overnight. This allows the air to draw out more moisture, creating a perfect canvas for crisping.
Imagine trying to toast bread that’s still wet – it just steams, right? Pork skin is similar. You need that dry surface for the fat to render and the skin to crisp up beautifully.
Scoring for Success
Once dry, score the skin with a sharp knife or a Stanley knife. You want to cut through the skin and into the fat layer, but not too deep into the meat itself. Spacing the cuts about 1cm apart allows the fat to render out more easily and helps the skin puff up evenly. Many chefs agree that proper scoring ensures even crackling and better fat rendering (Serious Eats).
Salting and Oiling: A Golden Duo
Now, it’s time to get generous with salt and oil. Pour boiling water over the scored skin in the sink briefly, then pat it bone dry again. This can help open up the scores. Rub plenty of coarse sea salt deep into the scores. The salt helps draw out remaining moisture and flavors the crackling. Then, a thin layer of olive oil or vegetable oil helps conduct heat and ensures an even, golden-brown finish. Research shows salt is a powerful drying agent here.
The Oven Magic: Temperature and Time
Your electric oven is perfectly capable of producing stellar crackling. The key is understanding how to manipulate its consistent heat. We’re going for a two-stage cooking process to get that ideal texture.
The Initial High Heat Blast
Preheat your electric oven to a very high temperature, around 220-240°C (425-475°F). Place your prepared pork directly on a rack over a roasting tray. This allows air to circulate all around the skin. Cook at this high temperature for 20-30 minutes. This initial blast helps to quickly render the fat and begin the puffing process. Think of it as a quick shock to kickstart the crisping.
Sustained Lower Heat
After the initial high heat, reduce your oven temperature to a moderate 160-180°C (325-350°F). Continue cooking until the internal temperature of the pork reaches your desired doneness, and the crackling is beautifully puffed and golden. This lower temperature allows the crackling to continue crisping without burning, ensuring the meat stays juicy. This method ensures both tender meat and perfect crackling.
Don’t Peek, But Do Rotate
Resist the urge to open the oven door too often. Every time you open it, you lose heat, which can affect the crisping process. If you notice one side browning faster, rotate the tray halfway through the lower-heat cooking phase for even results. This simple step ensures uniform golden crispiness across the entire crackling surface.
Common Pitfalls to Avoid
Even with the best intentions, things can sometimes go awry. Here’s a quick look at common mistakes and how to steer clear of them for better results.
| Pitfall | Effect on Crackling | Solution |
|---|---|---|
| Not drying the skin enough | Chewy, leathery, or soft skin | Pat dry, refrigerate uncovered overnight. |
| Not scoring deep enough | Fat doesn’t render, skin stays hard | Cut through skin into fat, about 1cm apart. |
| Too low initial heat | Slow crisping, potentially tough skin | Always start with a very high temperature. |
| Too high sustained heat | Crackling burns before meat cooks | Reduce temperature after initial blast. |
| Overcrowding the oven | Uneven cooking, steaming instead of crisping | Give pork space, use a rack for air flow. |
When All Else Fails: The “Rescue Mission”
Sometimes, despite your best efforts, a few stubborn spots just won’t crisp up. Don’t despair! You have a secret weapon: your oven’s broiler (grill). Watch it like a hawk, but a few minutes under a hot broiler can give those soft spots the crisp they need. This is a last-resort, close-supervision technique. Keep a close eye on it, as crackling can burn very quickly under the broiler (Food Network).
Quick Checklist for Perfect Crackling
Here’s a handy checklist to make sure you hit all the marks for glorious crackling:
- Pork skin is thoroughly dry.
- Skin is scored evenly and deeply.
- Salt and oil are generously applied.
- Oven is preheated to high heat.
- Pork is placed on a rack for air circulation.
- Temperature is reduced after initial crisping.
Conclusion
Achieving consistently crispy crackling in your electric oven is truly a rewarding culinary feat. By focusing on proper skin preparation – especially drying and scoring – and understanding the two-stage temperature approach, you’re well on your way. Remember, it’s about drawing out moisture and then allowing the fat to render and the skin to puff. With these practical solutions and a bit of care, you’ll be enjoying that delightful crunch in no time. Happy cooking!
What kind of pork cut is best for crackling?
For the best crackling, you want pork cuts with a good, thick layer of skin and fat. Pork belly is often considered ideal, but pork shoulder or a leg joint with the skin on can also produce fantastic results. The key is a generous skin layer that can dry out and puff up for that perfect texture.
Can I use baking soda for crispy crackling?
Some methods suggest using a small amount of baking soda mixed with salt, as it can help break down the collagen in the skin, potentially leading to a more tender and crisp crackling. However, it’s not a universally agreed-upon essential step. Focusing on thorough drying and proper oven temperatures is generally more effective and widely recommended by experts.
How do I prevent my crackling from burning?
To prevent burning, always start with a high temperature for a limited time (20-30 minutes) to kickstart the crisping. Then, significantly reduce the oven temperature for the remaining cooking time. If you notice any areas browning too quickly, you can cover them loosely with foil, or rotate the tray. Keeping a close eye on your crackling is always important.
What if my crackling isn’t crisping evenly?
Uneven crisping often comes from inconsistent oven heat or a lack of air circulation. Ensure your pork is on a rack, allowing heat to get all around it. Also, consider rotating your roasting tray halfway through the cooking process, especially during the lower-heat phase. Sometimes, your oven might have hot spots, and rotating helps mitigate this for a uniform crisp.
Can I make crackling without scoring the skin?
While you can attempt to make crackling without scoring, it’s generally not recommended for optimal results. Scoring allows the fat underneath to render more efficiently, creating channels for steam to escape and for the skin to puff up evenly. Without scoring, you might end up with tougher, less consistently crisp crackling, which isn’t what anyone wants!
