To level a single wall oven, you generally adjust its support frame within the cabinet opening or use durable shims underneath it. This process helps correct any tilt, ensuring even cooking and proper door function.
You can accurately level a single wall oven by carefully pulling it out, assessing the tilt with a spirit level, and inserting shims where needed to achieve a perfectly horizontal surface.
- A level oven bakes food evenly and closes securely.
- Gather simple tools like a spirit level, shims, and a screwdriver.
- Always turn off power to the oven at the circuit breaker first.
- Carefully pull the oven out to access its base or support.
- Use shims to lift low spots until the oven is perfectly horizontal.
- Re-secure the oven in its cabinet and restore power.
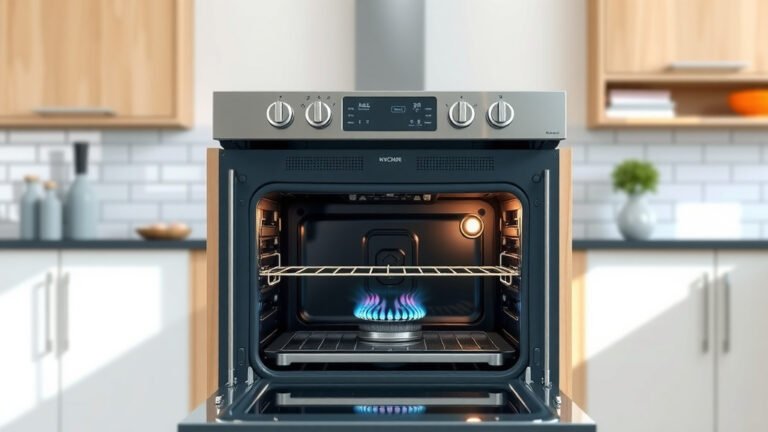
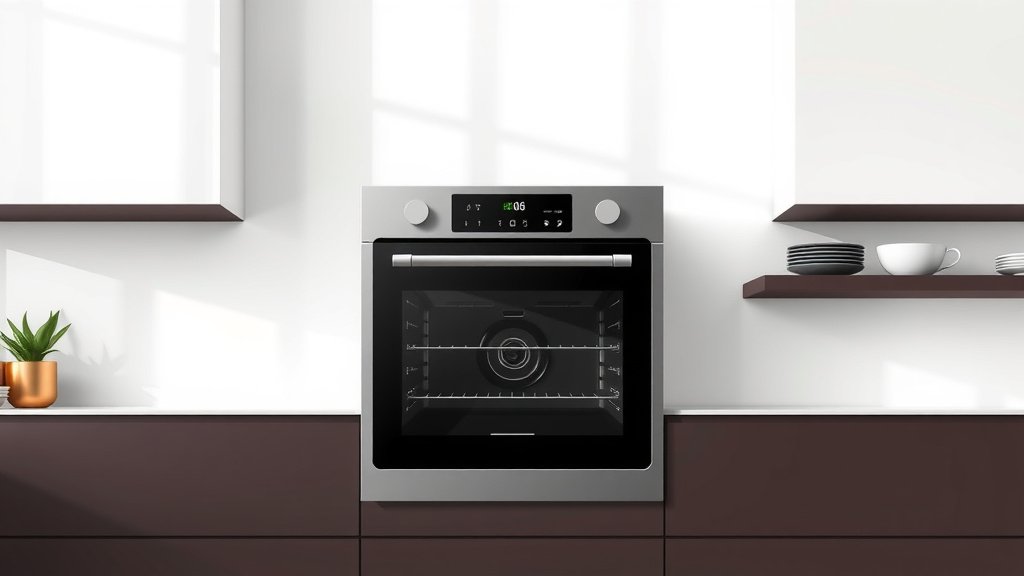
How To Level A Single Wall Oven?
Leveling your single wall oven means making sure it sits perfectly straight and flat in its cabinet space. This simple task is vital for your oven’s best performance and your peace of mind.
Why Does Leveling Matter So Much?
Imagine baking a beautiful cake only to find one side is burnt and the other is raw. A wobbly or tilted oven is often the culprit! A level oven ensures heat distributes evenly, leading to perfectly cooked meals every time. It also helps the oven door seal correctly, keeping heat inside. Think of it like a chef’s balanced plate – everything just works better when it’s even.
An unleveled oven can also cause its racks to slide out too easily. This creates a potential safety hazard, especially with hot food. Many experts say that proper leveling is a key part of both oven function and kitchen safety (Appliance Standards and Regulations).
What Tools Will You Need for the Job?
Good news! You probably have most of these items already. Here’s what we found you’ll want to gather:
- A spirit level (a 2-foot long one is ideal)
- A set of shims (wood or plastic work best)
- A screwdriver (usually Phillips head)
- Work gloves (for grip and protection)
- A helper (optional, but makes moving the oven easier)
Safety First: Before You Start
Before you even think about touching your oven, remember to prioritize safety. You’re working with electricity, after all. Go to your home’s circuit breaker box and turn off the power to your kitchen or specifically to the oven circuit. We found this step is non-negotiable (Electrical Safety Foundation International).
Always consult your oven’s user manual as well. Each oven model can have unique features or specific instructions for removal and leveling. You’ll want to know if there are any special clips or screws to watch for.
Step-by-Step Guide to Leveling Your Oven
Ready to get your oven perfectly straight? Let’s walk through it together. Take your time with each step.
Step 1: Confirm the Problem
First, let’s confirm your oven isn’t level. Open the oven door and place your spirit level on one of the oven racks. Check it from front to back and then side to side. Does the bubble sit perfectly in the middle? If not, you’ve got a tilt. Note which way the bubble drifts – that tells you where the low side is.
Step 2: Accessing the Oven’s Support
Most single wall ovens are secured by screws to the sides of the cabinet opening. You’ll need to remove these screws first. They’re often hidden just inside the oven door frame. Once the screws are out, gently pull the oven forward, just enough to access the space underneath or around its base. This is where a helper comes in handy, as these ovens can be heavy!
Some wall ovens don’t have traditional adjustable feet like a range. Instead, they sit on a sturdy shelf or framework built into the cabinet. This means your leveling adjustments will happen by shimming *under* the oven itself, or by correcting the cabinet’s level.
Step 3: Making Adjustments (The Shimming Method)
Now for the main event! With the oven slightly pulled out, identify the low spots using your level again. Gently lift the oven a small amount on the side that needs raising. This is where your helper can really assist, or you can use a small pry bar carefully if working alone. Slide shims (wedge-shaped pieces of wood or plastic) under the oven at the low points.
Start with one or two shims and re-check with your spirit level. It’s a bit like a seesaw; a little adjustment can make a big difference. Don’t be afraid to add or remove shims until the bubble is perfectly centered in all directions. Patience here is your best friend.
Step 4: Rechecking Your Work
Once you think you’ve got it, push the oven most of the way back into its cabinet. Leave it just shy of being fully in place. Place your spirit level on the oven rack one last time. Check front to back, side to side, and even diagonally. Is it perfectly level? Good job! If not, pull it out a little and make those final, tiny shim adjustments.
Step 5: Securing the Oven
When you are satisfied with the level, carefully slide the oven all the way back into its cabinet opening. Reinstall the screws that secure it to the cabinet sides. These screws keep the oven from tipping forward when you pull out a heavy roast. Make sure they are snug, but don’t overtighten them. Finally, head back to your circuit breaker and turn the power to the oven back on. Test it out!
Common Leveling Issues and Solutions
Sometimes, leveling an oven isn’t as straightforward as it seems. Don’t worry, these common challenges have solutions.
My Oven Still Isn’t Level!
If you’ve shimmed and shimmed, but the oven just won’t cooperate, the problem might not be the oven itself. The cabinet opening or even your kitchen floor could be uneven. Many experts say that older homes often have less-than-perfect floors, which can affect built-in appliances. In such cases, you might need to level the cabinet shelf itself before placing the oven.
You can sometimes add shims under the cabinet base if the entire cabinet is tilted. This is a bigger job, but it addresses the root cause.
What if My Oven Has No Visible Legs or Shims?
As we found, many wall ovens don’t have the external adjustable legs you see on freestanding ranges. If your oven simply slides into an opening and rests on a shelf, the leveling happens by shimming that shelf. You might need to pull the oven completely out to get to the shelf. Place shims directly under the oven’s frame or under the cabinet shelf itself to achieve level.
When to Call a Pro
While leveling an oven is a DIY-friendly task, there are times when it’s best to call in a professional appliance technician or a qualified handyman. If you find major damage to your cabinet, like rotting wood, or if the oven simply feels too heavy or complex to move safely, get help. Safety is always worth the expense. When in doubt, a professional can offer peace of mind.
| Issue | DIY Solution | When to Call a Pro |
|---|---|---|
| Slight tilt | Use shims under the oven. | If oven is too heavy to move safely. |
| Cabinet is uneven | Shim under the cabinet shelf. | If cabinet is damaged or rotted. |
| Floor is uneven | May require shimming under the cabinet base. | For extensive floor or structural issues. |
| Oven won’t budge | Check for hidden screws or clips. | If still stuck or causes damage upon pulling. |
Conclusion
Taking the time to level your single wall oven is a small effort with big rewards. You’ll enjoy more evenly cooked meals, a safer kitchen, and an oven that functions exactly as it should. With a few basic tools and a bit of patience, you can tackle this task yourself. Remember, preparation and safety are key. So go ahead, get that oven perfectly level, and enjoy the delicious results!
FAQs
How often should I check if my wall oven is level?
It’s a good idea to check your wall oven’s level every few years, or if you notice changes in cooking performance like uneven baking. Settlement of your home or cabinet can cause it to shift over time.
Can an unleveled wall oven affect its lifespan?
While an unleveled oven might not directly shorten its lifespan, it can put uneven stress on internal components. For example, the door seal might wear out faster, and moving parts might operate less smoothly, potentially leading to earlier repair needs.
What kind of shims are best for leveling an oven?
Plastic or hardwood shims are generally best for leveling an oven. They are durable, resistant to moisture, and won’t compress over time. Avoid soft wood or cardboard, as these can degrade and cause the oven to become unleveled again.
Can I level a wall oven without pulling it completely out of the cabinet?
In some cases, if the tilt is minor and the oven has accessible front leveling feet (which is rare for wall ovens), you might make slight adjustments without full removal. However, for thorough and accurate leveling, especially when using shims, it’s usually necessary to pull the oven out enough to access its base or support.
What if my wall oven’s electrical wiring feels too short to pull it out for leveling?
If the wiring feels too short, do not force the oven out. You risk damaging the wiring or the electrical connection. It might be necessary to have a qualified electrician extend the wiring before you can safely pull the oven for leveling. This ensures both safety and compliance with electrical codes.