Making garlic bread in an infrared oven is wonderfully straightforward, using the oven’s radiant heat to crisp the crust and melt the butter perfectly in just minutes.
You can achieve a beautifully golden-brown and tender garlic bread by preheating your infrared oven to around 375-400°F (190-200°C) and baking for 5-8 minutes.
TL;DR: Want to make amazing garlic bread with your infrared oven? Here’s the quick scoop:
- Preheat your infrared oven to 375-400°F (190-200°C).
- Prepare your bread with a generous garlic butter spread.
- Bake for 5-8 minutes, watching for that perfect golden crust.
- Infrared ovens cook faster and create a lovely crispness.
- Enjoy your warm, flavorful garlic bread!
How To Make Garlic Bread In Infrared Oven?
Making garlic bread in an infrared oven is surprisingly simple and creates a delicious result. The radiant heat helps toast the bread quickly and evenly.
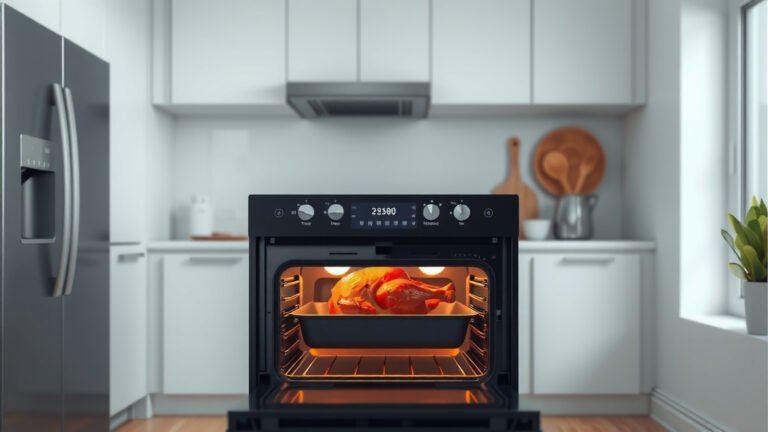
Understanding Your Infrared Oven
Infrared ovens are a bit like having the sun in your kitchen. They cook food using electromagnetic radiation, specifically infrared waves. This means they heat objects directly, rather than heating the air around them. We found this direct heating method leads to faster cooking times and often a crispier finish.
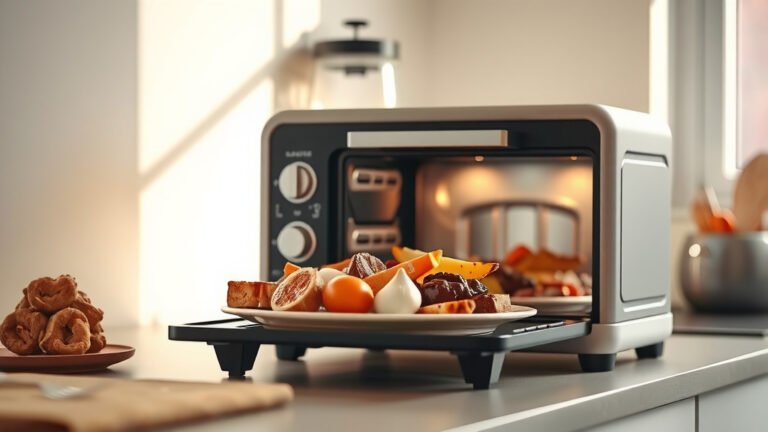
Why Infrared is Great for Garlic Bread
Think about how sunlight makes your skin warm. Infrared ovens do something similar for your food. For garlic bread, this means a super crispy crust without drying out the inside. It’s a real game-changer if you love that perfect crunch (Consumer Reports).
Many home cooks say infrared ovens offer a unique benefit. They believe it helps the butter melt quickly into the bread, infusing every bite with garlic goodness. It’s like a little secret weapon for the ultimate garlic bread experience.
Gather Your Ingredients: The Heart of Great Garlic Bread
Before you even think about turning on your oven, let’s get our ingredients ready. What you choose truly matters for the final taste. We’re aiming for simple, fresh, and flavorful.
Here’s what you’ll typically need:
- A loaf of French bread, baguette, or Italian bread.
- Unsalted butter, softened.
- Fresh garlic cloves, minced.
- Fresh parsley, chopped (optional, for color and freshness).
- Salt and black pepper to taste.
- Parmesan cheese (optional, for extra flavor).
Choosing the Right Bread
The foundation of any good garlic bread is the bread itself. Do you like it chewy or super soft? A French baguette gives you a nice crispy edge, while Italian bread can be softer inside. It all depends on your preference, but a crusty exterior is generally preferred for garlic bread.
Crafting Your Garlic Butter Blend
This is where the magic happens! Your garlic butter needs to be just right. We’ve learned that a good blend makes all the difference.
Here’s how to make it:
- Soften your butter to room temperature. This makes it easy to mix.
- Mince your fresh garlic finely. Some people even like to grate it for maximum flavor.
- Combine the softened butter, minced garlic, a pinch of salt, and a dash of pepper.
- Mix well until everything is evenly distributed. If you’re adding parsley, mix it in now.
A little tip: Many chefs suggest letting the garlic butter sit for 10-15 minutes. This allows the flavors to meld, making it even more aromatic. It’s like letting a good wine breathe, but for your butter!
Preparing Your Bread for Baking
Now that your garlic butter is ready, it’s time to get the bread prepped. You have a few options here. Some prefer to slice the bread completely, others like to keep it hinged.
We generally find that slicing the loaf ¾ of the way through is ideal. This keeps the garlic bread together while baking, but still allows the butter to seep into every slice. It’s a nice balance.
Spreading the Deliciousness
Generously spread your garlic butter mixture onto each slice of bread, ensuring coverage from edge to edge. Don’t be shy! This is what gives your garlic bread its amazing flavor. If you’re using Parmesan, sprinkle it over the buttered slices now.
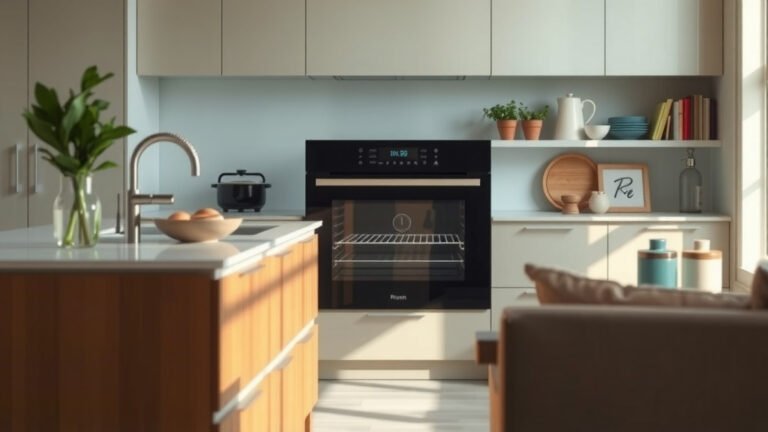
Infrared Oven Settings: Temperature and Time
This is the most asked question for infrared ovens. Getting the temperature and timing right is key to preventing burnt edges or undercooked centers. Infrared ovens cook fast, so watch closely.
We found that a temperature range of 375-400°F (190-200°C) works best. As for time, it’s often quicker than a conventional oven. Expect your garlic bread to be ready in about 5-8 minutes.
Baking Steps: The Infrared Method
Ready to bake? Let’s get that garlic bread in the oven:
- Preheat your infrared oven to 375-400°F (190-200°C).
- Place your prepared garlic bread directly on the oven rack or on a baking sheet. Using a baking sheet can prevent butter drips.
- Bake for 5-8 minutes. Keep a close eye on it, as infrared ovens can brown very quickly.
- Look for a beautiful golden-brown crust and melted, bubbling butter.
- Carefully remove from the oven and serve immediately.
It’s a bit like grilling – the heat is intense and direct. So, a quick peek around the 5-minute mark is always a good idea. No one wants charcoal bread!
Tips for Perfect Infrared Garlic Bread
Want to take your garlic bread from good to truly amazing? We’ve gathered a few expert tips:
- Use fresh garlic: Seriously, it makes a huge difference. Jarred garlic often lacks the punch.
- Soften the butter: This ensures an easy, even spread. Hard butter will tear your bread.
- Don’t overcrowd: Give your bread space in the oven. This allows the infrared heat to circulate properly.
- Watch closely: Infrared ovens are efficient. Browning can happen faster than you think.
- Consider parchment paper: A sheet of parchment paper under your bread can make cleanup easier.
When is it Done?
Your garlic bread is done when the edges are crispy and golden-brown, and the butter is fully melted and glistening. You should also get that incredible aroma filling your kitchen – that’s often the best indicator!
Common Mistakes to Avoid
Even though it’s simple, there are a few pitfalls to steer clear of. We’ve seen these happen to the best of us.
| Mistake | Why it Happens | How to Avoid It |
|---|---|---|
| Burnt Edges | Too high temperature, too long baking. | Lower temp slightly, watch closely, check at 5 mins. |
| Soggy Bread | Too much butter, not enough baking time. | Use adequate butter, ensure golden crust. |
| Lack of Flavor | Old garlic, not enough garlic, bland bread. | Use fresh garlic, be generous, choose good bread. |
Remember, cooking is about learning. Don’t worry if your first batch isn’t perfect. We often find that a little adjustment can yield fantastic results the next time around.
Serving Suggestions: What Goes Well With Garlic Bread?
Garlic bread is a star on its own, but it also loves company. It’s incredibly versatile. Many studies show it pairs beautifully with Italian dishes. Think pasta, lasagna, or a big, fresh salad. It can also be a fantastic side for grilled chicken or steak.
We’ve also found that dipping garlic bread in a warm marinara sauce is a crowd-pleaser. Or, simply enjoy it with a bowl of your favorite soup on a chilly evening. It’s comfort food at its best.
Conclusion
Making garlic bread in an infrared oven is not just possible; it’s an excellent way to achieve a truly delicious result. The direct heat cooks efficiently, giving you that ideal crispy exterior and a tender, buttery interior that everyone loves. With a few simple steps and a watchful eye, you’ll be enjoying perfect garlic bread in no time. So go ahead, give it a try – your taste buds will thank you!
Can I use pre-made frozen garlic bread in an infrared oven?
Yes, you absolutely can! Just follow the package instructions, but be prepared to reduce the baking time by a few minutes. Infrared ovens cook faster, so start checking for doneness a couple of minutes earlier than recommended on the package.
Do I need to flip the garlic bread in an infrared oven?
Generally, no. Infrared ovens often provide even heat distribution from the top, so flipping is usually not necessary. However, if you notice uneven browning, a quick flip for the last minute or two won’t hurt.
How do I keep garlic bread from getting too dry in an infrared oven?
The key is to not overbake it. Infrared ovens can dry things out if left in too long. Keep an eye on the cooking process and remove the bread as soon as it’s golden and the butter is melted. Using enough butter also helps keep it moist.
Can I add other toppings to my infrared oven garlic bread?
Absolutely! Garlic bread is a great canvas. Consider adding mozzarella cheese for a cheesy garlic bread, or a sprinkle of red pepper flakes for a little kick. Sun-dried tomatoes or finely chopped olives can also add a gourmet touch.
What’s the best way to store leftover garlic bread?
If you have any leftovers (a rare occurrence!), store them in an airtight container at room temperature for up to two days, or in the refrigerator for longer. Reheat in your infrared oven for a few minutes to bring back its crispness.