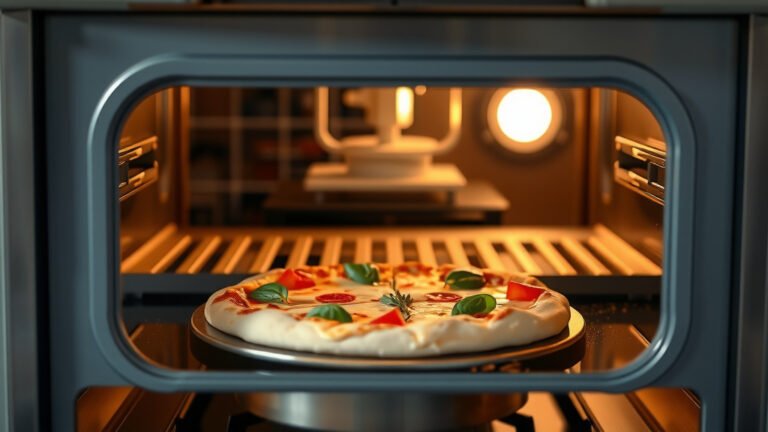
Making pita bread in a pizza oven is surprisingly simple, transforming your kitchen into a Mediterranean bakery. You can achieve beautifully puffed, airy pita bread with the high heat a pizza oven provides, often superior to a conventional oven.
Achieving the perfect pita puff relies on extreme heat that instantly steams the dough’s interior, creating that characteristic pocket. Your pizza oven, designed for intense temperatures, is the ideal tool for this traditional bread.
Here’s a quick look at what you’ll learn to make amazing pita:
- Getting your dough just right for that perfect puff.
- Setting your pizza oven to the ideal, scorching temperature.
- Watching your pita bread magically inflate in mere moments.
- Solving common issues like flat pita or overly crispy edges.
- Enjoying fresh, warm pita right from your oven.
How To Make Pita Bread In A Pizza Oven?
You can make fantastic pita bread in a pizza oven by leveraging its intense, even heat, which causes the dough to puff up perfectly. This high temperature cooks the pita incredibly fast, ensuring a soft interior and slightly crisp exterior.
Why Your Pizza Oven is a Pita Powerhouse
Ever wonder why pizza ovens are so good for pita? It’s all about the heat, really. Pizza ovens reach temperatures far higher than a standard kitchen oven, often exceeding 700°F (370°C). This extreme heat is crucial for pita bread.
We found that high temperatures create instant steam inside the dough. This steam then pushes the top and bottom layers apart, forming that famous pocket. Without this rapid cooking and intense heat, pita often remains flat, more like a tortilla.
Starting with the Right Pita Dough
The foundation of great pita is, of course, the dough. You want a dough that’s pliable, slightly sticky, and well-fermented. Many experts say a good dough recipe includes flour, water, yeast, salt, and a touch of olive oil (The Kitchn).
Don’t be afraid of sticky dough; it often leads to a softer pita. You’re aiming for a consistency that is easy to handle but not stiff.
Essential Dough Ingredients
- All-purpose or bread flour
- Warm water (around 105-115°F / 40-46°C)
- Active dry yeast or instant yeast
- Salt
- A little olive oil
We found that using bread flour can give a slightly chewier pita, while all-purpose flour works perfectly for a tender texture. It’s really about your preference.
Mastering the Dough Preparation
Making the dough isn’t hard, but it does require some patience. You’ll activate your yeast first, then mix everything together. Kneading is a key step here.
Knead the dough for about 7-10 minutes until it’s smooth and elastic. This develops the gluten, which is vital for the pita’s structure and its ability to puff up. After kneading, let it rise in a warm place until it doubles in size, usually an hour or two.
Shaping Your Pita Perfection
Once your dough has risen, gently punch it down. Divide it into equal portions; golf-ball sized pieces work well for standard pita. Roll each piece into a smooth ball, then let them rest for another 10-15 minutes.
This resting period allows the gluten to relax, making the dough much easier to roll out. Then, on a lightly floured surface, roll each ball into a thin, even circle, about 6-8 inches across. Aim for consistent thickness to ensure even puffing.
Pita Shaping Checklist
- Divide dough into equal portions.
- Roll into smooth balls.
- Rest dough balls for 10-15 minutes.
- Roll each ball into a thin, even circle (1/8 inch thick).
- Ensure consistent thickness across the entire circle.
Firing Up Your Pizza Oven for Pita
This is where your pizza oven shines! You need to get it screaming hot. Many experts suggest a temperature between 700°F and 850°F (370°C to 450°C). For wood-fired ovens, get a good flame going and let the oven heat soak.
If you have a gas or electric pizza oven, simply set it to its highest temperature. We found that the pizza stone itself needs to be incredibly hot. This helps create that instant burst of steam inside the pita.
The Perfect Baking Surface
A hot pizza stone or steel is non-negotiable. It transfers heat directly and rapidly to the pita dough. Make sure it’s been in the oven while it preheats, soaking up all that amazing heat. A well-heated stone is your best friend for fluffy pita.
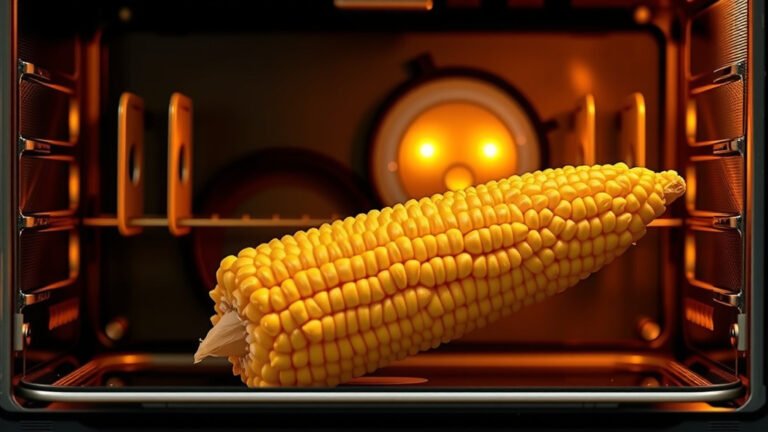
Baking the Pita: The Magic Moment
Carefully slide one rolled-out pita onto your super-hot pizza stone using a pizza peel. Close the oven door quickly to trap the heat. Now, watch the magic unfold!
Within 30 seconds to a minute, you should see the pita begin to puff up like a balloon. It’s truly mesmerizing to observe. Once it’s fully puffed and lightly golden, flip it over for another 15-30 seconds to finish cooking the other side. Total cooking time is often less than 2 minutes per pita.
Common Pita Baking Challenges (and Solutions!)
Sometimes pita doesn’t behave. Don’t worry, it happens to everyone. Here are some common issues and how to fix them:
| Issue | Probable Cause | Solution |
|---|---|---|
| Pita doesn’t puff | Oven not hot enough; dough too thick; dough not rested enough; too much flour on surface. | Increase oven temp; roll thinner; allow more rest time; use less flour. |
| Pita is too hard/crispy | Cooked too long; oven too hot for too long. | Reduce cooking time; adjust oven temperature slightly. |
| Pita burns quickly | Oven too hot (especially stone); placed too close to flame. | Allow oven to cool slightly; move pita further from direct flame if using wood-fired. |
| Pita is dense/chewy | Dough not kneaded enough; dough over-proofed. | Knead longer; adjust rise time. |
Remember, practice makes perfect. Each oven is a little different, so experiment with your specific setup. We found that a slight adjustment in oven temperature or cooking time can make a big difference.
Serving Your Homemade Pita
As soon as a pita is done, remove it from the oven and place it in a cloth-lined basket or on a cooling rack covered with a clean towel. This traps the steam and keeps the pita soft and pliable. Serve immediately with your favorite dips!
Fresh pita is truly a delight, whether with hummus, tzatziki, or as a wrap for falafel. You’ve created something amazing right in your own backyard or kitchen.
Conclusion
Making pita bread in a pizza oven is a wonderfully rewarding experience. With the right dough and a blazing hot oven, you can create soft, fluffy, perfectly puffed pita that tastes incredible. It’s a testament to the power of high heat and simple ingredients. So, preheat that pizza oven, get rolling, and prepare to impress yourself and your guests with authentic homemade pita. You’ve got this!
Can I use store-bought dough for pita in a pizza oven?
Yes, you absolutely can use store-bought pizza dough for pita. Just make sure to let it come to room temperature and then roll it very thin, as uniform as possible, before baking. It might not puff quite as dramatically as a specifically formulated pita dough, but it will still be delicious.
What if my pizza oven doesn’t get hot enough for pita?
If your pizza oven struggles to reach ideal pita temperatures (700°F+), you might still achieve a decent result, but the puffing may be less pronounced. Try preheating for an extended period to ensure the stone is fully saturated with heat. You may also need to cook the pita for a slightly longer duration.
Should I use a pizza peel with cornmeal or flour for pita?
A light dusting of cornmeal or semolina flour on your pizza peel helps prevent the pita dough from sticking, making it easier to slide into the hot oven. Avoid excessive amounts, as too much can burn and affect the taste. A light touch is key.
How do I store leftover homemade pita bread?
To keep leftover pita fresh, store it in an airtight bag or container at room temperature for 2-3 days. For longer storage, you can freeze pita bread for up to three months. Simply reheat it in a dry skillet, toaster, or oven to restore its softness.
What’s the ideal thickness for pita dough before baking?
For the best puff and texture, aim to roll your pita dough about 1/8 inch thick. Consistency in thickness is very important; uneven areas might cook differently or prevent a full pocket from forming. A uniform, thin circle is what you’re after.