
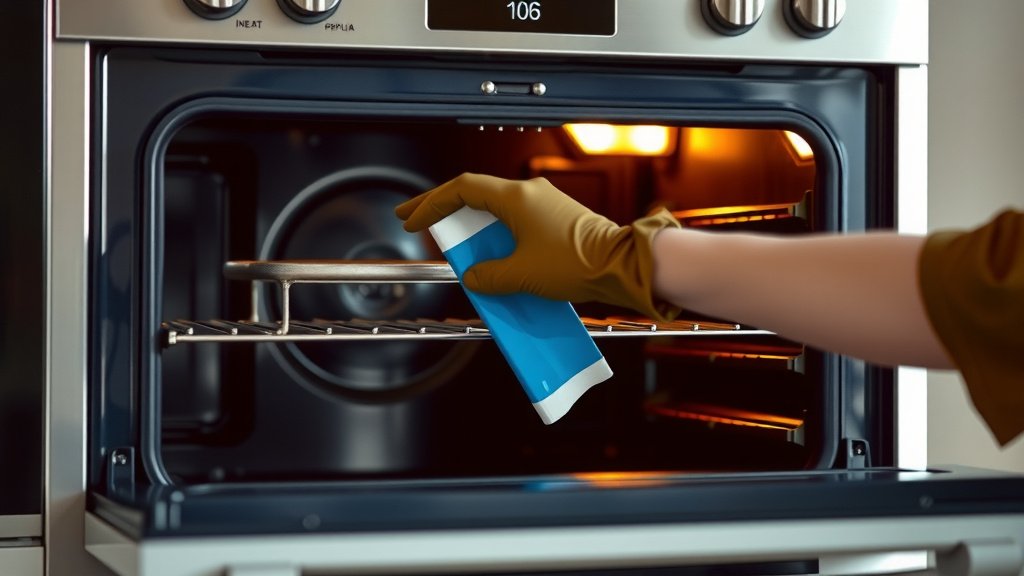
Replacing a heating element in your double oven typically involves turning off the power, accessing the oven cavity, removing a few screws, and carefully disconnecting and reconnecting the wires.
You can often replace a faulty heating element in either the upper or lower oven of a double unit in under an hour with basic tools, saving you time and money compared to a service call.
For those looking for a quick rundown, here’s the gist:
- Always disconnect power first to prevent electrical shock.
- Locate the faulty heating element, often at the top (broil) or bottom (bake) of the oven.
- Unscrew the element from the back wall of the oven cavity.
- Gently pull the element forward to expose its wiring connections.
- Disconnect the wires and attach them to your new heating element.
- Secure the new element and restore power to test.
How To Replace Heating Element In Double Oven?
Replacing a heating element in your double oven can seem daunting, but it’s often a straightforward DIY task that most homeowners can tackle.
You’ll need to make sure you have the correct replacement part and follow some key safety steps.
Spotting a Faulty Heating Element
How do you even know if your heating element is the problem? You might notice your oven isn’t heating evenly, or it takes a long time to reach temperature.
Sometimes, the element itself will have visible damage, like a crack or a burnt-out spot, which makes the diagnosis pretty clear.
Safety First: Power Disconnection is Key
Before you even think about grabbing a screwdriver, you need to shut off the power to your oven. This isn’t just a suggestion; it’s a must.
Find your home’s circuit breaker panel and locate the breaker for your oven. Flip it to the “off” position. We found that this step prevents any accidental electrical shocks (Electrical Safety Foundation International).
Gathering Your Essential Tools
You don’t need a workshop full of gadgets for this job. Most of what you need you probably already have around the house.
A few basics will get you through: a screwdriver (Phillips or flathead, depending on your oven), perhaps some pliers, and maybe a flashlight to see into those dark corners.
What You’ll Need: A Quick List
- A replacement heating element (ensure it’s the right model for your oven).
- Phillips head screwdriver.
- Flathead screwdriver.
- Pliers (needle-nose can be helpful).
- Flashlight.
- Work gloves (optional, but good for grip).
Understanding Your Double Oven’s Layout
Double ovens are essentially two ovens stacked on top of each other, but the replacement process for each element is similar.
Whether you’re working on the upper or lower oven, the steps for accessing and replacing the element usually mirror each other. Just remember which cavity you are working on!
Comparing Oven Heating Elements
| Feature | Bake Element (Bottom) | Broil Element (Top) |
|---|---|---|
| Typical Location | Floor of the oven cavity | Ceiling of the oven cavity |
| Function | Heats the oven for baking | Provides direct, intense top-down heat |
| Appearance | Often hidden, sometimes exposed | Usually exposed, highly visible |
| Replacement Process | Similar to broil element, may require removing oven rack supports | Generally straightforward access |
Step-by-Step Guide to Replacement
Alright, let’s get down to business! With the power off and your tools ready, you’re prepared to tackle the replacement.
Remember to work slowly and carefully; there’s no rush when dealing with appliances.
Step 1: Prep the Oven Cavity
First, open the oven door. Remove all oven racks from the cavity you’ll be working in. This gives you clear access and more room to maneuver.
You want to have a clean, unobstructed space to work with.
Step 2: Accessing the Faulty Element
Locate the heating element that needs replacing. It’s usually held in place by two screws at the back of the oven cavity.
Using your screwdriver, carefully remove these screws. Keep them in a safe place, as you’ll need them later for the new element.
Step 3: Disconnecting the Old Element
Gently pull the element forward into the oven cavity. It won’t come out all the way because it’s still connected by wires at the back.
You’ll see two wires connected to the element. Many experts say it’s helpful to take a picture with your phone before disconnecting, just to remember which wire goes where. Use pliers if the connections are tight, carefully pulling them off.
Step 4: Installing the New Heating Element
Now, take your new heating element. Connect the wires to the terminals on the new element. Make sure these connections are snug and secure.
Gently push the element back into place, aligning the holes for the screws. Reinsert and tighten the screws you removed earlier to hold the element securely.
Step 5: Testing and Reassembly
Before you put everything back together, it’s a good idea to test your work. Close the oven door, head back to your circuit breaker, and turn the oven’s power back on.
Turn on your oven to a low setting and listen for it to heat up. If it’s working, great! Now you can put your oven racks back in.
When to Call a Professional
While replacing a heating element is often a DIY task, there are times when calling a professional is the smarter choice.
If you’re unsure about working with electrical components, or if your oven has other problems, a pro can offer peace of mind and expertise.
Is It a DIY or Pro Job?
- You’re uncomfortable working with electricity.
- The element wires are corroded or hard to disconnect.
- Your oven still isn’t heating after replacing the element.
- You suspect other electrical issues with the oven.
- The repair seems more involved than simply swapping an element.
Keeping Your Oven Happy: Maintenance Checklist
After all that hard work, you want your new heating element (and your oven) to last! A little ongoing care goes a long way.
We found that simple maintenance habits can significantly extend the life of your appliances (Energy Star).
Oven Longevity Checklist:
- Clean up spills promptly to prevent baked-on residue.
- Avoid using abrasive cleaners on heating elements.
- Ensure oven door seals are clean and intact for efficient heating.
- Do not line the oven bottom with foil, as it can trap heat and damage elements.
- Perform regular visual checks of heating elements for damage.
Conclusion
Replacing a heating element in your double oven is a manageable project that can save you money and extend the life of your appliance. By following these steps—always prioritizing safety and taking your time—you can restore your oven to full working order.
Remember, if you ever feel out of your depth, a professional appliance technician is always there to help. Happy baking and broiling!
Frequently Asked Questions
How do I know if the bake or broil element is faulty?
If your oven isn’t baking properly and items are undercooked on the bottom, the bake element is likely the culprit. If the top of your food isn’t browning when using the broiler, then the broil element is probably bad. You might also see a visible break or spark on the faulty element.
Can I use a universal heating element for my double oven?
It is generally best to use a specific replacement part designed for your oven’s make and model. While universal elements exist, they may not fit perfectly or have the exact wattage required, which can affect performance or even cause further issues. Always check your oven’s model number for the correct part.
Is it difficult to disconnect the wires from the old element?
Often, the wires are connected with push-on spade connectors. These can sometimes be quite snug due to heat and age. Using needle-nose pliers can help you gently wiggle and pull them off. Always pull on the connector, not the wire itself, to avoid damaging the wiring.
How long does a typical oven heating element last?
The lifespan of a heating element can vary widely based on usage and quality, but many experts say they typically last between 5 to 10 years. Frequent use, especially at high temperatures, can shorten its life. Regular cleaning and avoiding physical damage also play a role.
What if I turn the power back on and the oven still doesn’t heat?
If your oven still doesn’t heat after replacing the element, check your circuit breaker again to ensure it didn’t trip. If the new element is correctly installed and the power is on, the problem might lie elsewhere, such as with the oven’s thermostat, temperature sensor, or main control board. At this point, calling a qualified technician is advisable.
