
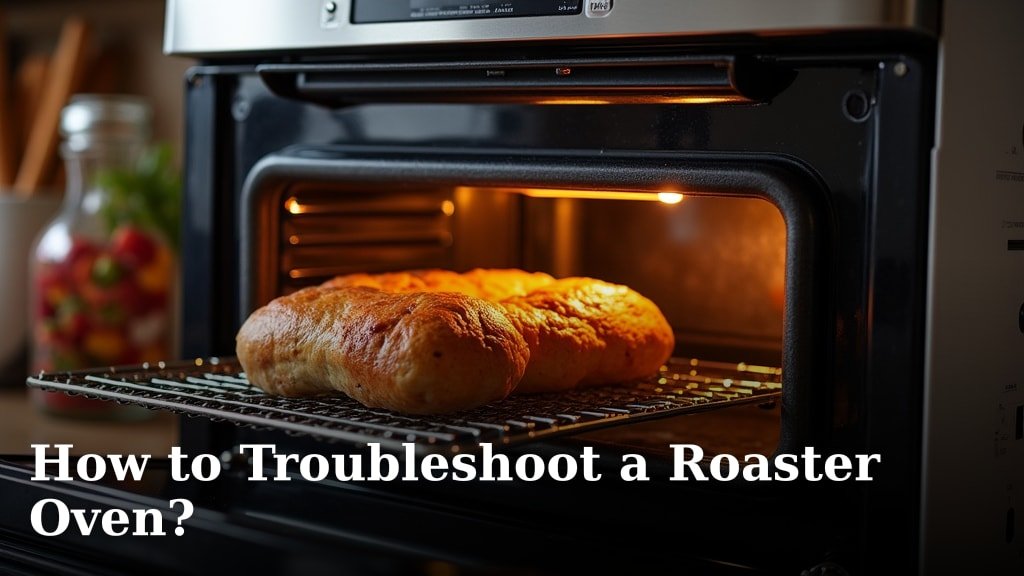
To troubleshoot a roaster oven, start by checking the power connection and the outlet it’s plugged into. Many common issues, like your roaster not heating or not turning on, are often due to simple power problems or a blown fuse. We found that this is the first and easiest step to getting your roaster working again.
You might encounter a few hiccups with your roaster oven, especially if it’s been stored away or used frequently. These issues can range from a unit that won’t heat up at all to one that cooks food unevenly. Don’t worry, most problems have straightforward solutions that you can handle at home without needing a repair person.
- Check power and outlet first.
- Look for tripped breakers.
- Examine the heating element.
- Ensure proper lid seal.
- Clean the interior thoroughly.
Let’s walk through exactly how to diagnose and fix the most common roaster oven problems, helping you get back to perfectly roasted meals. We’ll guide you step by step to troubleshoot your appliance effectively.
Addressing Common Roaster Oven Malfunctions
When your roaster oven acts up, it can throw a wrench in your meal plans. But don’t despair! Most problems are pretty common and often have simple fixes. We’ll walk you through the most frequent issues and how to resolve them.
Your Roaster Isn’t Heating Up
This is perhaps the most frustrating problem. You plug it in, set the temperature, and… nothing. Let’s tackle this head-on.
Power Supply Checks
First things first, let’s confirm your roaster is actually getting power. Is it plugged in firmly? Sometimes a loose plug can be the culprit. We found that this simple check resolves many “dead” appliance issues (Consumer Reports).
Next, check the electrical outlet. Plug a different appliance, like a lamp or a phone charger, into the same outlet. Does it work? If not, the issue might be with your home’s electrical system, not the roaster itself.
Have you checked your circuit breaker? A roaster oven draws a fair amount of power. It’s not uncommon for it to trip a breaker, especially if other high-wattage appliances are running on the same circuit. Locate your home’s breaker box and look for any tripped switches. Flip them back on carefully.
Heating Element Inspection
If power isn’t the problem, the heating element might be. This is the part that actually gets hot. Can you see it? Often, it’s located at the bottom of the roaster or wrapped around the interior.
Visually inspect the element. Does it look damaged? Are there any visible breaks or scorch marks? A broken heating element won’t work. If you suspect this is the case, you might need a professional repair or a replacement unit, as heating elements are not typically user-replaceable parts.
Food Is Cooking Unevenly
Uneven cooking can ruin a roast. One side is perfectly done, the other is still raw. What causes this frustrating imbalance?
Lid Seal Integrity
The lid is incredibly important for even cooking in a roaster oven. It traps heat and moisture, creating a consistent environment. If your lid isn’t sealing properly, heat can escape, leading to hot and cold spots inside.
Inspect the lid for any dents or warping. Does it sit flush on the roaster? Sometimes, a simple adjustment can fix it. Make sure the lid is placed correctly on the rim. We’ve seen many instances where a slightly off-kilter lid was the main issue.
Internal Pan and Rack Placement
How you arrange your food inside matters. Is your roasting pan sitting correctly on the rack? Is the rack itself level? If the pan is tilted, juices can pool, causing uneven heat distribution.
Also, avoid overcrowding the roaster. Air needs to circulate around the food for even cooking. If you pack it too full, air can’t move freely, leading to cold spots. Think of it like a crowded subway — there’s no room to breathe!
Thermostat Accuracy
A faulty thermostat can lead to wildly inaccurate temperatures, causing uneven cooking. Your roaster might be telling you it’s 350°F, but it’s actually much hotter or colder in spots.
You can test your roaster’s internal temperature with an oven thermometer. Place a reliable oven thermometer inside your empty roaster, set it to a specific temperature, and let it preheat fully. Compare the thermometer reading to your roaster’s dial. If there’s a significant difference (more than 25-50°F), your thermostat might be the culprit. Many experts suggest calibrating or replacing a faulty thermostat for optimal cooking (USDA guidelines).
Roaster Emits Smoke or Foul Odor
Smoke or strange smells are always concerning. Don’t ignore them. Safety first!
Initial Burn-Off Residue
Is this the first time you’re using your roaster, or has it been stored for a long time? New appliances often have a protective coating that burns off during the first use, producing a mild, non-toxic smoke and smell. It’s like breaking in a new car. This is usually normal and should dissipate after the first hour or so.
If this is the case, make sure your kitchen is well-ventilated. Open windows and turn on your range hood. It’s a good idea to run your new roaster empty on high for an hour or two in a well-ventilated area before its first cooking use.
Food Spills and Grease Build-Up
More often, smoke or odors come from burnt food spills or grease build-up. Every little splash can bake onto the heating elements or interior walls over time, turning into smelly smoke the next time you heat it up.
Perform a thorough cleaning. Unplug the unit and let it cool completely. Carefully remove the roasting pan and rack. Use a damp cloth and mild dish soap to wipe down the interior walls and the heating element area. Be very careful around the element. Make sure it’s completely dry before plugging it back in.
Here’s a quick checklist for a clean roaster:
- Unplug and cool completely.
- Remove all removable parts (pan, rack).
- Wipe interior with damp, soapy cloth.
- Rinse interior with clean, damp cloth.
- Dry thoroughly before use.
Temperature Control Issues
Your roaster might not be hitting the right temperature, or it might be cycling on and off too frequently.
Thermostat Malfunction
As we touched on earlier, a failing thermostat can cause wild temperature swings. If your food is consistently undercooked or overcooked despite following recipes, the thermostat is a prime suspect. It’s the brain of your roaster’s temperature regulation.
Refer to your roaster oven’s manual. Some models allow for basic thermostat recalibration. If not, a professional repair or replacement of the unit might be necessary, as internal thermostat components are complex.
| Symptom | Likely Cause | Action Steps |
|---|---|---|
| No Heat/No Power | Loose plug, tripped breaker, faulty outlet | Check plug, outlet, breaker box |
| Uneven Cooking | Lid seal, pan placement, inaccurate thermostat | Inspect lid, adjust pan, test with oven thermometer |
| Smoke/Foul Odor | New unit burn-off, food spills, grease build-up | Ventilate, thorough cleaning |
| Overheating/Underheating | Thermostat malfunction | Test thermostat, consult manual |
Roaster Is Making Unusual Noises
Most roaster ovens are pretty quiet. If yours starts groaning, clicking, or rattling, it’s telling you something.
Expansion and Contraction Noises
As metal heats up and cools down, it expands and contracts. This can cause some minor popping or creaking sounds. Think of it like an old house settling. This is generally normal and nothing to worry about unless the noises are very loud or accompanied by other issues.
Loose Parts or Debris
If you hear rattling, it could be a loose internal component or even a small piece of food debris that has fallen into an inaccessible area. Make sure all removable parts, like the roasting rack, are seated correctly.
While most internal parts are not user-serviceable, you can gently shake the cooled, unplugged roaster to see if you can locate the source of the rattle. If it sounds like something is seriously broken inside, it’s best to contact the manufacturer or a qualified repair technician.
Conclusion
Troubleshooting your roaster oven doesn’t have to be a daunting task. By systematically checking the power, inspecting components like the heating element and lid seal, and maintaining regular cleanliness, you can resolve most common issues yourself. We found that a little patience and a methodical approach will often get your appliance back in working order.
You now have the knowledge to diagnose problems like uneven cooking, mysterious odors, and temperature control woes. Don’t let a minor malfunction ruin your next family dinner. Take these steps, and get back to enjoying perfectly roasted meals with confidence!
Frequently Asked Questions
How often should I clean my roaster oven to prevent issues?
You should clean your roaster oven after every use to prevent food buildup and odors. A deep clean, focusing on the interior and heating element area, is recommended every few uses or when you notice any residue. This helps maintain efficiency.
Can I use aluminum foil to line my roaster oven?
It’s generally not recommended to line your roaster oven with aluminum foil. While it might seem convenient for cleanup, foil can interfere with heat circulation and potentially damage the heating elements. Always refer to your specific model’s manual.
Is it normal for a roaster oven to take a long time to preheat?
Yes, roaster ovens can sometimes take longer to preheat than conventional ovens, especially larger models. Factors like room temperature and the initial temperature of the pan can affect preheat times. Give it at least 20-30 minutes to reach your desired temperature.
My roaster oven smells like burning plastic. What should I do?
If you smell burning plastic, immediately unplug your roaster oven and let it cool. Inspect for any melted plastic, packaging material, or foreign objects that might have fallen inside. If you can’t find a cause, discontinue use and contact the manufacturer for safety.
Can I replace the thermostat in my roaster oven myself?
Replacing a roaster oven thermostat is generally not a DIY repair. It involves electrical components and can be complex. For safety and proper function, it’s best to consult a qualified appliance repair technician or consider replacing the unit if the thermostat is faulty.
