
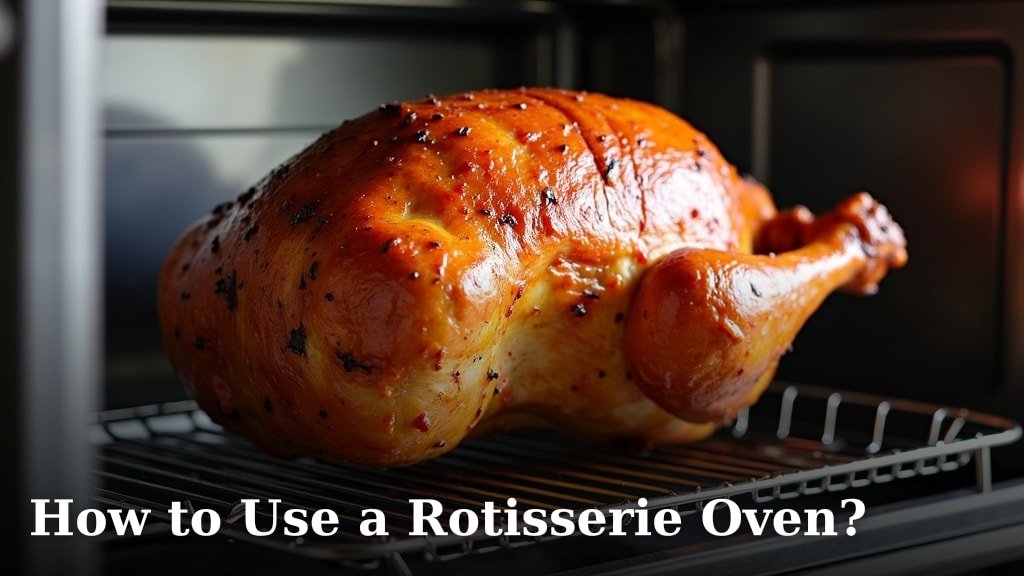
To use a rotisserie oven, you generally load your food onto a spit, secure it, and place it into the oven. Then, you simply set the cooking temperature and time. The rotisserie mechanism rotates the food slowly, ensuring it cooks evenly from all sides.
Are you looking to make perfectly roasted chicken or other delicious meats at home? A rotisserie oven can be a fantastic tool for achieving that juicy, tender result. We found that most models offer straightforward controls, making them easy to operate even for beginners.
- Prepare your food for the spit.
- Load and secure the food onto the rotisserie spit.
- Place the spit into your rotisserie oven.
- Set the correct temperature and cooking time.
- Allow the oven to rotate and cook your meal.
Let’s walk through exactly how to set up and use a rotisserie oven, step by step, so you can enjoy perfectly cooked meals.
Getting Started with Your Rotisserie Oven: What You Need to Know
Before you even think about seasoning your chicken, let’s go over the basics. Using a rotisserie oven is often simpler than you might imagine. We found that most models, from countertop to full-sized, share a common set of operating principles.
Understanding How Rotisserie Ovens Work
Ever wonder how chefs get that perfectly crispy skin and juicy interior? The secret often lies in slow, even rotation. A rotisserie oven uses a motorized spit that turns your food continuously. This motion allows for
This method differs significantly from static roasting. With a static oven, you often have to turn your food manually. The rotisserie does the hard work for you, ensuring
Preparing Your Food for the Rotisserie Spit
Proper preparation is key to a successful rotisserie meal. This step involves more than just seasoning; it’s about securing your food so it cooks evenly and safely.
Choosing the Right Food for Rotisserie Cooking
While often associated with chicken, your rotisserie oven can cook a
Avoid overly large or irregularly shaped items that might drag or struggle to rotate within your specific oven’s capacity. Always check your oven’s manual for
Seasoning and Trussing Your Meat
Seasoning is where you infuse flavor. Apply your rubs, spices, and herbs generously. For best results, consider seasoning your meat
Trussing is crucial for rotisserie cooking. This involves tying the meat with butcher’s twine. For chicken, you want to tie the legs together and tuck the wings tightly against the body. This creates a
Loading and Securing Food onto the Rotisserie Spit
This step can feel a little daunting at first, but with practice, it becomes second nature. Precision here prevents problems during cooking.
Attaching the Spit Rod and Forks
Your rotisserie spit usually consists of a long metal rod and two sets of “forks” or prongs. These forks are designed to
First, slide one fork onto the rod with the prongs facing outwards. Then, carefully
Balancing Your Load
An unbalanced load is a common issue for new users. If your meat isn’t centered or evenly weighted, the motor will struggle, and the rotation will be jerky. We found that
Operating Your Rotisserie Oven: Temperature and Time
Once your food is on the spit, it’s time to get cooking! This is where you bring it all together.
Placing the Spit into the Oven
Open your rotisserie oven door. You’ll typically see
Setting the Ideal Cooking Temperature and Time
Cooking times and temperatures will vary based on the type and size of your meat. However, a common starting point for a whole chicken is
Always use a
| Meat Type | Minimum Internal Temperature for Safety |
|---|---|
| Whole Chicken/Poultry | 165°F (74°C) |
| Pork (Roasts, Chops) | 145°F (63°C) with a 3-minute rest |
| Beef Roasts (Medium-Rare) | 135°F (57°C) with a 3-minute rest |
| Beef Roasts (Medium) | 145°F (63°C) with a 3-minute rest |
| Fish | 145°F (63°C) |
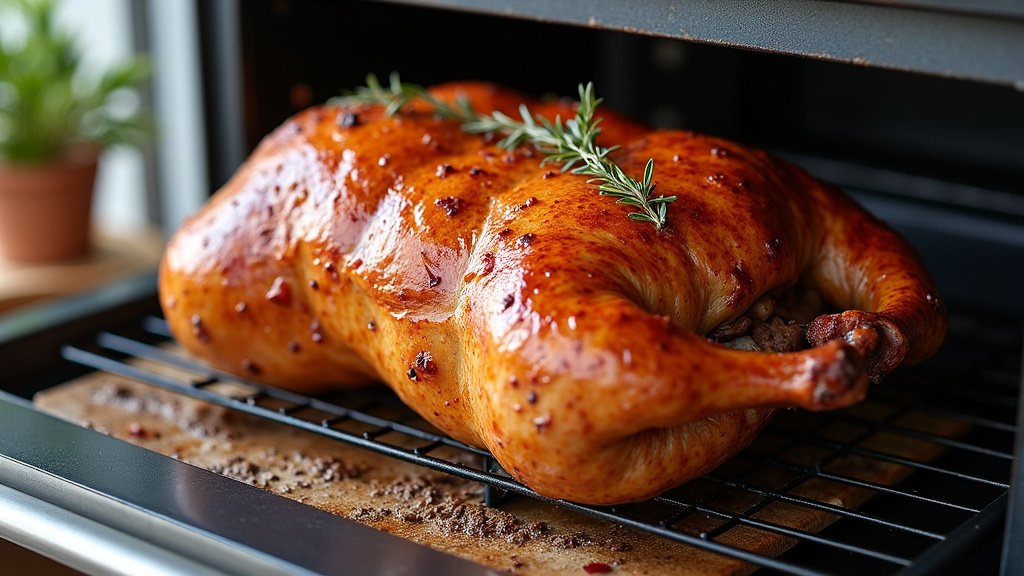
Press the button or turn the dial to start the rotation. You’ll see your food slowly spinning, getting nice and golden.
Troubleshooting and Best Practices for Delicious Results
Even with careful preparation, little questions might pop up during the cooking process. Here are some quick tips.
What if My Food Isn’t Rotating Smoothly?
If you notice jerky rotation, it’s usually an issue with balance or obstruction.
Achieving Crispy Skin and Juicy Meat
For that perfect crispy skin, pat your meat
The Importance of Resting Your Meat
Once your food reaches the safe internal temperature, resist the urge to carve it immediately. We found that
Your Rotisserie Oven Checklist
To ensure a smooth cooking experience, always run through this quick checklist:
Truss it right: Is your meat tied snugly and compactly?Spit it straight: Is the spit rod threaded through the center of the meat?Fork it secure: Are both forks tightly cinched against the meat?Balance it out: Does the spit feel balanced when you lift it?Placement perfect: Is the spit rod correctly seated in the oven’s slots?Temp check: Do you have your meat thermometer ready for doneness?
Conclusion
You now have all the tools to master your rotisserie oven. From proper preparation and secure loading to setting the right temperature and ensuring safe internal doneness, you’re ready. Don’t forget that crucial resting step for the juiciest results.
Using a rotisserie transforms your cooking, offering delicious, evenly cooked meats with minimal effort. We encourage you to start with a classic like roasted chicken and then experiment with different cuts and seasonings. Enjoy the journey of creating perfectly roasted meals right in your home kitchen!
Frequently Asked Questions
Do I need to preheat my rotisserie oven?
Yes, just like a standard oven, preheating your rotisserie oven is generally a good idea. This ensures the cooking chamber is at the correct temperature when your food starts to rotate, leading to more consistent cooking and better browning from the beginning.
Can I use aluminum foil with my rotisserie?
You can use aluminum foil to line the drip pan beneath your rotisserie to catch juices and make cleanup easier. However, avoid wrapping your food in foil during rotisserie cooking, as this will prevent the even browning and crispy skin that the rotisserie method is designed to achieve.
What kind of accessories should I consider for my rotisserie oven?
Beyond the basic spit and forks, some helpful accessories include extra drip pans for easy cleanup, a heat-resistant basting brush, and a good quality meat thermometer. Some ovens also offer baskets for rotisserie vegetables or smaller items, which can expand your cooking options.
How do I clean my rotisserie spit and forks after use?
After your spit and forks have cooled, it’s best to clean them promptly. We found that soaking them in warm, soapy water helps loosen any cooked-on bits. Use a scrub brush to remove residue, then rinse thoroughly and dry completely to prevent rust, especially if they are not dishwasher safe.
My rotisserie chicken skin isn’t getting crispy, what can I do?
For crispier skin, ensure your chicken is very dry before seasoning. Pat it thoroughly with paper towels. You can also rub a thin layer of oil or butter on the skin before cooking. During the last 15-20 minutes, if your recipe allows, you might slightly increase the temperature, but watch it closely to avoid burning.
