
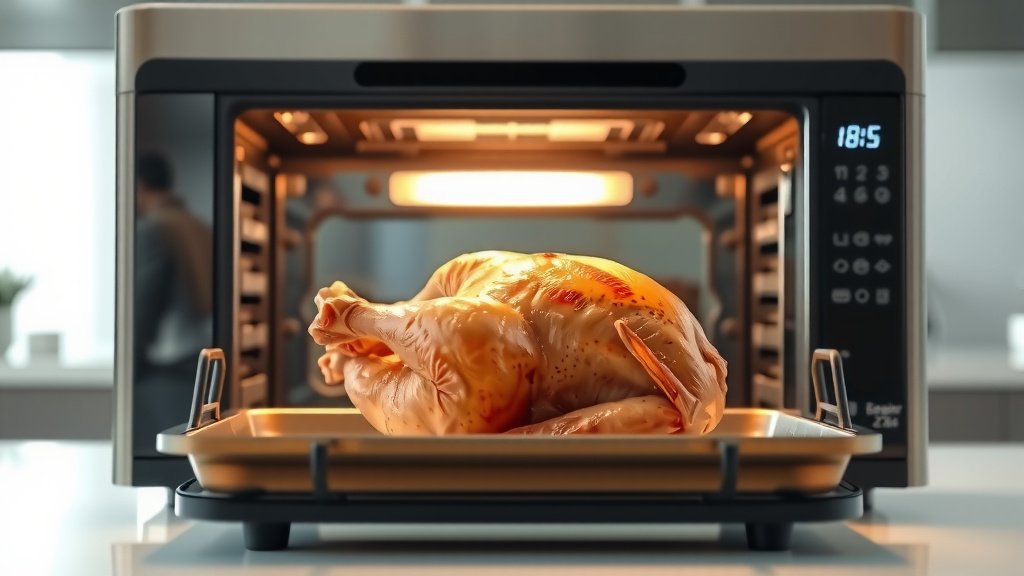
Infrared ovens cook a whole chicken by using radiant heat, which penetrates the meat directly, resulting in a significantly faster cooking time, crispier skin, and a wonderfully juicy interior.
To cook a whole chicken in an infrared oven, you will typically preheat it to 375-400°F, season your chicken well, and then roast it for approximately 18-20 minutes per pound until its internal temperature reaches 165°F in the thickest part of the thigh.
- Get ready for a super-fast, delicious whole chicken with your infrared oven.
- Prepping your bird correctly is key for even cooking and amazing flavor.
- Infrared ovens cook differently, so timing and temperature are crucial to learn.
- Always use a meat thermometer to ensure your chicken is safe and perfectly done.
- Don’t forget to let your chicken rest after cooking for the juiciest results.
How To Cook A Whole Chicken In Infrared Oven?
Cooking a whole chicken in an infrared oven means you get to enjoy a delicious, perfectly cooked meal with a fraction of the usual fuss. This method uses radiant heat to cook your poultry from the outside in, sealing in juices.
Understanding Your Infrared Oven
Infrared ovens are a bit different from your traditional convection oven. They use electromagnetic waves, like sunshine, to heat food directly. This means faster cooking times and often a more even browning on the outside.
Think of it like a really efficient sun tan for your chicken. This direct heat helps to create that sought-after crispy skin while keeping the inside moist and tender. It’s a game-changer for poultry!
Choosing the Right Chicken
Picking a good chicken is your first step to success. Look for a whole chicken that feels firm and has plump breasts. A fresh, good quality chicken will always yield the best results for your dinner.
Consider the size; a smaller chicken might cook more evenly and faster. A chicken around 3-5 pounds is often ideal for a standard infrared oven, making it easier to manage the cooking process.
Essential Preparation Steps
Preparing your chicken properly sets the stage for a wonderful meal. First, you’ll want to remove the giblets and neck from the cavity. Give the chicken a good rinse under cold water, both inside and out.
Then, pat it completely dry with paper towels. We found that a dry surface helps the skin get super crispy. This simple step is often overlooked but truly vital for that golden-brown finish.
Brining or Seasoning Your Bird
Many experts say that brining your chicken can add moisture and flavor, making it extra juicy. If you have time, a simple brine of salt, sugar, and water for a few hours can make a big difference.
If not brining, generously season your chicken. Rub a mix of salt, pepper, garlic powder, paprika, and any other herbs you love all over the skin and inside the cavity. Don’t forget to get under the skin on the breast for maximum flavor impact.
Trussing for Even Cooking
Trussing means tying the chicken’s legs together and tucking its wings under its body. This helps the chicken cook more evenly by compacting its shape. It also makes for a neater presentation on your plate.
Use kitchen twine for this step. It’s a quick process that pays off with uniformly cooked meat throughout the entire bird. If you’re not sure how, a quick search for “how to truss a chicken” can show you a simple method.
Getting Your Infrared Oven Ready
Preheating is super important for infrared ovens, just like any other. You want that radiant heat to be fully engaged when your chicken goes in. Give your oven at least 15-20 minutes to reach its target temperature.
We found that a temperature range of 375°F to 400°F works best for whole chickens. This allows the skin to crisp up beautifully without burning, while the meat cooks through evenly.
Cooking Temperature and Time Guide
Here’s where the magic happens! Place your prepared chicken in a roasting pan or directly on a rack, depending on your oven model. Make sure there’s enough space for air to circulate around it.
The cooking time for a whole chicken in an infrared oven is generally shorter than in a conventional oven. A good rule of thumb is about 18-20 minutes per pound. But remember, every oven is different, and these are just guidelines.
| Chicken Weight (Approx.) | Cooking Temperature | Estimated Cooking Time |
|---|---|---|
| 3 pounds | 375°F – 400°F | 55 – 65 minutes |
| 4 pounds | 375°F – 400°F | 70 – 80 minutes |
| 5 pounds | 375°F – 400°F | 90 – 100 minutes |
Monitoring Doneness: The Thermometer is Your Friend
The most important tool in your kitchen for cooking chicken is a reliable meat thermometer. This is how you confirm your chicken is safe to eat and perfectly cooked. You don’t want undercooked or overcooked chicken.
Insert the thermometer into the thickest part of the thigh, making sure not to touch the bone. The chicken is fully cooked when it reaches an internal temperature of 165°F (74°C) (USDA). This ensures safety and the best texture.
The Golden Rest Period
Once your chicken hits 165°F, take it out of the oven. But don’t slice into it right away! This next step is crucial for juiciness. Cover the chicken loosely with foil and let it rest for 10-15 minutes.
This resting period allows the juices to redistribute throughout the meat. If you cut it too soon, those precious juices will run out, leaving you with a drier chicken. Patience here rewards you with tender meat.
Troubleshooting Common Issues
Even seasoned cooks run into hiccups sometimes. What if your chicken is browning too quickly on the outside but not cooked through? You can cover parts of it with foil to prevent over-browning.
If your chicken seems dry, you might have overcooked it or skipped the brining step. Next time, pull it out precisely at 165°F. Every infrared oven has its quirks, so don’t worry if your first try isn’t perfect.
Infrared Oven Cooking Checklist
- Choose a fresh, appropriately sized chicken.
- Rinse and thoroughly pat the chicken dry.
- Season generously or brine for extra flavor.
- Truss the chicken for even cooking.
- Preheat your infrared oven to 375-400°F.
- Roast for 18-20 minutes per pound, adjusting as needed.
- Use a meat thermometer to confirm 165°F internal temperature.
- Rest the chicken for 10-15 minutes before carving.
Tips for Crispy Skin
Everyone loves crispy chicken skin, right? Making sure your chicken is completely dry before seasoning is the best way to get that perfect crunch. You can even leave it uncovered in the fridge for an hour or two before cooking to further dry the skin.
Another trick is to rub a little oil or butter over the skin before cooking. This helps it brown beautifully and develop that irresistible crispy texture. Don’t be shy with the seasoning either; it adds flavor to the crispy skin.
Keeping the Chicken Juicy
Beyond brining and resting, there are a few other ways to keep your chicken wonderfully juicy. You can place a few lemon halves or onion wedges inside the cavity; they add moisture and a subtle aroma to the meat.
Basting occasionally with pan juices can also help, though with infrared ovens, it’s less critical due to the direct heating method. The key is truly to avoid overcooking and hitting that target internal temperature precisely.
Conclusion
Cooking a whole chicken in an infrared oven is a fantastic way to achieve a delicious, perfectly cooked meal with less time and effort. By following these straightforward steps, you can enjoy juicy meat and crispy skin every time.
Remember, practice makes perfect, and your infrared oven is a powerful tool. Don’t be afraid to adjust times slightly based on your oven and your chicken’s size. You’ll soon be an expert at roasting whole chickens with confidence!
How do I know if my chicken is fully cooked in an infrared oven?
The best way to know if your chicken is fully cooked is by using a meat thermometer. Insert it into the thickest part of the thigh, making sure it doesn’t touch the bone. The chicken is safe and ready when it reaches 165°F (74°C) internally (USDA).
Can I use a rotisserie in my infrared oven for a whole chicken?
Many infrared ovens come with a rotisserie function, which is excellent for whole chickens. The rotating motion ensures even cooking and an all-around crispy skin. Always check your oven’s manual for specific rotisserie instructions and weight limits.
What’s the benefit of an infrared oven over a regular oven for chicken?
The main benefits of an infrared oven for chicken are faster cooking times and the ability to achieve a very crispy skin while keeping the inside moist. The radiant heat cooks food more directly and efficiently than the circulated hot air of a conventional oven.
My chicken skin is getting too dark too fast; what should I do?
If your chicken skin is browning too quickly, you can loosely tent it with aluminum foil. This will protect the skin from direct infrared heat, allowing the inside to finish cooking without the outside burning. Remove the foil for the last 10-15 minutes if you want to crisp the skin up again.
Do I need to flip or turn the chicken when cooking in an infrared oven?
Generally, you do not need to flip or turn a whole chicken when cooking it in an infrared oven. The radiant heat typically cooks evenly from all directions. However, if your oven has hotspots or if you notice uneven browning, a single turn halfway through cooking can help.
