
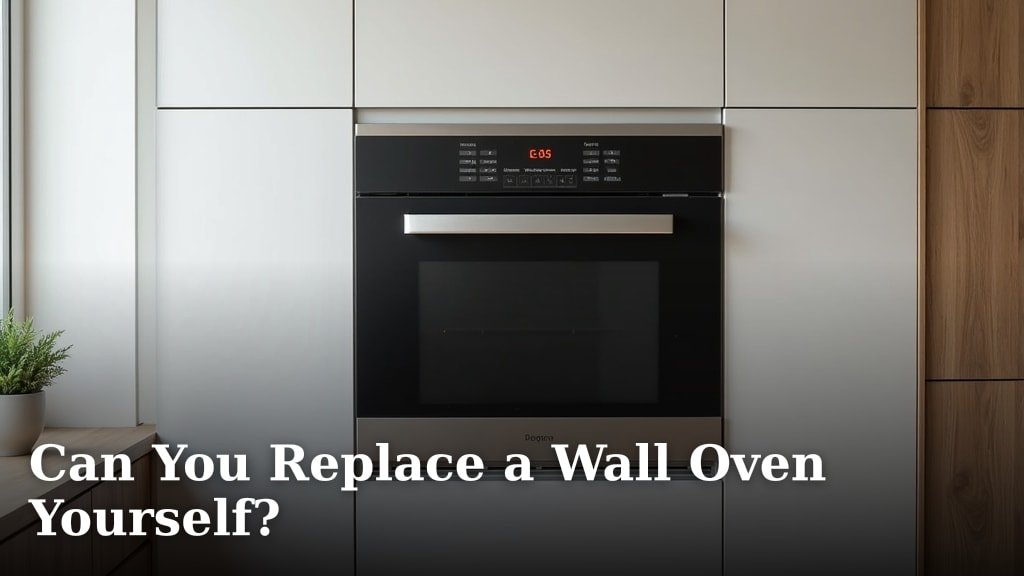
Yes, you absolutely can replace a wall oven yourself if you’re comfortable with basic electrical work and handy with tools. Many homeowners have successfully tackled this project, saving money on professional installation. Just remember, working with electricity requires extreme caution and a good understanding of safety procedures to replace your wall oven without incident.
Replacing a wall oven involves disconnecting power, removing the old unit, and installing the new one. It’s a DIY project that’s often more straightforward than people imagine. However, you’ll need to ensure the new oven fits the existing space and that your home’s electrical wiring is compatible. Proper measurements are key here.
- Yes, replacing a wall oven is a DIY-friendly project for many.
- Safety first: always turn off power at the breaker.
- Measure carefully to ensure the new oven fits.
- You’ll need basic tools and some electrical know-how.
- Consider hiring an electrician if you’re unsure about wiring.
Ready to get your hands dirty and save some cash? Let’s walk through how to replace your wall oven step by step.
Taking On a Wall Oven Replacement Yourself
Yes, you can definitely replace a wall oven on your own. Many homeowners find this project to be quite manageable. It’s a great way to save money compared to hiring a professional. However, it’s not a task to take lightly. You’ll need to be comfortable with basic electrical work and have the right tools. Safety is the absolute top priority throughout this process.
Is DIY Wall Oven Replacement Right for You?
Before you grab your toolbox, let’s make sure this project is a good fit for your skills. Are you comfortable working with electricity? Do you know how to turn off the power at the breaker box? If the answer to these questions makes you a little nervous, it might be wiser to call in a professional. But if you’re handy and confident, read on!
Assessing Your Skill Level
Replacing a wall oven involves working with high-voltage wiring. This is where many DIYers draw the line, and that’s perfectly okay. We found that even experienced DIYers treat this step with extreme care. If you’ve never tackled an appliance wiring project before, you might want to start with something simpler. Think changing a light fixture or a ceiling fan.
Consider the tools you have available. Do you have a multimeter to test for voltage? Are you familiar with wire connectors and electrical tape? If you’re missing essential tools or knowledge, the cost of buying them or learning on the fly might outweigh the savings. Many experts suggest that if you’re unsure about any step, especially the electrical part, it’s best to get help.
Understanding the Risks
Working with electricity carries risks, including electric shock and fire hazards. These are not things to play around with. Research from electrical safety organizations consistently highlights the importance of proper wiring and circuit protection. Making a mistake could damage your new oven or, worse, cause a fire in your home. Your safety and the safety of your home are non-negotiable.
Gathering Your Tools and Materials
Having everything ready before you start is key to a smooth process. You don’t want to get halfway through and realize you’re missing a critical tool. We’ve put together a list of what you’ll likely need.
Essential Tools for the Job
- Screwdriver set (Phillips and flathead)
- Pliers (needle-nose and lineman’s)
- Wire strippers/cutters
- Adjustable wrench
- Voltage tester (non-contact or multimeter)
- Level
- Measuring tape
- Work gloves
- Safety glasses
- Utility knife
- Possibly a putty knife or scraper
New Oven Considerations
The most important material is, of course, your new wall oven. Ensure it’s the correct size for your existing cabinet opening. Measure the height, width, and depth carefully. Also, check the electrical requirements. Does your home have the right voltage and amperage to power the new unit? Many ovens require a dedicated 240-volt circuit.
You might also need a new power cord if the old one isn’t compatible with the new oven or if it’s damaged. Check your oven’s manual for specific recommendations. Some new ovens don’t come with a power cord, expecting you to reuse the old one or purchase a new one separately. This is a detail worth confirming before delivery.
Step-by-Step: Replacing Your Wall Oven
Let’s break down the process. Remember, patience and careful execution are your best friends here. We’ll walk through this as if you’re standing in your kitchen, ready to go.
Step 1: Safety First – Turn Off the Power!
This is the most critical step. You absolutely must turn off the power to the oven at your home’s main electrical panel or breaker box. Find the breaker that controls your wall oven and flip it to the ‘OFF’ position. To be extra safe, many people place tape over the breaker switch to prevent someone from accidentally turning it back on. Don’t plug in or test anything until you’re ready for the final hookup.
How do you know which breaker it is? If your panel is labeled well, it might say “Oven” or “Range.” If not, you might have to flip breakers one by one until the oven’s display or clock goes dark. Once you think you’ve found the right one, use your voltage tester to confirm there is no power at the oven’s outlet or junction box. Test it on all wires you can access.
Step 2: Remove the Old Oven
Open the oven door. You’ll likely see screws holding the oven in place, often located on the oven’s frame just inside the door opening. Remove these screws. Sometimes, there might be trim pieces or panels that need to be removed first to access these screws.
Once the screws are out, carefully pull the oven out from the cabinet. It might be heavy, so be prepared for the weight. You might need a helper for this. As you pull it out, you’ll expose the electrical connection. This could be a plug or a direct wire connection in a junction box. Gently disconnect the wiring. If it’s a plug, simply unplug it. If it’s a junction box, you’ll need to open the box and carefully disconnect the wires, noting which wires were connected to which.
We found that some older ovens might be more difficult to dislodge. They could be wedged in or have hidden brackets. Take your time and don’t force anything. If it feels stuck, re-examine for any hidden screws or clips. A utility knife can sometimes help to break any old sealant.
Step 3: Prepare for the New Oven
Clean the cabinet opening thoroughly. Remove any dust, debris, or old food particles. Check the condition of the opening itself. Is the wood sturdy? Are there any signs of damage?
Now, review the installation manual for your new oven. It will have specific instructions, especially regarding electrical connections and mounting. Compare the electrical requirements of the new oven to your existing setup. If your wiring isn’t compatible, you’ll need to call an electrician to upgrade your circuit.
Step 4: Install the New Oven
Carefully slide the new oven into the cabinet opening. Be gentle to avoid scratching the oven or your cabinets. Once it’s mostly in place, you’ll need to connect the electrical wiring. This is similar to disconnecting the old one, but in reverse.
Connect the wires according to the new oven’s manual and local electrical codes. Ensure all connections are secure. Use wire nuts appropriate for the wire gauge. If you’re unsure about the wire colors or connections, stop and consult the manual or an electrician. Improper wiring can be dangerous and can damage the appliance.
Once the wiring is complete and secured, you can finish sliding the oven into place. Line up the mounting screw holes. Reinstall the screws you removed earlier to secure the oven. Make sure the oven is level. This is important for proper operation and cooking accuracy. We found that using a level on the oven door and top edge helps ensure it’s perfectly situated.
Step 5: Test Your New Oven
Now for the moment of truth. Go back to your breaker box and flip the breaker for the oven back to the ‘ON’ position. Turn on the oven and test its basic functions – preheating, baking, broiling. Make sure everything works as expected. If it doesn’t, turn the power off immediately and re-check your wiring and connections.
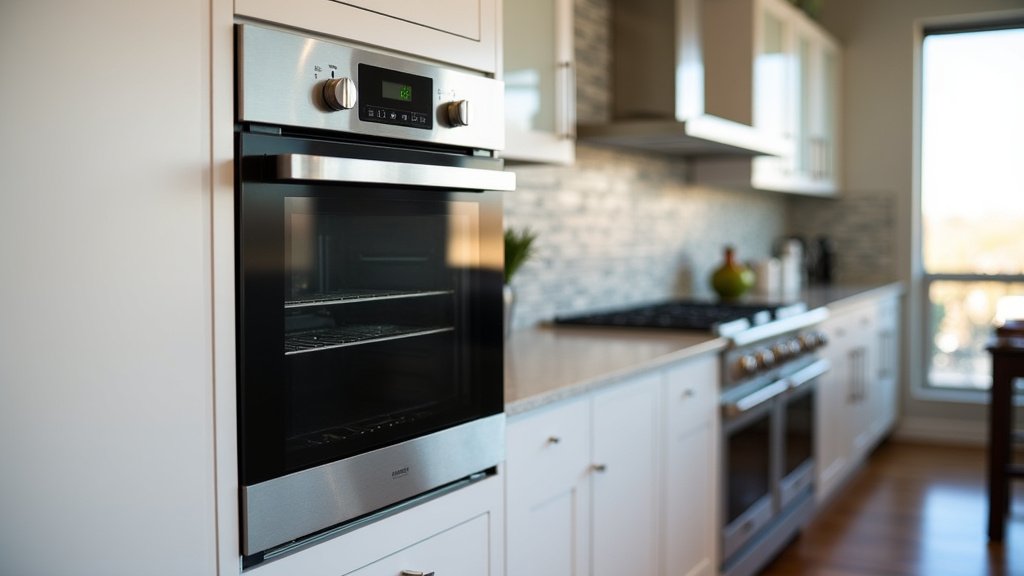
Common Pitfalls and How to Avoid Them
Even with careful planning, things can sometimes go awry. Here are a few common issues and how to navigate them.
Measurement Mishaps
The most common mistake is buying an oven that doesn’t fit. Always measure your existing opening and compare it to the dimensions of the new oven. Don’t just rely on the cubic feet capacity; check the external dimensions. We’ve seen people caught off guard by the oven’s trim size or hinge clearance requirements. Always check the specifications sheet.
Electrical Compatibility Issues
Your new oven might require more power than your current circuit can provide. Check the amperage rating on both your old and new ovens. If the new one draws more power, you’ll need an electrician to install a new, higher-amperage circuit. Trying to use an inadequate circuit is a fire hazard.
Oven Weight and Size
Wall ovens can be surprisingly heavy. Make sure you have a helper for lifting and maneuvering the unit. Dropping the oven could damage it, your floor, or worse, cause injury. Planning for the weight and having assistance is essential.
When to Call a Professional
While many people can replace their wall oven themselves, there are times when calling a pro is the best decision. If you’re uncomfortable with electrical work at any point, don’t hesitate to stop and call an electrician. If your home’s wiring is old or doesn’t meet current codes, an electrician will be needed to bring it up to standard. Likewise, if you encounter unexpected problems, like damaged cabinetry or wiring that seems beyond your ability to fix, a qualified technician or electrician can handle it safely.
Here’s a quick checklist to help you decide:
- Are you completely comfortable and knowledgeable about electrical wiring and safety?
- Does your home’s electrical panel have the correct breaker type and amperage?
- Are the dimensions of the new oven a perfect match for the existing opening?
- Do you have the necessary tools, including a reliable voltage tester?
- Can you get help to safely lift and maneuver a potentially heavy appliance?
- If any of these answers are “no,” consider professional help.
Conclusion
You’ve learned that replacing your wall oven yourself is a feasible project. It requires careful planning, the right tools, and a serious commitment to electrical safety. We found that tackling this yourself can indeed save you money, but your safety and home are never worth the risk if you’re unsure.
Always prioritize turning off power at the breaker and verifying it’s off before you begin. Double-check measurements and electrical compatibility for your new unit.
If you feel confident after reviewing these steps, gather your supplies and get started. If at any point you feel uneasy, especially with the wiring, don’t hesitate to call a qualified electrician to finish the job safely.
Frequently Asked Questions
How much can I save by replacing a wall oven myself?
You can often save several hundred dollars by doing the replacement yourself. Professional installation costs can vary widely, but DIY savings typically cover the cost of new tools and potential mistakes. The biggest savings come from avoiding labor charges.
What if my new oven’s electrical plug doesn’t match the old one?
This is common, as oven models and electrical codes change. You may need to install a new plug or connect the oven directly to your home’s wiring via a junction box. Always consult your new oven’s manual and ensure the wiring gauge matches your home’s circuit.
Can I use my old oven’s power cord on the new oven?
You might be able to, but it’s essential to check both the oven manual and the condition of the cord. Some new ovens don’t come with a cord, expecting you to reuse the old one if compatible. Ensure the cord’s amperage rating meets the new oven’s requirements to avoid a fire hazard.
What are the biggest dangers of DIY oven replacement?
The primary danger is electric shock from improperly handling live electrical wiring. Another significant risk is fire hazard due to incorrect wiring connections or using an inadequate electrical circuit. Damaging the oven or your cabinetry during removal or installation are also risks.
How do I know if my home’s electrical circuit is strong enough for a new oven?
Check the amperage rating of your old oven and your circuit breaker. Then, find the amperage requirement for your new oven, usually listed on the appliance or in its manual. If the new oven requires a higher amperage than your current circuit provides, you’ll need an electrician to upgrade the circuit.
