
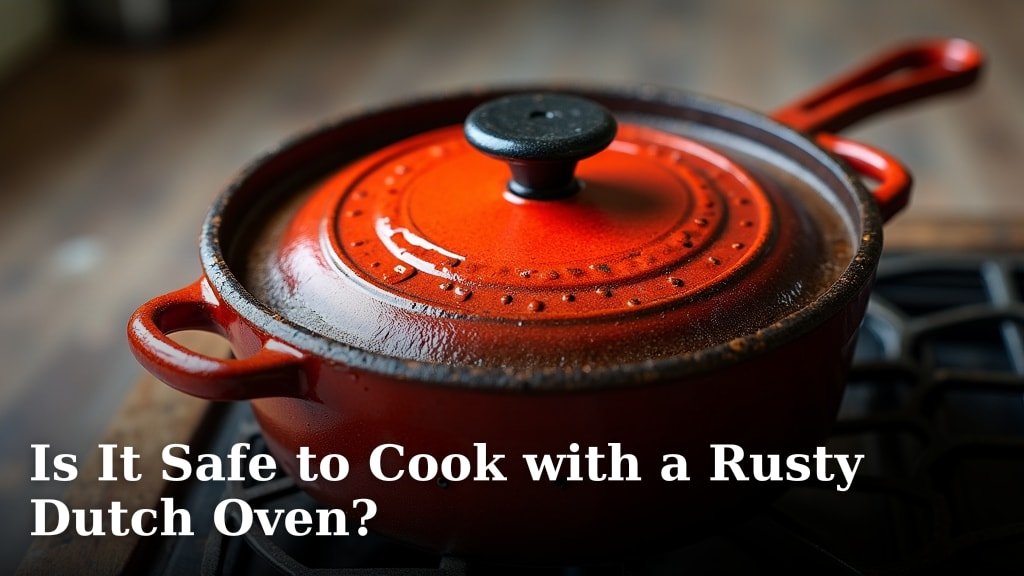
Yes, you can generally cook with a rusty Dutch oven, and it’s usually safe to eat. The rust on cast iron cookware, like your Dutch oven, is typically just oxidized iron. While it doesn’t look pretty, it’s not inherently toxic. You’ll just need to know how to clean and re-season it properly.
Many home cooks have successfully revived old, rusty cast iron. It often just needs a bit of elbow grease and some TLC. We found that tackling rust early prevents it from becoming a bigger issue and ensures your cookware remains food-safe and functional for years to come.
- Rust on Dutch ovens is usually oxidized iron, not toxic.
- It’s generally safe to cook with if cleaned and re-seasoned.
- You’ll need to remove the rust for best results.
- Proper seasoning is key after rust removal.
- It’s a common issue with cast iron cookware.
Ready to get your rusty Dutch oven back in prime cooking shape? Let’s walk through the simple steps to tackle that rust and get you back to delicious meals.
Cooking Safely with a Rusty Dutch Oven
So, you’ve pulled out your trusty Dutch oven, only to find it sporting some less-than-lovely rust spots. Your first thought might be, “Can I even cook with this thing?” The good news is, yes, you absolutely can! Rust on cast iron, like the kind you see on your Dutch oven, is typically just oxidized iron. It might not be the prettiest sight, but it’s generally not a cause for alarm regarding your food’s safety. The key is knowing how to deal with it.
Think of it like a little battle scar. It shows your Dutch oven has seen some action! While it’s safe to cook with in a pinch, we found that cleaning and re-seasoning it properly will give you the best results and ensure your cookware is in tip-top shape for many meals to come.
Understanding Cast Iron Rust and Your Dutch Oven
Cast iron is fantastic for cooking because it holds heat so well. But it’s also susceptible to rust. This happens when the iron is exposed to moisture for too long without being protected by a layer of seasoning. It’s a common issue, especially if a Dutch oven is stored in a damp place or not dried thoroughly after washing.
What Exactly is Rust?
Rust is essentially iron oxide. When iron comes into contact with oxygen and moisture, a chemical reaction occurs, forming that reddish-brown flaky stuff we call rust. It’s the same process that happens to any iron object left out in the elements. For your Dutch oven, this usually means you haven’t maintained its protective seasoning layer.
Is Eating Rust Harmful?
Research indicates that the small amounts of rust you might ingest from cookware are generally not harmful. The human body actually needs iron, and iron oxide is just a form of iron. However, large quantities could potentially cause stomach upset. More importantly, rust indicates that your Dutch oven’s protective seasoning is compromised, which can affect how your food cooks and tastes.
Why Seasoning is Your Best Friend
Seasoning isn’t just about making your cast iron non-stick. It’s also the barrier that protects it from rust. When you season a cast iron pan, you’re essentially baking layers of oil onto the metal. This polymerized oil creates a hard, smooth surface. If this layer is damaged or gone, the bare iron is exposed and can rust.
The Process of Removing Rust from Your Dutch Oven
Don’t despair if your Dutch oven looks like it’s been salvaged from a shipwreck! We found that removing rust is a straightforward process. It mainly requires a bit of scrubbing and then re-establishing that essential seasoning.
Step 1: Gather Your Supplies
Before you begin, make sure you have everything you need. This will make the rust removal process much smoother. You’ll want:
- Steel wool (medium or fine grade)
- A stiff brush
- Dish soap (yes, you can use soap on well-seasoned cast iron, and definitely on rusty spots!)
- Paper towels or clean cloths
- Cooking oil (like vegetable, canola, or flaxseed oil)
- Oven mitts
Step 2: Scrub Away the Rust
This is where the elbow grease comes in. Use your steel wool and a bit of dish soap to scrub all the rusty areas. You’ll need to be persistent until you see bare metal underneath the rust. Don’t be afraid to scrub hard – it’s necessary to get rid of all the oxidized iron.
Pro Tip: If the rust is really stubborn, you can try making a paste of baking soda and water. Apply it to the rust spots, let it sit for a bit, and then scrub.
Step 3: Wash and Dry Thoroughly
Once you’ve scrubbed all the rust away, rinse the Dutch oven thoroughly with warm water. Make sure to wash away all the soap and rust particles. Immediately after washing, dry it completely with paper towels or a clean cloth. You want to ensure no moisture is left behind, as this can cause rust to reappear instantly.
Don’t air dry! Heat it on the stovetop over low heat for a few minutes to evaporate any lingering moisture. This is a critical step to prevent re-rusting.
Re-Seasoning Your Revived Dutch Oven
Now that you have a shiny, rust-free Dutch oven, it’s time to give it a fresh protective coat. Re-seasoning is crucial to prevent future rust and to make it ready for cooking.
The Seasoning Process Explained
We found that the oven method is the most effective for Dutch ovens. It ensures an even coat of seasoning all over. Here’s how you do it: The oven method is effective for seasoning Dutch ovens, ensuring an even coat.
- Preheat your oven to a high temperature, typically between 400°F and 450°F (200°C to 230°C).
- Apply a very thin layer of cooking oil to the entire interior and exterior of the Dutch oven. Wipe off any excess oil with a clean cloth. You want it to look dry, not greasy.
- Place the Dutch oven upside down on the middle rack of the preheated oven. Put a baking sheet or aluminum foil on the rack below to catch any drips.
- Bake for one hour.
- Turn off the oven and let the Dutch oven cool down completely inside the oven.
How Many Layers Are Enough?
For a Dutch oven that had significant rust, we recommend repeating the seasoning process at least 2-3 times. Each layer builds up the protective coating. The more layers you add, the more durable and non-stick your Dutch oven will become. You’ll notice the surface becoming smoother and darker with each round of seasoning.
Maintaining Your Seasoning for the Long Haul
Once your Dutch oven is re-seasoned, you’ll want to keep it that way. Proper care after cooking is key:
- Wash it with warm water soon after use. Use a stiff brush or a non-abrasive sponge if needed.
- If you need soap, use a small amount of mild dish soap.
- Dry it immediately and thoroughly. Heat it on the stovetop for a few minutes to ensure it’s bone dry.
- Apply a very light coat of cooking oil to the interior before storing.
- Store it in a dry place, uncovered or with a paper towel between the lid and the pot to allow air circulation.
When to Consider Professional Help (or Replacement)
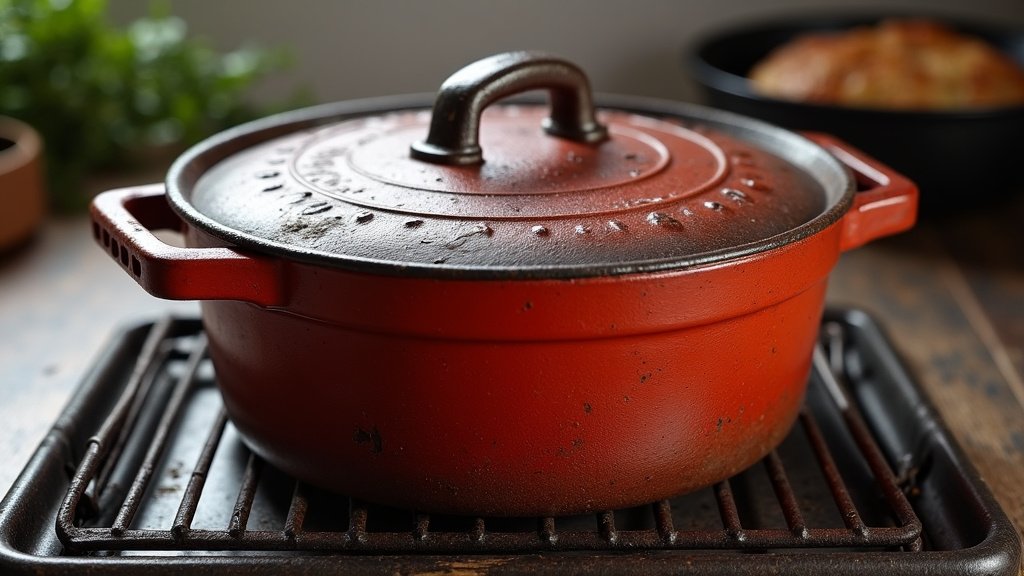
While most rust issues are DIY-friendly, there are times when a Dutch oven might be beyond saving. If your Dutch oven has deep pitting, cracks, or the rust seems to be coming from within the metal itself (which is rare but possible with very old, neglected pieces), it might be time to consider replacement.
Deep Pitting and Cracks
Severe pitting means the iron has eroded significantly, creating weak spots. Cracks are structural damage that can worsen with heating and cooling. Both conditions can make the Dutch oven unsafe to use, as it might break during cooking.
The Verdict on Very Old, Neglected Ovens
If your Dutch oven is incredibly old, has been left for decades, and has rust that seems impossible to remove even after repeated attempts, it might be a sign that the metal integrity has been compromised. In such cases, while it might be sad to let go, prioritizing safety is always the best approach. But for most typical rust scenarios, revival is definitely possible!
Quick Checklist for Rust Removal and Re-Seasoning
Ready to get your Dutch oven back in action? Here’s a quick rundown:
- Inspect: Assess the extent of the rust.
- Scrub: Use steel wool and soap to remove all visible rust.
- Rinse & Dry: Wash thoroughly and dry immediately, then heat-dry.
- Oil Up: Apply a thin layer of cooking oil all over.
- Bake: Season in a hot oven for an hour.
- Repeat: Do at least 2-3 rounds of seasoning for best results.
Conclusion
You’ve learned that a rusty Dutch oven isn’t a lost cause! It’s generally safe to cook with, even with rust, because it’s just oxidized iron. The real magic happens when you tackle the rust head-on with a good scrub and then re-season your pot. This process restores its protective layer, ensuring it’s food-safe and ready for your next culinary adventure. Don’t let a little rust deter you; with a bit of effort, your Dutch oven can be as good as new.
Your next step? Gather your supplies and give that trusty Dutch oven the TLC it deserves!
Frequently Asked Questions
Can I cook with a Dutch oven if I don’t have time to remove the rust immediately?
While we found it’s generally safe to cook with a slightly rusty Dutch oven in a pinch, it’s best to address it as soon as you can. The rust indicates compromised seasoning, which can affect how your food cooks. Cleaning and re-seasoning it properly will prevent future rust and ensure optimal performance.
What’s the best way to store my Dutch oven to prevent rust in the future?
To prevent rust, always dry your Dutch oven thoroughly after washing, even heating it on the stove for a few minutes. Store it in a dry location. Placing a paper towel between the pot and the lid allows for air circulation, which is key to keeping moisture away.
How often should I re-season my Dutch oven after removing rust?
After removing rust, we recommend applying 2-3 layers of seasoning to build a strong protective barrier. For ongoing maintenance, a light re-seasoning every few months or whenever the surface looks dull can help keep your Dutch oven in great shape.
Will using soap damage my Dutch oven’s seasoning after I’ve removed the rust?
It’s a common myth that you can never use soap on cast iron. We found that a small amount of mild dish soap is perfectly fine for cleaning your Dutch oven, especially after rust removal, as long as you rinse it thoroughly and dry it immediately afterward. The key is re-establishing the seasoning. You can use soap on cast iron, and this guide explains how to do it safely.
My Dutch oven has some minor rust spots. Do I need to remove them completely before cooking?
Yes, for the best cooking results and to protect your cookware, you should remove all visible rust spots. While small amounts of ingested rust might not be harmful, it signifies that the protective seasoning is gone in those areas. Cleaning and re-seasoning ensures your pot is non-stick and rust-free.
