
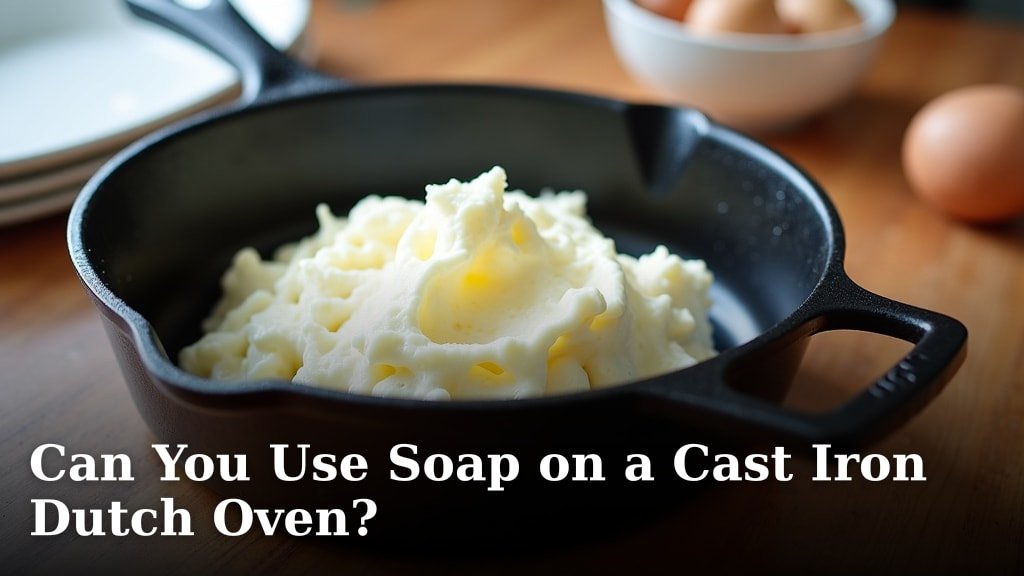
Yes, you can absolutely use soap on a cast iron Dutch oven without ruining it. Modern dish soaps are formulated to be gentle. They won’t strip away the hard-earned seasoning you value so much. Just avoid harsh scouring pads.
For years, people thought soap would destroy cast iron. We found that this idea is mostly a myth from the past. Old lye-based soaps were very harsh. Today’s dish soaps are mild and effective at cleaning without damage.
- Soap is safe for cast iron.
- Modern dish soap won’t remove seasoning.
- Avoid abrasive scrubbers like steel wool.
- Gentle cleaning helps maintain your pan.
Let’s walk through everything you need to know about cleaning your cast iron Dutch oven with soap, step by step.
Cleaning Your Cast Iron Dutch Oven with Soap
You’ve probably heard the old warnings about never using soap on cast iron. But let’s be clear: that advice is outdated. Cleaning your Dutch oven with mild dish soap is not only safe, but it’s also often the best way to get it truly clean after cooking.
Modern dish soaps are very different from the lye-heavy soaps of generations past. Those older soaps could indeed strip away the oil-based seasoning. Today’s soaps are much gentler and are designed to cut through grease without damaging surfaces (American Chemical Society).
Understanding Cast Iron Seasoning
Before we dive into cleaning, it helps to understand what “seasoning” actually is. It’s not just a layer of oil. Seasoning is a thin, hard, polymerized layer of oil that has bonded to the iron surface. Think of it like a naturally formed, non-stick coating.
This layer is created when fats and oils are heated to their smoke point. They break down and then bond to the metal in a process called polymerization. This is why high heat helps build good seasoning.
Your seasoning provides several benefits. It creates a naturally non-stick surface, helps prevent rust, and even adds a subtle flavor to your food over time. It’s truly the heart of your cast iron cookware.
Why the “No Soap” Myth Persisted
So, if soap is safe, why did the myth last so long? It largely comes from a time when home cooks used harsh, lye-based soaps. These soaps were strong enough to strip away layers of seasoning with ease. People feared their hard work would be undone.
Also, some cooks preferred a “patina” of cooked-on food residue. They believed this added flavor. We now know that leaving food particles can harbor bacteria and actually impart off-flavors (USDA Food Safety and Inspection Service).
Today’s dish soaps, like Dawn or Palmolive, are designed to be pH neutral or slightly alkaline. They contain surfactants that lift grease without chemically altering the polymerized seasoning layer. This means your seasoning is safe.
The Right Way to Wash Your Cast Iron with Soap
Ready to give your Dutch oven a proper wash? Here’s a simple, effective method that will get it clean without harming your seasoning. You’ll be surprised how easy it is to maintain your cookware.
Step-by-Step Cleaning Process
- Cool Down First: Always let your Dutch oven cool down before washing it. Pouring cold water into a hot pan can cause thermal shock, which might crack or warp the iron.
- Scrape Any Stuck-On Bits: If you have stubborn food stuck, use a plastic pan scraper or a stiff-bristled brush. Avoid metal scourers.
- Add Warm Water and Soap: Fill the Dutch oven with warm water. Add a small amount of your regular dish soap.
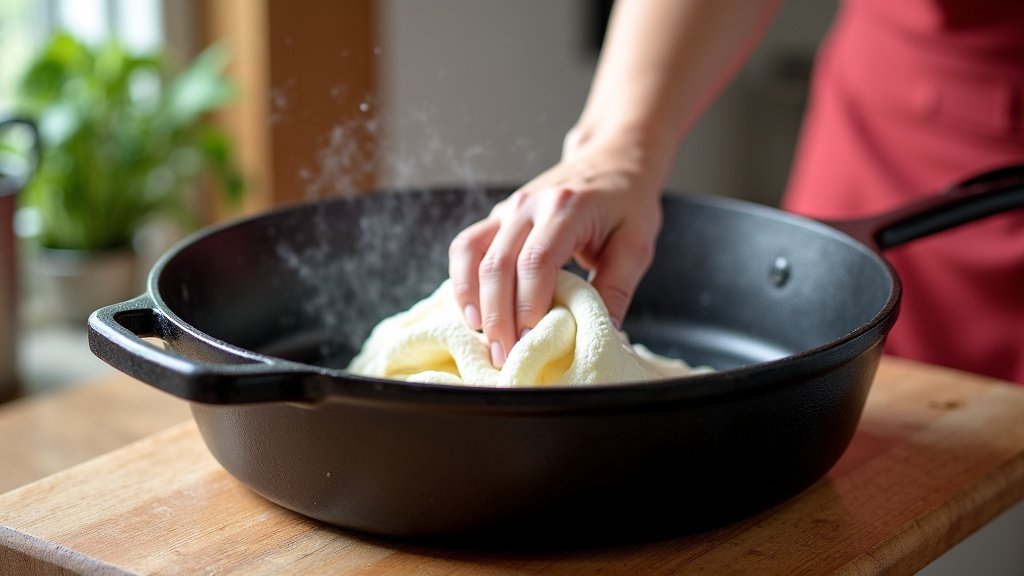
- Scrub Gently: Use a non-abrasive sponge, nylon brush, or dishcloth. Scrub the entire surface, inside and out, to remove all food residue and grease.
- Rinse Thoroughly: Rinse with warm water until all soap suds are gone. You want to see clean water running off the surface.
- Dry Immediately and Completely: This is perhaps the most critical step after cleaning. Use a clean towel to dry your Dutch oven completely. Don’t air dry, as this can lead to rust.
- Heat to Evaporate Moisture (Optional but Recommended): For extra assurance, place the clean, dry Dutch oven over low heat on the stovetop for a few minutes. This evaporates any remaining moisture that might lead to rust.
- Apply a Thin Layer of Oil: Once cool, rub a very thin layer of neutral cooking oil (like vegetable oil, grapeseed oil, or flaxseed oil) over the entire surface, inside and out. Buff off any excess with a clean paper towel. The goal is a dry, non-tacky finish.
Following these steps ensures your Dutch oven is clean, protected, and ready for your next culinary adventure. It’s a quick routine that pays off.
Tools for Cleaning Cast Iron
Having the right tools makes cleaning your cast iron Dutch oven much easier and safer for the seasoning. You don’t need anything fancy or expensive. Simple, effective tools are best.
Recommended Cleaning Tools
- Mild Dish Soap: Any brand of liquid dish soap works great. Think Dawn, Palmolive, or Seventh Generation.
- Nylon Scrubber or Stiff Brush: These are ideal for gently dislodging food without scratching the seasoning.
- Plastic Pan Scraper: Perfect for those really stubborn, baked-on bits. It’s gentle yet effective.
- Clean Towels: Essential for drying your Dutch oven completely to prevent rust.
- Neutral Cooking Oil: For the post-wash oiling, which protects your pan.
Tools to Avoid
Just as important as knowing what to use, is knowing what to avoid. Certain tools can actually harm your seasoning. You want to preserve that hard-earned non-stick surface.
- Steel Wool or Metal Scourers: These are too abrasive and will strip away your seasoning, potentially scratching the iron underneath.
- Harsh Abrasive Cleaners: Powdered cleaners or those containing harsh chemicals can also damage seasoning. Stick to mild dish soap.
- Dishwashers: Never put cast iron in a dishwasher. The harsh detergents and prolonged exposure to moisture will strip the seasoning and cause severe rust.
When to Use More Than Just Soap and Water
Most of the time, soap and water are all you need. But occasionally, you might encounter situations that require a little extra effort. Don’t worry; your Dutch oven can handle a deeper clean when needed.
Dealing with Stubborn Stuck-On Food
Sometimes, food really bakes onto the surface. If a nylon brush isn’t cutting it, try this trick:
- Fill the Dutch oven with about an inch of water.
- Place it on the stovetop over medium heat.
- Bring the water to a gentle simmer for 5-10 minutes. This will loosen the food.
- Carefully pour out the hot water.
- Now, use your plastic scraper or stiff brush, along with soap, to remove the softened food bits.
This method uses the power of steam to help you. It’s a gentle way to tackle tough messes.
Removing Rust Spots
Despite your best efforts, sometimes a little rust might appear, especially if the pan wasn’t dried completely. Don’t panic! It’s usually easy to fix.
- If it’s just a small spot, scrub it off with a fine steel wool pad or an abrasive sponge. Yes, this is one of the few times you might use a slightly harsher tool, but only on the rusted spot.
- Rinse thoroughly to remove all rust particles.
- The area will likely lose some seasoning. Dry immediately and completely.
- Then, re-season that specific area (or the whole pan) by rubbing on a thin layer of oil and heating it on the stovetop or in the oven until it smokes, then allowing it to cool.
Catching rust early makes it much easier to deal with. Your cast iron is a resilient piece of cookware.
Maintaining Your Dutch Oven for Longevity
Regular, correct cleaning is key to keeping your cast iron Dutch oven in top shape for decades. Think of it as a small investment of time for a lifetime of delicious meals. Proper maintenance extends its life.
After each use, clean it as described above. Always dry it completely. And don’t forget that thin layer of oil. This simple routine will ensure your Dutch oven remains a reliable and beloved kitchen tool.
How do you know if your seasoning is healthy? Water should bead up on the surface, and food should release easily. If you notice food sticking more, or the surface looks dull, it might be time for a light re-seasoning.
We found that well-maintained cast iron Dutch ovens can easily become family heirlooms (Cook’s Illustrated). They can truly last for generations.
Quick Cast Iron Maintenance Checklist
- Always clean after each use.
- Use mild dish soap and a non-abrasive scrubber.
- Dry thoroughly immediately after washing.
- Apply a very thin layer of cooking oil.
- Store in a dry place to prevent rust.
- Periodically check for signs of rust or dull seasoning.
Comparing Cleaning Methods: Soap vs. Water Only
Let’s look at the differences between cleaning with soap versus just using water. This will help you understand why soap is often the better choice for truly clean cast iron.
| Feature | Cleaning with Mild Soap | Cleaning with Water Only |
|---|---|---|
| Grease Removal | Excellent: Soap surfactants break down and lift grease effectively. | Fair: Hot water can melt grease, but doesn’t always remove it completely. |
| Food Particle Removal | Excellent: Helps loosen and wash away stuck-on food. | Good: Can remove loose particles, but struggles with baked-on bits. |
| Bacterial Cleanliness | High: Removes food residues that can harbor bacteria. | Moderate: May leave behind microscopic food particles. |
| Seasoning Impact | None: Modern soaps do not strip polymerized seasoning. | None: Does not affect seasoning. |
| Overall Cleanliness | Superior: Leaves a truly clean, ready-to-use surface. | Adequate for light use, but can lead to build-up over time. |
| Recommended For | Most situations, especially after cooking greasy or sticky foods. | Very light uses, or as a quick rinse between uses. |
As you can see, using soap offers a more thorough and hygienic clean. It ensures your Dutch oven is truly ready for its next cooking task, without any residual flavors or potential for bacterial growth.
Conclusion
You now know the truth: using soap on your cast iron Dutch oven is not just acceptable, it’s often the best way to clean it. The old “no soap” rule is a myth from a different era. Modern dish soaps are gentle and won’t harm your seasoning.
By following our simple cleaning and oiling steps, you’ll keep your Dutch oven in pristine condition. Don’t fear the suds! Embrace them for a truly clean, long-lasting piece of cookware. Get ready to cook with confidence.
Frequently Asked Questions
Will soap make my food taste like soap if I use it on cast iron?
No, using mild dish soap will not make your food taste like soap. As long as you rinse your Dutch oven thoroughly after washing, any soap residue will be completely removed. Your seasoning acts as a protective barrier and doesn’t absorb soap flavors.
How often should I re-season my cast iron Dutch oven?
You don’t need to fully re-season your Dutch oven after every wash. The small amount of oil you apply after cleaning helps maintain the seasoning. Full re-seasoning is usually only necessary if you notice food sticking consistently, rust spots, or a dull, dry appearance to the surface.
What if my cast iron develops a sticky residue after oiling?
A sticky residue usually means you’ve applied too much oil. The key is to rub on a very thin layer, then use a clean paper towel to buff off any excess until the surface looks dry, not greasy. Excess oil won’t polymerize and can become tacky.
Can I use a scouring sponge on my cast iron if it’s not steel wool?
You should generally avoid overly abrasive scouring sponges. While not as damaging as steel wool, they can still degrade your seasoning over time. Stick to nylon brushes, plastic scrapers, or soft sponges for regular cleaning to protect your pan’s surface.
Is it okay to soak my cast iron Dutch oven if food is really stuck?
Avoid soaking your cast iron Dutch oven for extended periods, especially overnight. Prolonged exposure to water can lead to rust formation, even on well-seasoned pans. Instead, use the method of simmering a small amount of water in the pan to loosen stubborn food bits.
