Yes, you absolutely can use a toaster oven to melt cheese effectively, making it a versatile tool for quick snacks and meals.
You’ll find a toaster oven offers excellent control for achieving perfectly melted cheese, from bubbly toppings to gooey centers.
- A toaster oven is a fantastic tool for melting cheese, offering convenience and efficiency for various dishes.
- You can achieve a beautiful, even melt on your cheese using the right temperature and monitoring.
- Different types of cheese will melt at slightly different rates, so adjusting your approach is key.
- Always keep an eye on your cheese to prevent burning, as toaster ovens heat up quickly.
- From nachos to grilled cheese, your toaster oven can handle many cheesy creations with ease.
Can You Use A Toaster Oven To Melt Cheese?
Definitely! A toaster oven is a fantastic and convenient appliance for melting cheese. It provides precise heat and quick results for all your cheesy cravings.
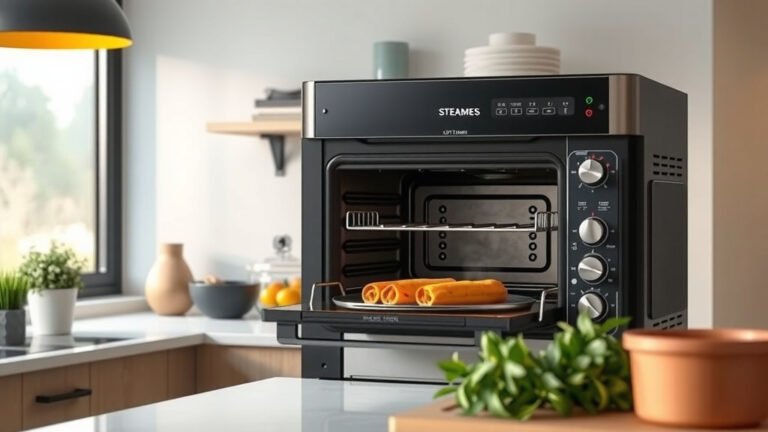
Why Your Toaster Oven Is a Cheese-Melting Champion
Think of your toaster oven as a miniature version of a full-sized oven, but with some big advantages. It preheats much faster, which saves you time and energy. Plus, its compact size means the heat is more concentrated, leading to a quicker, more even melt.
We found that for smaller portions, a toaster oven is often more efficient than firing up a large conventional oven. Many experts say it’s ideal for single servings or small batches (Culinary Institute of America).
Choosing the Right Cheese for Melting
Not all cheeses melt equally. You want cheeses with good moisture and fat content for the best results. Think of a creamy cheddar or a stretchy mozzarella.
Harder, drier cheeses like Parmesan can melt, but they might just get crispy instead of gooey. We often recommend softer, semi-hard cheeses for that perfect bubbly top.
Top Cheeses for Toaster Oven Melting
- Cheddar: A classic choice for its rich flavor and smooth melt.
- Mozzarella: The champion of stretchiness, perfect for pizza and open-faced sandwiches.
- Monterey Jack: Mild and creamy, it melts beautifully.
- Swiss: Offers a unique nutty flavor and nice melt, often seen on ham and cheese.
- Provolone: A great all-rounder, similar to mozzarella but with more flavor depth.
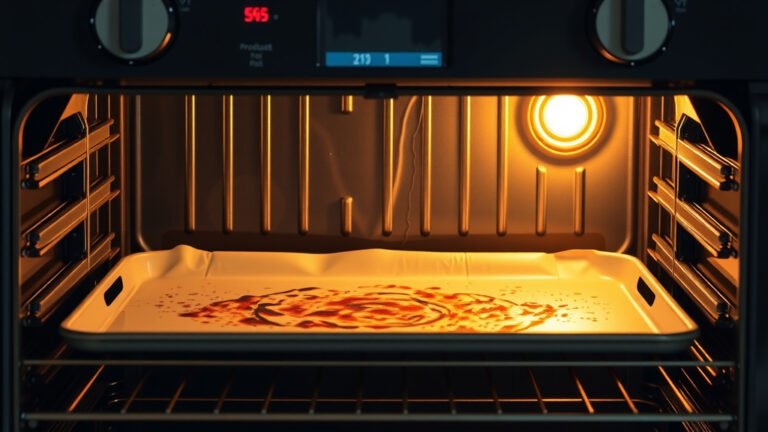
Setting the Scene: Temperature and Time
When melting cheese, low and slow is often the way to go. You want to melt the cheese without burning the food underneath or drying out the cheese itself. We found that a moderate temperature works best for most cheeses.
Aim for around 350-375°F (175-190°C) for most melting tasks. The time will vary, but usually, it takes just a few minutes. Keep a close eye on it, as toaster ovens can sometimes create hotspots.
The Power of the Broil Setting
Feeling adventurous? The broil setting can give your cheese a lovely golden-brown crust in seconds. This is excellent for finishing dishes like nachos or French onion soup.
However, be super careful with broiling. It’s like a high-speed sprint; you turn your back for a second, and it’s burnt! Many experts advise constant supervision when using the broiler function (Good Housekeeping Institute).
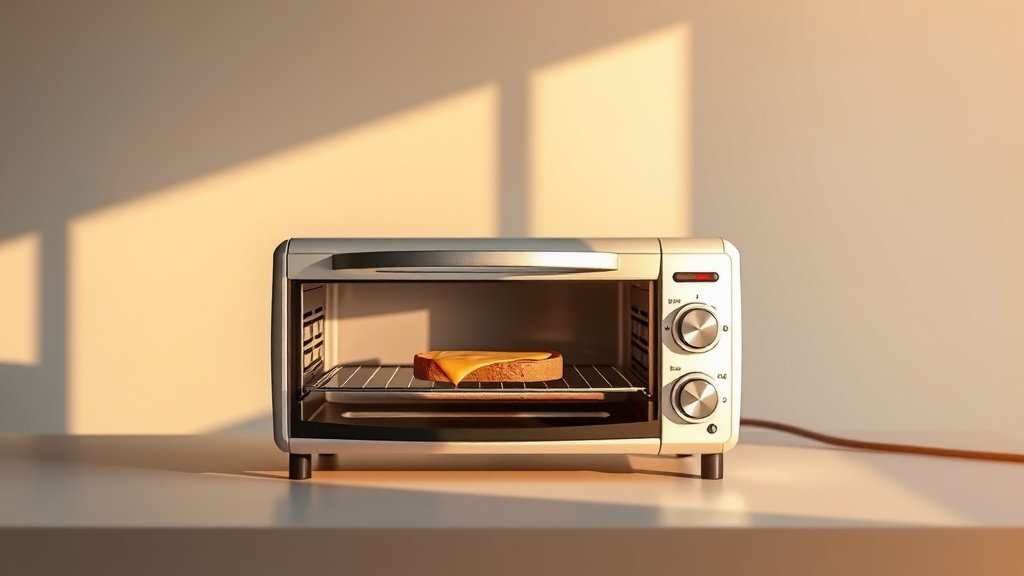
Preparing Your Cheesy Creation
Are you ready to melt? A little preparation goes a long way. Make sure your cheese is shredded or thinly sliced. Smaller pieces will melt much faster and more evenly.
If you’re melting cheese on toast or a bagel, make sure the base is already slightly toasted. This prevents a soggy bottom while your cheese gets perfectly gooey on top.
A Quick Checklist for Perfect Melted Cheese
- Use a baking tray or oven-safe dish.
- Shred or thinly slice your cheese for even melting.
- Preheat your toaster oven to a moderate temperature (350-375°F).
- Place your item on the middle rack for best results.
- Monitor constantly, especially when broiling.
- Remove as soon as the cheese is bubbly and golden.
Common Melting Mistakes to Avoid
We’ve all been there: burnt cheese, uneven melt, or a dry crust. A few common errors can prevent that perfect gooey goodness. Let’s make sure you dodge these pitfalls.
One frequent mistake is using too high a temperature. This causes the cheese to seize up or burn before it truly melts. Another is not shredding cheese finely enough, leading to inconsistent melting.
| Issue | Why it Happens | Solution |
|---|---|---|
| Cheese is burning | Too high temperature, too close to heating element | Lower temp, use middle rack, monitor closely |
| Cheese isn’t melting | Too low temperature, not enough time | Increase temp slightly, give more time, ensure cheese is shredded |
| Uneven melt | Cheese pieces too large, hotspots in oven | Shred cheese smaller, rotate item if possible |
| Cheese is dry or tough | Overcooked, too high temp | Reduce cooking time, lower temp, consider covering briefly |
Safety First: Using Your Toaster Oven Wisely
Toaster ovens are safe when used correctly, but they get very hot. Always use oven mitts when handling trays and dishes. Be mindful of where you place the toaster oven; ensure it has plenty of clear space around it for ventilation.
Never leave your toaster oven unattended, especially when melting cheese. Those few minutes can turn into a burnt mess quickly. Many guidelines point to keeping an eye on cooking appliances as a good first step (Fire Safety Foundation).
Beyond the Slice: Creative Uses for Melted Cheese
Melted cheese isn’t just for sandwiches. Your toaster oven can open up a world of cheesy culinary adventures. Think about loaded potato skins, mini pizzas on English muffins, or a quick quesadilla.
You can even melt cheese into a ramekin for a savory dip or a cheesy topping for chili. The possibilities are truly endless once you master the melt!
Conclusion
Using a toaster oven to melt cheese is not only possible but also a highly practical and efficient method. With the right cheese, temperature, and a watchful eye, you can achieve wonderfully gooey, bubbly results every time.
It’s a fantastic tool for quick snacks, small meals, and adding that comforting layer of melted deliciousness to almost anything. So go ahead, embrace your toaster oven, and enjoy your perfectly melted cheese creations!
How do I prevent my cheese from burning in a toaster oven?
To prevent burning, always use a moderate temperature, generally 350-375°F. Place your item on the middle rack and keep a close watch, especially since toaster ovens heat quickly. If using the broiler, constant supervision is crucial; the cheese can go from perfect to burnt in seconds.
Can I melt any type of cheese in a toaster oven?
While most cheeses will melt, softer to semi-hard cheeses like cheddar, mozzarella, and Monterey Jack melt best and yield gooier results. Harder, drier cheeses like Parmesan might crisp up more than melt smoothly. For the ideal melt, shredded or thinly sliced cheese works best.
Is it better to preheat the toaster oven before melting cheese?
Yes, preheating your toaster oven is a good practice. It ensures an even temperature throughout the cavity, leading to more consistent and predictable melting. Putting food into a preheated oven helps the cheese melt quickly without overcooking the base item.
How long does it typically take to melt cheese in a toaster oven?
The time varies based on cheese type, thickness, and toaster oven wattage, but it usually takes just 2 to 5 minutes at 350-375°F. For broiling, it’s often less than a minute. Always monitor closely and remove the cheese as soon as it’s bubbly and golden.
Can I use aluminum foil under my cheese in a toaster oven?
Yes, you can use aluminum foil, but ensure it’s oven-safe and doesn’t touch the heating elements. Foil can help contain messes and make cleanup easier. However, we found that direct contact with a baking tray or oven-safe dish often provides a more even toast to the underlying food while the cheese melts.