
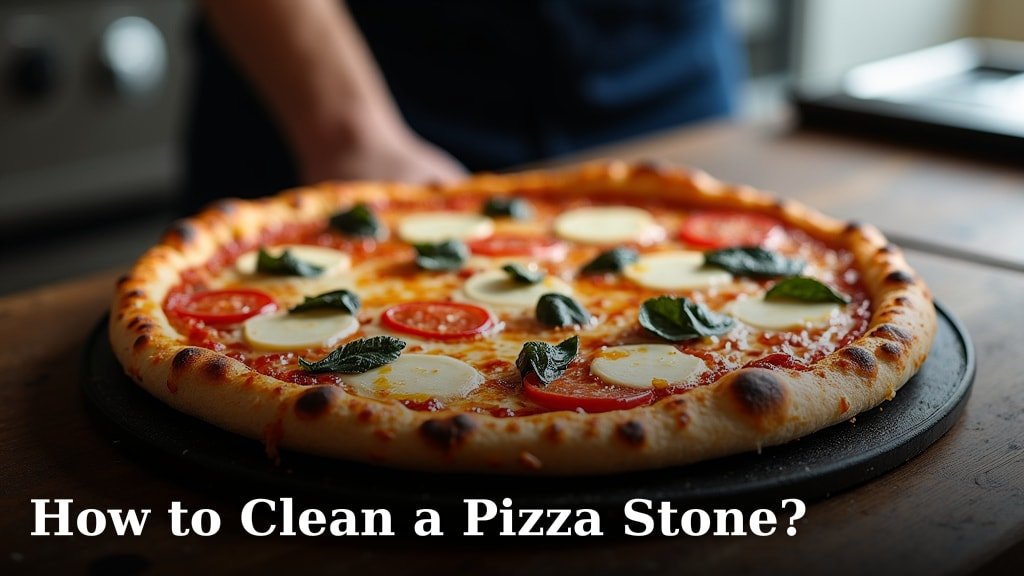
<p>The easiest way to clean a pizza stone is by scraping off food bits, then wiping it with a damp cloth. Avoid using soap, as your stone will absorb it. Let your stone air dry completely before storing or reusing it.</p>
<p>Many people worry about their pizza stone getting stained or dirty. But a well-used stone often has dark, seasoned spots. These marks actually enhance its performance over time. Knowing how to properly care for your stone keeps it baking delicious pizzas.</p>
<ul>
<li>Scrape off any stuck-on food bits first.</li>
<li>Do not use soap; it will ruin your stone.</li>
<li>Use a damp cloth for stubborn stains.</li>
<li>Let your pizza stone air dry completely.</li>
<li>Some stains are normal and even good for the stone.</li>
</ul>
<p>Ready to get your pizza stone sparkling (or at least food-free)? Let’s dive into the simple steps to clean your pizza stone effectively, ensuring many more delicious homemade pies.</p>
Mastering Pizza Stone Cleaning
You want your pizza stone to last for years, right? Taking care of it means knowing how to clean it gently but effectively. It’s not about making it look new, but about keeping it ready for your next delicious pizza.
Understanding Your Pizza Stone’s Material
Before you even think about cleaning, let’s talk about what makes your pizza stone special. Most pizza stones are made from natural materials. These materials are porous, meaning they have tiny holes.
Why Porosity Matters
Think of your stone like a sponge, but a very hard one. This porosity is key to how it cooks pizza. It absorbs moisture from the dough, giving you that wonderfully crispy crust. But this same quality also means it can absorb other things, like cleaning chemicals.
This is why understanding its material is the first step. You wouldn’t clean a cast-iron pan the same way you clean a non-stick skillet, would you? The same goes for your pizza stone.
The Golden Rule: Never Use Soap
This is probably the most important thing you’ll learn today. We cannot stress this enough: do not use soap on your pizza stone. It’s a common mistake, but an easily avoidable one.
Why is soap such a big no-no? Remember those tiny pores we talked about? Your stone will absorb that soapy water. Imagine your next pizza tasting like dish soap. Not exactly appetizing, right? Soap residue can also break down the carefully built-up seasoning on your stone, harming its performance.
Step-by-Step Cleaning Process
Alright, let’s get down to business. Cleaning your pizza stone is straightforward, but it requires a bit of patience. The goal is to remove food particles without damaging the stone.
Allow Your Stone to Cool Completely
First things first, make sure your pizza stone is completely cool before you touch it. Taking a hot stone out of the oven and immediately trying to clean it is a recipe for disaster. Extreme temperature changes can cause thermal shock. This can lead to your stone cracking or breaking. We’ve heard too many stories of beloved pizza stones meeting an untimely end this way.
Give it plenty of time after baking. We recommend at least an hour, or even better, let it cool naturally as the oven cools down. This slow cool-down makes sure your stone stays intact and ready for its next use.
Scrape Off Excess Food Bits
Once cool, you’ll likely see some baked-on food remnants. These might be cheese, sauce, or bits of crust. Don’t grab a scouring pad just yet! For cleaning a pizza stone, gentleness is key.
- Use a spatula or dough scraper.
- A plastic scraper is best to avoid scratching.
- A stiff nylon brush can also work wonders.
- Gently push and scrape the charred bits off the surface.
Many baking experts say to just scrape with a flat, dull edge. You’re not trying to remove the seasoning, just the stuck-on food. Think of it like cleaning a cast-iron pan; you want to remove the debris, not the beneficial layers.
Wipe with a Damp Cloth
After scraping, you might still have some stubborn spots or greasy residue. This is where a damp cloth comes in. Get a clean cloth, dampen it with plain water (no soap!), and wipe down the stone. You can also use a stiff brush with a tiny bit of water.
Rub in small circular motions. Don’t drench the stone. Just enough moisture to lift off the grime. This step helps clean without saturating the porous surface. We found that a slightly damp cloth is more effective than a soaking wet one, which can lengthen drying time considerably.
Tackle Tough Stains with a Scour Pad (Carefully!)
For those truly stubborn, baked-on stains that a damp cloth just can’t conquer, you can use a very fine-grit sandpaper or a plastic non-abrasive scour pad. This is a last resort, though, and should be done with care. You aren’t trying to remove the stone’s surface, just the caked-on bits.
When scrubbing, use a little water and gentle pressure. Always focus on the stained area. This method can help even out dark spots, but know that some discoloration is permanent. That’s a sign of a well-loved, well-used stone!
Dealing with Persistent Odors
Sometimes, a particularly messy pizza can leave a lingering smell, even after cleaning. Don’t worry, there’s a simple fix. Baking soda is your friend here. It’s a natural deodorizer.
Make a paste with a small amount of baking soda and water. Apply it to the smelly areas, let it sit for about 15-20 minutes, then scrape it off with your spatula. Wipe clean with a damp cloth afterward. Remember to make sure all paste is removed. This can help neutralize those strong smells without harming your stone.
The Crucial Drying Process
This step is often overlooked but it’s incredibly important. Your pizza stone must be completely dry before you store it or use it again. This isn’t just about avoiding mold, it’s about preventing cracks.
Air Dry, Air Dry, Air Dry!
Place your freshly cleaned stone in a well-ventilated area. Let it air dry for at least 24-48 hours. Depending on your climate and how much moisture it absorbed, it might take even longer. We’ve seen stones that needed a full 72 hours to be truly bone dry.
Why is this so important? Any residual moisture inside the stone can turn to steam the next time you heat it. This steam can cause internal pressure, leading to your stone cracking or even exploding in your oven. It’s a safety thing, so don’t rush it!
You can also place it in a cold oven and heat the oven to its lowest setting for about 30 minutes. Then turn off the oven and let the stone cool inside. This gentle heating can help evaporate any remaining moisture. Just make sure the stone goes into a cold oven and heats up with it. Sudden temperature changes are bad.
When to Embrace the Stains
You might be looking at your stone and seeing dark spots or areas of discoloration. Is it dirty? Does it need more cleaning? Probably not! These dark spots are actually a good sign. They are what we call “seasoning.”
Much like a cast-iron skillet, a pizza stone gets better with age and use. The oils and fats from your pizzas bake onto the stone, creating a naturally non-stick surface. This seasoning also helps conduct heat more efficiently, leading to even crispier crusts. Many experienced pizza makers actually prefer a well-seasoned, dark stone over a brand-new one (Bon Appetit). So don’t try to scrub away all the dark spots. They are a badge of honor!
Quick Cleaning Checklist
Here’s a handy list to keep you on track:
- Allow stone to cool completely.
- Scrape off all food debris.
- Wipe with a damp cloth (no soap).
- Scrub tough spots with a plastic scour pad.
- Treat odors with baking soda paste.
- Air dry for 24-72 hours.
Comparing Cleaning Methods for Different Baking Surfaces
While we’re focusing on pizza stones, you might wonder how cleaning strategies differ for other popular baking surfaces. Here’s a quick comparison:
| Baking Surface | Primary Cleaning Method | Soap Use? | Drying Time |
|---|---|---|---|
| Pizza Stone (Ceramic/Cordierite) | Scrape, damp cloth, air dry | NEVER | 24-72 hours (Critical) |
| Cast Iron Pizza Pan | Scrub with stiff brush & hot water | Rarely (Can damage seasoning) | Quick dry, then re-season lightly |
| Steel Baking Plate | Hot water, gentle scrub, towel dry | YES (If needed) | Quick (Towel dry) |
| Non-Stick Pan | Soapy water, soft sponge | YES | Quick (Towel dry) |
As you can see, pizza stones are unique due to their porous nature. This makes proper cleaning a bit different. Your stone really is special!
Conclusion
Taking care of your pizza stone doesn’t need to be complicated. By remembering a few simple rules, like never using soap and always allowing it to air dry completely, you’ll keep it in top condition.
Embrace those dark spots – they are a sign of a well-loved stone, not a dirty one! With a little patience and the right approach, your pizza stone will continue to deliver perfectly crispy crusts for many years to come. Now you can confidently enjoy endless homemade pizza nights!
Frequently Asked Questions
Can I put my pizza stone in the dishwasher?
No, you should never put your pizza stone in the dishwasher. The intense heat, harsh detergents, and prolonged exposure to water will cause it to absorb chemicals and likely lead to cracking or breaking.
How often should I clean my pizza stone?
You should clean your pizza stone after every use by scraping off food and wiping it. A deep clean for tough stains isn’t needed after each use. Remember, some discoloration is normal and even beneficial.
What if my pizza stone smells burnt after cleaning?
If your stone still has a burnt smell, try the baking soda paste method. Apply it to the affected area, let it sit, then scrape and wipe clean. Ensure it’s completely dry afterward to avoid trapping moisture.
Is it okay for my pizza stone to be discolored?
Absolutely! Discoloration and dark spots are completely normal for a well-used pizza stone. This “seasoning” actually improves its non-stick properties and heat distribution over time. Don’t try to scrub these marks away.
My pizza stone cracked in the oven, what happened?
A common reason for a pizza stone cracking is thermal shock. This occurs if you put a cold stone into a hot oven, or try to clean a hot stone with cold water. Ensure your stone heats and cools slowly and completely.
