
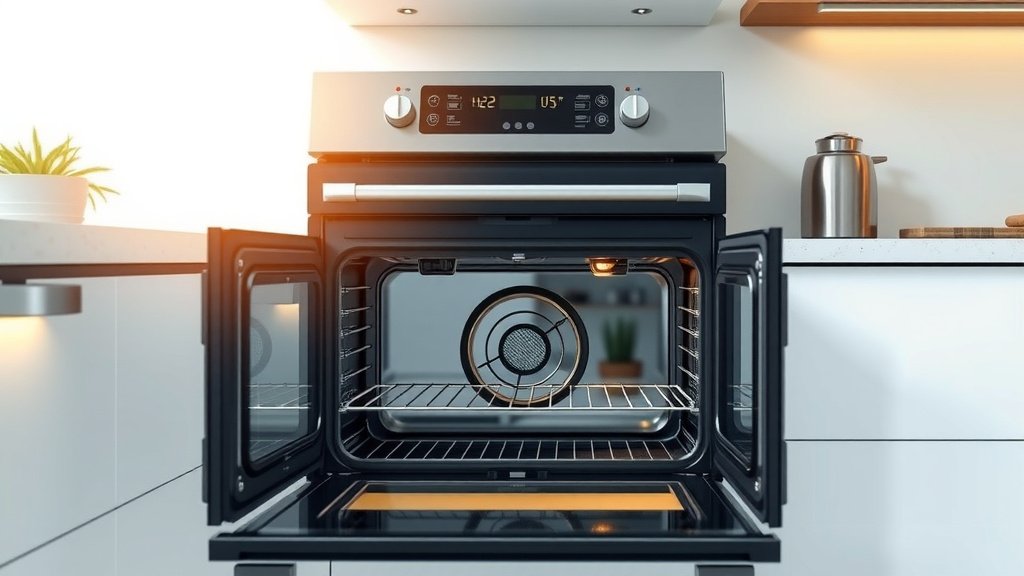
To effectively clean an electric oven, you should first remove all racks and visible food particles. Then, apply a suitable cleaning solution—either a natural baking soda paste or a commercial oven cleaner—allowing it to dwell before scrubbing away grime.
The best method for how to clean an electric oven depends on your preference for natural solutions versus chemical cleaners, always prioritizing safety and proper ventilation during the process.
Here’s a quick peek at the main points you’ll find:
- Before cleaning, make safety your top priority.
- You can choose between baking soda for a natural approach or a commercial cleaner.
- Each method has specific steps and safety guidelines to follow.
- Don’t overlook cleaning the oven racks separately.
- Regular quick clean-ups can prevent big messes.
How To Clean An Electric Oven?
Cleaning an electric oven might seem like a chore, but it’s a simple process when you know the right steps. We’ll walk you through effective ways to get your oven sparkling clean, ready for your next culinary creation.
Why Cleaning Your Electric Oven Matters?
Ever opened your oven door and thought, “What’s that smell?” A dirty oven isn’t just unsightly; burnt food residue can affect the taste of your meals. It can also create smoke and even be a fire hazard if left too long (Food Safety and Inspection Service).
A clean oven helps your appliance work better and last longer. You’ll find your food cooks more evenly without those lingering smoky flavors. Plus, it just feels good to have a clean kitchen, doesn’t it?
Safety First: Before You Start
Before you even think about cleaning, always unplug your electric oven. This eliminates any electrical risk during the process. Make sure the oven is completely cool; touching a hot surface is no fun at all.
Open windows and doors for ventilation, especially if you plan to use commercial cleaners. Your lungs will thank you! We found that good airflow protects you from strong fumes (Environmental Protection Agency).
What You’ll Need For Oven Cleaning
Essential Cleaning Supplies
Gathering your tools before you start makes the job much smoother. Think of it like a chef prepping ingredients. Here’s a quick list to get you ready:
- Rubber gloves (a must for protecting your hands)
- Baking soda or commercial oven cleaner
- Spray bottle (for water or vinegar)
- Clean cloths or sponges
- Scrub brush or non-abrasive scrubber
- Old towels or newspaper (to protect your floor)
- Small bowl for mixing paste
- Plastic or silicone spatula (for scraping)
Method 1: The Natural Baking Soda Approach
Many prefer a natural clean, and baking soda is your best friend here. It’s a gentle abrasive and a powerful deodorizer. This method takes a bit more time but uses ingredients you likely already have.
You avoid harsh chemicals, which is great for sensitive noses or homes with pets and small children. It’s a safe and effective choice for everyday grime, as many cleaning experts agree.
Step-by-Step Baking Soda Clean
- Remove Everything: Take out oven racks, pizza stones, and any loose food bits.
- Create Paste: In a bowl, mix about half a cup of baking soda with a few tablespoons of water. Adjust until it forms a spreadable paste.
- Apply Generously: Spread the paste all over the interior surfaces of your oven, avoiding heating elements. Pay extra attention to greasy spots.
- Wait Patiently: Let the paste sit for at least 12 hours, or even overnight. This gives it time to work its magic.
- Scrape and Wipe: After waiting, use a plastic spatula to scrape away the dried paste and loosened grime. Wipe with a damp cloth.
- Rinse and Shine: Spray a little vinegar on any remaining residue (it reacts with baking soda to lift it). Wipe clean with a damp cloth until sparkling.
Method 2: Using Commercial Oven Cleaners
For tougher, baked-on messes, a commercial oven cleaner can be a faster solution. These cleaners are designed to dissolve grease and carbon buildup. Always read the product label carefully for specific instructions.
While effective, these products contain strong chemicals. That’s why safety precautions are not just suggestions, they are important. Always have good ventilation, we found, when using these products (National Institute for Occupational Safety and Health).
How to Use Store-Bought Cleaners Safely
- Ventilate Well: Open windows and turn on exhaust fans.
- Protect Yourself: Wear rubber gloves and eye protection.
- Remove Items: Clear out racks and any debris, just like with baking soda.
- Spray Evenly: Following product directions, spray the cleaner inside your oven. Avoid fan openings and pilot lights.
- Observe Dwell Time: Let the cleaner sit for the recommended time, usually 20-30 minutes, but check your product.
- Wipe Clean: Use a damp cloth or sponge to wipe away the cleaner and loosened grime. Repeat until clean.
- Rinse Thoroughly: Make sure to rinse the oven interior several times with clean, damp cloths to remove all chemical residue.
Understanding Your Oven’s Self-Cleaning Feature
Many modern electric ovens come with a self-cleaning cycle. This feature uses very high temperatures to burn off food residue, turning it into a fine ash you can simply wipe away. It sounds easy, right?
While convenient, there are things to consider. The high heat can sometimes create a strong odor. Always check your oven’s manual before starting this cycle. It’s often suggested to remove racks first, as the heat can damage their finish.
Pros and Cons of Self-Cleaning
| Feature | Self-Cleaning Cycle | Manual Cleaning (Baking Soda/Commercial) |
|---|---|---|
| Effort | Low (mostly passive) | Moderate to High (active scrubbing) |
| Time | 2-6 hours (cycle time) | 1-12 hours (including dwell time) |
| Fumes/Smell | Can be strong; requires ventilation | Baking soda: minimal; Commercial: strong, requires ventilation |
| Safety | High heat can be a hazard; fire risk if too dirty | Chemicals in commercial cleaners; physical effort with baking soda |
| Cost | Uses electricity | Cost of baking soda/cleaner |
Tackling Stubborn Stains
Sometimes, even after a good clean, a few stubborn spots remain. Don’t despair! For burnt-on bits, try applying a fresh baking soda paste to just that area. Let it sit for a few hours, then scrub with a non-abrasive pad.
A plastic scraper or a razor blade (used very carefully and at a shallow angle) can also help lift hardened grime from glass or enamel surfaces. Always be gentle to avoid scratching your oven.
Don’t Forget the Oven Racks!
Your oven racks get just as dirty as the oven interior. You can clean them separately! We found a simple trick is to soak them in a bathtub with hot water and a dish soap tablet overnight. The grime often slides right off.
Another option is to spray them with your commercial oven cleaner (if using) outdoors or in a well-ventilated area. Let it sit, then scrub with a brush and rinse thoroughly. They’ll look almost new!
How Often Should You Clean Your Oven?
The frequency of cleaning depends on how often you use your oven. For light users, a deep clean every 3-6 months might suffice. If you bake and roast regularly, aim for a deep clean every 1-3 months.
Spot cleaning after spills is always a good idea. Catching messes early prevents them from becoming baked-on nightmares. Think of it as preventing a small problem from becoming a bigger one.
Quick Maintenance Tips
Keeping your oven clean doesn’t always mean a full overhaul. Small habits make a big difference. Here’s a quick checklist to help:
- Wipe up spills immediately once the oven cools.
- Place a baking sheet or foil on the bottom rack for messy dishes.
- Use oven liners if your oven manual permits.
- Give the oven door a quick wipe down after each use.
- Address any unpleasant smells with a lemon and water bake cycle.
Conclusion
Cleaning your electric oven might not be the most glamorous task, but it’s a worthwhile one. Whether you choose the natural power of baking soda, the strength of a commercial cleaner, or your oven’s self-cleaning feature, a clean oven leads to better cooking and a happier kitchen. Remember, safety, good ventilation, and a little patience are your key ingredients for a sparkling result. Now, go forth and conquer that grime!
What is the fastest way to clean a very dirty electric oven?
The fastest way to clean a very dirty electric oven typically involves using a strong commercial oven cleaner. These products are formulated to break down baked-on grease and carbon quickly, often within 20-30 minutes of application, followed by wiping.
Can I use steel wool or abrasive scrubbers on my electric oven?
You should generally avoid using steel wool or highly abrasive scrubbers on the interior surfaces of your electric oven. They can scratch the enamel or protective coatings, potentially causing more damage and making future cleaning harder. Stick to non-abrasive sponges or plastic scrubbers.
Is it safe to use oven cleaner on the oven door glass?
Yes, most commercial oven cleaners are safe for use on the inner glass of the oven door. However, always check the product’s instructions and avoid getting the cleaner on any plastic or rubber seals, as it can degrade them over time. Always rinse thoroughly after use.
How do I remove burnt-on grease from the bottom of my electric oven?
For burnt-on grease at the bottom, a baking soda paste left to sit overnight is highly effective. Alternatively, a commercial oven cleaner can be sprayed directly onto the spots. After sufficient dwell time, scrape gently with a plastic spatula and wipe clean. Repeat if needed.
What if my electric oven smells like chemicals after cleaning?
If your oven smells like chemicals after cleaning, it likely means there’s residue left. Wipe the interior thoroughly several times with a clean, damp cloth. Then, you can run the oven at a low temperature (around 250°F) for 15-30 minutes with the window open to burn off any remaining fumes before cooking.
