
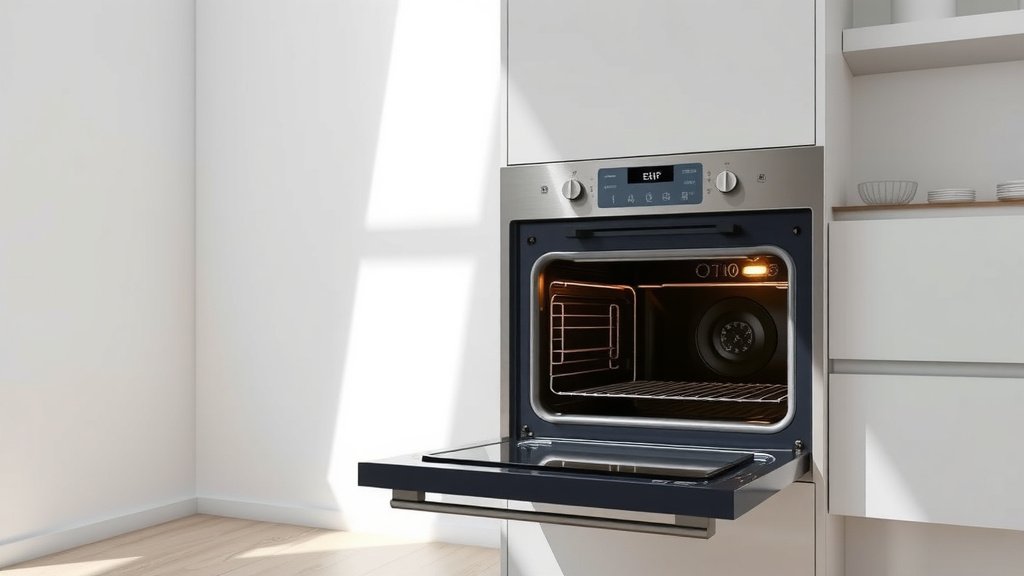
Using the self-clean function on your electric oven involves a few important preparation steps to ensure safety and efficiency.
You’ll typically remove all racks and accessories, wipe away loose debris, and then activate the cycle as per your oven’s instructions, letting it burn off baked-on food with high heat.
- The self-clean feature works by using extremely high temperatures to turn food residue into ash.
- Always remove oven racks, foil, and any other accessories before starting the cycle.
- Wipe out large food particles to minimize smoke and odor during the process.
- Ensure good ventilation in your kitchen and keep pets away from the area while cleaning.
- After the cycle finishes and the oven cools, simply wipe away the remaining ash for a sparkling clean interior.
How To Use Self Clean On Electric Oven?
To use your electric oven’s self-clean function, first remove everything from inside, then wipe away any loose mess.
Next, you’ll activate the cycle on your oven’s control panel and allow it to run its course, usually for several hours.
Ever look at your oven’s interior and sigh? Those baked-on spills and splatters can feel impossible to tackle. Luckily, most modern electric ovens come with a fantastic feature: the self-clean cycle. It’s designed to make your life a whole lot easier, transforming those tough messes into easily manageable ash.
Understanding Your Electric Oven’s Self-Clean Function
Your oven’s self-clean cycle is a pretty ingenious piece of technology. It heats the oven interior to an extremely high temperature, often around 900-1000°F (482-538°C), far hotter than normal cooking temperatures.
This intense heat incinerates food particles, grease, and grime, turning them into a fine, powdery ash. Think of it as a controlled, fiery transformation.
What Actually Happens Inside?
During the self-clean cycle, your oven’s door automatically locks for safety. The intense heat breaks down organic materials, literally burning away the mess. We found that this process can take anywhere from 2 to 6 hours, depending on your oven model and the level of cleaning needed (Many experts say, always refer to your specific oven manual).
Is Self-Cleaning Right For Your Oven (And You)?
While self-cleaning sounds like magic, it’s good to know if it’s the right choice for your situation. Most electric ovens are built to withstand these high temperatures without issue.
However, if you have a very old oven or notice any strange behaviors, it might be worth considering a manual clean or having it checked first.
Checking Your Oven’s Manual
Your oven’s user manual is your best friend for this task. It contains specific instructions for your model, including recommended cycle times and any special warnings. We found that skipping this step can lead to confusion or even minor issues.
Essential Pre-Clean Steps: Don’t Skip These!
Before you hit that “clean” button, a little prep work goes a long way. This ensures the cycle runs smoothly and safely, minimizing smoke and potential problems.
Think of it like setting the stage for a perfect performance; a little effort upfront saves you trouble later.
- Remove Everything: Take out all oven racks, baking sheets, foil, and any accessories. These items are not designed for self-clean temperatures and can warp or discolor.
- Wipe Away Loose Debris: Use a damp cloth or sponge to wipe up any large food spills, crumbs, or grease pools. This helps reduce excessive smoke and unpleasant odors during the cycle.
- Clear the Surrounding Area: Move any items, like curtains or paper towels, away from the oven. Keep the area around the oven clear of flammable materials.
- Ensure Good Ventilation: Open a window or turn on your kitchen’s exhaust fan. While not dangerous, the burning food residue can create a strong, often unpleasant, smell.
- Pet Safety First: Many experts suggest that birds and other small pets are very sensitive to airborne fumes. It’s best to move them to another room, or even outside, during the cycle.
Removing Oven Racks and Accessories
This step is non-negotiable. Oven racks, especially, can get discolored and damaged by the extreme heat of the self-clean cycle. Plus, they can make the cleanup job harder later.
Wiping Out Loose Bits
Why bother wiping if it’s going to burn off anyway? Great question! Removing those larger crumbs and pools of grease means less material to burn, which in turn means less smoke and less intense odors filling your kitchen.
Starting The Self-Clean Cycle: A Step-by-Step Guide
Once your oven is prepped, starting the cycle is usually straightforward. Look for a “Clean” or “Self-Clean” button on your control panel.
You might need to select a cleaning duration, or your oven may have a default setting. Press start, and the magic begins!
| Self-Clean Cycle Stages (Example) | What Happens |
|---|---|
| Pre-Heat | Oven gradually warms up, door locks securely. |
| High Heat | Temperature reaches extreme levels, burning off residue. |
| Cool Down | Oven slowly cools; door remains locked until safe. |
What To Expect During The Cycle
During the self-clean cycle, don’t be alarmed by a few things. You’ll likely notice a distinct odor, often described as a burning smell, and possibly some smoke. This is normal.
The oven door will also remain securely locked until the internal temperature drops to a safe level, a key safety feature.
Dealing With Odors and Smoke
The smell can be quite strong, so keeping your kitchen well-ventilated is key. If you have an exhaust fan, turn it on high. Opening a window or two also helps clear the air quickly. We found that this minimizes discomfort.
After The Clean: The Final Touches
The self-clean cycle is mostly hands-off, but there’s a small final step to complete the process. Don’t rush into it; patience is a virtue here.
You’ll want to ensure the oven is fully cooled before you do anything else.
Waiting For Cool Down
The oven door will stay locked until it’s safe to open. This might take another hour or so after the heating cycle finishes. Don’t try to force it open; let the safety mechanism do its job.
Wiping Away The Ash
Once the oven is cool and the door unlocks, you’ll see a fine, gray ash covering the bottom and sides. Simply take a damp cloth or sponge and wipe it away. For stubborn spots, a little elbow grease often works, but avoid harsh abrasives or chemical cleaners (NIH advises gentle cleaning for appliance surfaces).
Common Self-Clean Questions and Concerns
Many people have questions about using this powerful feature. Is it safe? How often should I do it? Let’s tackle a couple of these.
How Often Should You Self-Clean?
There’s no hard and fast rule, but most experts suggest self-cleaning your oven every 3 to 6 months, or whenever you notice significant buildup. Over-cleaning isn’t usually necessary, and too infrequent cleaning can make the job harder.
Is It Safe For My Oven?
Yes, modern electric ovens are designed to handle the high temperatures of the self-clean cycle. However, it’s always wise to follow your manufacturer’s specific guidelines. Ensuring proper ventilation and removing all internal items are the best ways to keep it safe.
Conclusion
Using the self-clean function on your electric oven can feel intimidating at first, but with the right preparation and a clear understanding of the process, it’s a remarkably effective way to keep your appliance sparkling. By following these steps—removing racks, wiping loose debris, ensuring ventilation, and patiently letting the cycle run—you can achieve a clean oven with minimal effort. Remember to always consult your oven’s manual for model-specific advice. Happy cleaning!
Does the self-clean cycle use a lot of electricity?
Yes, the self-clean cycle uses a significant amount of electricity because it heats the oven to extremely high temperatures for an extended period. Many sources suggest running it during off-peak hours if your utility company offers variable rates to save on costs.
Can I stay in the house while the oven is self-cleaning?
While it is generally safe to stay in the house, you should ensure proper ventilation and keep the area around the oven clear. Due to the strong odors and potential for some smoke, some people prefer to air out the kitchen thoroughly or even step outside for a while, especially if they have sensitive noses or pets.
What if my oven door doesn’t unlock after the self-clean cycle?
If your oven door remains locked after the self-clean cycle, it likely hasn’t cooled down enough. Allow more time for the oven to cool completely. If it still won’t open after several hours, consult your oven’s manual or contact a qualified appliance technician for assistance.
Can I use oven cleaners or chemicals after the self-clean cycle?
After a self-clean cycle, you should not need to use harsh oven cleaners or chemicals. The cycle is designed to burn off all residue, leaving only ash. A simple wipe with a damp cloth is usually all that’s required to remove the remaining ash. Using harsh chemicals might damage the oven’s interior finish.
My oven smells bad after the self-clean cycle. What should I do?
A lingering “burnt” smell after a self-clean cycle is normal. It’s often due to any remaining microscopic particles continuing to dissipate. To minimize this, ensure excellent ventilation during and after the cycle. You can also wipe the oven interior with a solution of white vinegar and water, then wipe with plain water, to help neutralize odors.
